
Related Manuals for Tripp Lite Smart Series


Summary of Contents for Tripp Lite Smart Series
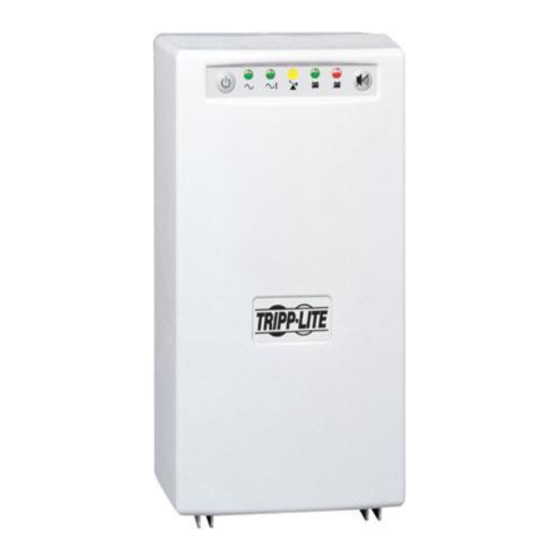
- Page 2 Thank you for purchasing the Tripp Lite SmartPro Medical Grade SMART SERIES Tower UPS. We hope this product exceeds your expectations of performance in its intended application. Throughout the life span of this UPS, there are some maintenance practices that need to occur in order to ensure continued operation of the unit.
- Page 3 In spite of good maintenance practices and favorable operating conditions, the capacity of batteries does deplete over time which reduces the back up or run time a UPS can deliver to user applications. Some environmental factors that influence loss of battery capacity are: Humidity •...
- Page 4 For planning purposes, expect most batteries in Tripp Lite UPS products to have a lifespan of 3-5 years. However, for applications that require constant discharging and charging of the internal batteries on a daily basis, the lifespan expectation diminishes at a much higher rate.
- Page 5 The SMART SERIES comes equipped with a user accessible battery replacement door, which enables qualified personnel to replace the UPS’ batteries without the need to take the unit out of service. This prevents extended downtimes for an application. The batteries in the SMART SERIES are hot-swappable, which allows for the replacement to occur while the equipment attached to the unit continues to operate.
- Page 6 The following steps are crucial to proper battery replacement. Please adhere to these instructions in order to prevent personal injury and damage to the UPS.
- Page 7 Facing the rear of the UPS, locate the two screws that hold the battery door in place. Using a Phillips head screw driver, remove the two screws. Once the last screw is removed, remove the battery door from the UPS.
- Page 8 Locate the tab made of black tape that allows the battery cartridge to be pulled away from the unit (indicated by the yellow arrow). Firmly grasp the tab and pull the battery away from the unit enough to expose the black battery cable taped to the battery itself (indicated by the green arrow).
- Page 9 Remove the tape covering the black battery cable connection to the battery. Using needle nose pliers, pull the cable away from the battery terminal in a side to side motion until the cable is disconnected.
- Page 10 Using the tab that allows the battery cartridge to be removed from the UPS (indicated by the yellow arrow), begin to pull the battery away from the unit. As more of the battery is exposed, place one hand underneath the battery cartridge (indicated by the green arrow) to support it as it is removed from the...
- Page 11 Pull the battery out of the unit until it is free from the compartment and place it directly behind the UPS. A red battery cable will remain connected so be sure not to pull the battery too far so as not to disconnect this cable.
- Page 12 Remove the tape covering the battery terminal connections to expose all the battery cable connectors. Using needle nose pliers, pull the red cable away from the battery terminal in a side to side motion until the cable is disconnected.
- Page 13 With the battery fully disconnected from the UPS, locate the 2 battery cables connecting the three batteries (indicated by yellow arrows) together. Using needle nose pliers, pull the battery cables away from the battery terminals in a side to side motion until the cables are disconnected.
- Page 14 Set the original batteries aside. Line up the 3 new batteries included with the RBC53 side by side with the red positive battery connector of each cell next to the black negative battery connector of the battery next to it (indicated with yellow arrows). (Note: RBC53 batteries are not taped together as one cell.
- Page 15 Using the short black battery cables removed from the original batteries, reconnect the 3 cells together connecting the red positive terminal of one cell to the negative black terminal of the next cell. Repeat this process to connect the third cell. Be aware that a spark or arc can appear when the connections are made.
- Page 16 Place the new set of batteries directly behind the battery compartment of the UPS with the exposed red battery terminal closest to the unit.
- Page 17 Using needle nose pliers, take the red cable from the UPS system and connect it to the red positive battery terminal using a side to side motion until the cable is connected. Be aware that a spark or arc can appear when the connection is made.
- Page 18 Lift the battery cartridge and begin to ease the cells into the battery compartment. Be careful not to pinch the red battery cable at the rear or top of the compartment. Also be sure that the loose black negative battery cable from the UPS is held above the cells so as to allow connection after the batteries are inserted (indicated...
- Page 19 Using needle nose pliers, take the black cable from the UPS system and connect it to the black negative battery terminal using a side to side motion until the cable is connected. Be aware that a spark or arc can appear when the connection is made.
- Page 20 Once the black cable from the UPS is connected to the black negative battery terminal, push the battery cartridge into the compartment. Align the battery door with the mounting holes of the housing for the UPS system. Install the screws used to secure the door in place.
- Page 21 Remember, this operation is for use only by qualified personnel. If you are unclear about any of these instructions, or have questions regarding the operation of your SmartPro Medical Grade SMART SERIES Tower UPS please contact Tripp Lite Technical Support immediately for assistance.
- Page 22 Tripp Lite Technical Support is available by phone: (773) 869-1234 Monday – Friday 7:00am to 6:00pm CST or by email: techsupport@tripplite.com...
- Page 23 Thank you for being a Tripp Lite customer and we look forward to serving you in the future.
Need help?
Do you have a question about the Smart Series and is the answer not in the manual?
Questions and answers