Advertisement
Table of Contents
- 1 Table of Contents
- 2 Important Notes and Precautions for Use
- 3 Description of the Appliance
- 4 Description of the Appliance
- 5 Instructions for the User
- 6 Instructions for the User
- 7 Troubleshooting
- 8 Technical Features
- 9 Instructions for the Installer
- 10 Instruction for the Installer
- Download this manual
Advertisement
Table of Contents

Summary of Contents for EURO ESG600SX
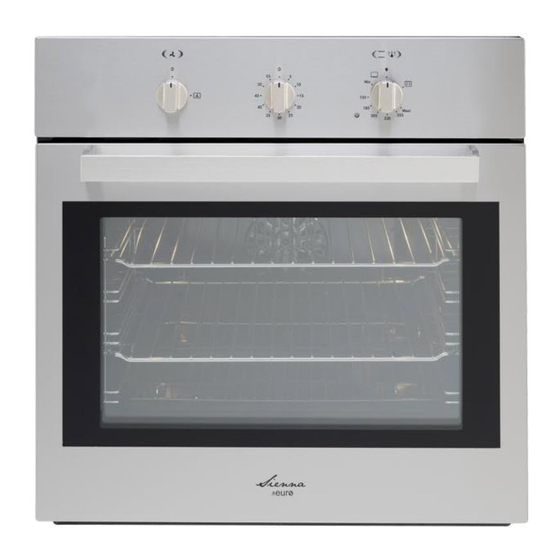
- Page 1 INSTALLATION AND OPERATION MANUAL BUILT-IN GAS OVEN MODEL: ESG600SX...
-
Page 2: Table Of Contents
Dear Owner, Congratulations on the purchase of your new appliance. Now that you have your new built-in gas oven, please take the time to do a couple of very simple tasks. Firstly, read the user instructions contained in the first section of this booklet. Your new appliance has been designed and manufactured to the highest standards and incorporates a host of innovative styling and technical features. -
Page 3: Important Notes And Precautions For Use
IMPORTANT NOTES AND PRECAUTIONS FOR USE This new appliance is easy to use but before installing and • Children must be supervised to make sure that they using it is important to read this handbook through do not play with the appliance carefully. -
Page 4: Description Of The Appliance
DESCRIPTION OF THE APPLIANCE GENERAL DESCRIPTION Below is a summary of the appliance’s main features and its safety devices which will guarantee the user a good, safe use: Automatic electric lighting of the burners. When • you press the oven knob there will be sparks.THE OVEN MUST ONLY BE TURNED ON WITH ITS DOOR OPEN. -
Page 5: Description Of The Appliance
DESCRIPTION OF THE APPLIANCE TIMER CONTROLS To set cooking time, first wind the timer up by turning it completely once from left to right and then back to the OVEN / GRILL THERMOSTAT KNOB (A) number of minutes you want. The timer will ring when By rotating the knob in an anticlockwise direction, the the set time has elapsed. -
Page 6: Instructions For The User
INSTRUCTIONS FOR THE USER GENERAL NOTES ON SAFETY When a gas oven is being used it produces heat and humidity in the room where it is installed. For this reason the room must be well ventilated, DO NOT USE THE APPLIANCE IF THERE IS A keeping the natural ventilation openings free POWER CUT OR IF THE FAN IS BROKEN. - Page 7 INSTRUCTIONS FOR THE USER HOW TO USE THE FANNED GAS OVEN AND An automatic thermostat regulates the inner FANNED ELECTRIC GRILL temperature, therefore, do not use the grill immediately after a cooking in the oven. Always The oven burner is fitted with a safety keep the oven door closed during the use of the thermocouple (fig.
- Page 8 INSTRUCTIONS FOR THE USER USEFUL COOKING TIPS Meat: • If, when cooking meat, the time needed is more than 40 minutes, turn the oven off 10 minutes before Cakes and bread: the end of cooking time to exploit the residual heat •...
- Page 9 INSTRUCTIONS FOR THE USER COOKING / BAKING TIMETABLE TRADITIONAL OVEN COMBINED OVEN (fan ventilated) Weight Position of the FOODS oven shelf from Temperature Cooking/Baking Temperature Cooking/Baking the bottom in °C Time (in minutes) in °C Time (in minutes) MEAT Roast veal 200-225 100-120 100-120...
- Page 10 INSTRUCTIONS FOR THE USER CLEANING AND MAINTENANCE OVEN SEAL The condition of the oven seal is vital for the correct • Prior to any maintenance work or cleaning, functioning and performance of the oven. disconnect the appliance from the electricity We recommend you: •...
-
Page 11: Troubleshooting
INSTRUCTIONS FOR THE USER OVEN DOOR REMOVAL The oven door can be removed to give easier access to the oven when cleaning. To remove, proceed as follows: • Open the oven door and insert rivet or nail (R) in the hole (F) of the hinge (fig. -
Page 12: Technical Features
TECHNICAL FEATURES BURNER TECHNICAL DATA TABLE AIR REGULATING DIAMETER BURNERS OPERATING PRESSURE HEAT INPUT W SLEEVE OPENING INJECTOR OR ROTATION N. DESIGNATION 1/100 mm (MJ/h) “X” mm Propane 2.75 0.82 Full open 7 Oven Natural 1.35 Full open ELECTRICAL COMPONENTS Description Nominal data Grill heating element... -
Page 13: Instructions For The Installer
INSTRUCTION FOR THE INSTALLER UNPACKING THE APPLIANCE TECHNICAL INFORMATION • Once the packaging has been removed, thoroughly • The installation of all-gas and combi appliances must comply with the standards code AS 5601- check that the appliance is in perfect condition. If you 2004. -
Page 14: Instruction For The Installer
INSTRUCTION FOR THE INSTALLER GAS CONNECTION ELECTRICAL CONNECTION The connection of the cooker to mains is effected via a The installation must be in accordance with local cable located underneath the appliance. gas and electricity authority regulations and these instructions. Whenever the socket or the installation does not A duplicate data label and wiring diagram are have available an earthing connection, such... - Page 15 INSTRUCTION FOR THE INSTALLER ADJUSTMENTS OVEN BURNER (fig. 11) The burner is at the bottom of the oven and covered • Before any adjustment is attempted, which by the base tray that must stay in position all the time may be necessary when installing for the first the oven is being used.
- Page 16 INSTRUCTION FOR THE INSTALLER • Unscrew the check nuts (D) from the supply rails MAINTENANCE and safety thermocouples. Before replacing any spare parts it is vital to • Unscrew screw (V) to free the thermostat (T). disconnect the appliance from the electricity •...
- Page 17 SPACE FOR DATA LABEL...
- Page 20 461308136_2014...


Need help?
Do you have a question about the ESG600SX and is the answer not in the manual?
Questions and answers