Table of Contents
Advertisement
Advertisement
Table of Contents

Related Manuals for EURO Sienna ES9060DSXS


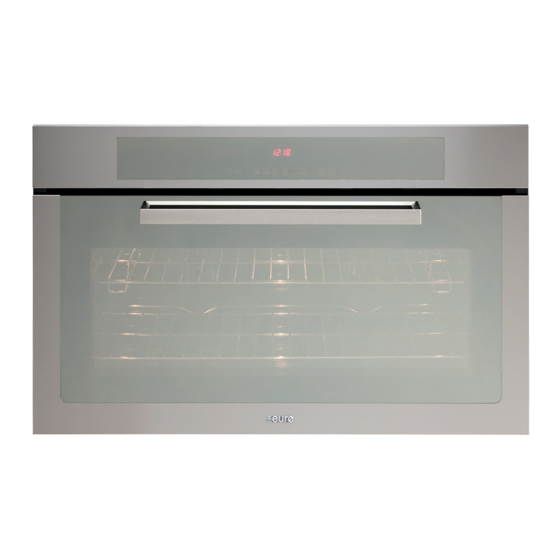
Summary of Contents for EURO Sienna ES9060DSXS
- Page 4 The symbol on the product or on its packaging indicates that this product may not be treated as household waste. Instead it shall be handed over to the applicable collection point for the recycling of electrical and electronic equipment. By ensuring this product is disposed of correctly, you will help prevent potential negative consequences for the environment and human health, which could otherwise be caused by inappropriate waste handling of this product.
-
Page 5: Declaration Of Ce Compliance
DECLARATION OF CE COMPLIANCE This appliance is in compliance with the following European Directives: 93/68 : General regulations 2006/95/CE : Concerning low tensions 2004/108/CE : Electromagnetic compatibility CE Regulation n° 1935/2004: this appliance is suitable to come in contact with food products. - Page 6 If the appliance shows visible signs of damage, do not use it; unplug it and contact the assistance service. The oven must be unplugged as soon as an operating problem is discovered. Make sure the power cord of the appliance is not crushed by the oven door as this may damage the electrical insulation.
- Page 7 CONNECTION TO MONO-PHASE ELECTRICITY Ovens equipped with tri-polar power supply cables are constructed to function with alternating current, and with the voltage and frequency indicated on the technical label on the appliance. Assembly of the power cable 1. Open the terminal board by placing a screwdriver under the side flaps on the cover, pull and then open the cover (see the figure).
- Page 8 Before hooking-up to the mains supply, make sure that: - The socket has a ground connection and complies with legal regulations. - The socket is able to withstand the oven's maximum power capacity indicated on the rating label (also see below). - The power supply voltage is within the values listed in the electrical characteristics label (see below).
-
Page 9: Installation
INSTALLATION Important: any adjustments, maintenance, etc. must be executed with the oven disconnected from electricity. To guarantee proper operation of the built-in appliance, the furniture unit must have suitable characteristics: - the panels adjacent to the oven must be constructed in heat resistant materials; - in the case of veneered wood furniture units, the glue must be heat resistant to temperatures up to 100°C;... - Page 10 ACCESSORIES Flat rack For the safety of the user the rack has an indented part on both sides which stop it from accidentally coming off the runners (see the figure below). To take the rack out lift it up where the indents are. Standard drip pan The drip pan can be used as a tray for cooking food in which case it goes on top of the rack (see figure (A)) - or as a drip pan when grilling or roasting on the spit;...
-
Page 11: Electronic Programmer
ELECTRONIC PROGRAMMER 9 10 KEYS DESCRIPTION Decreases temperature Increases temperature ON/OFF and Control Lock Function Minute minder Cooking time End time Time setting Time setting Program setting Program setting Temperature display Timer display cooking function display... -
Page 12: Sound Signal
OPERATION The timer flashes on the display when switched on for the first time or after a power cut, and the oven cannot be operated; follow the “Setting the time” procedure to start it. SETTING THE TIME touch together the 5. and 6. keys and then release them. Use the keys 7. and 8. to set the current hour. - Page 13 COOKING TIME SEMIAUTOMATIC OPERATION It is recommended to set the duration of cooking Switch on the oven by touching and releasing the 3. key, then touch and release the 5. key. On the timer display the symbol A appears. Set the desired time of cooking up to 10h and 00m with the keys 7.
-
Page 14: Automatic Operation
AUTOMATIC OPERATION It is recommended to set the duration and the end of cooking Switch on the oven by touching and releasing the 3. key, then touch and release the 5. key and set the cooking time with the 7. and 8. keys. Then you will hear a sound signal and the timer will show the current hour. - Page 15 SELECTING THE COOKING TEMPERATURE With the oven switched on, your favourite cooking temperature can be selected by using the 1. and 2. keys: the temperatures increases between the low and high setting with 5 degrees increases, which are shown on the temperature display. Note: each cooking function has a preset temperature, which can be changed as described above.
- Page 16 GRILL HEATING ELEMENT This function is suitable for grilling small quantities of food (toasts, hot sandwiches, etc.). GRILL HEATING ELEMENT WITH FAN This function is suitable for browning and sealing juices and flavour in foods, for example, steak, hamburgers, vegetables, etc. PIZZA FUNCTION This kind of cooking is ideal for pizza and vegetable dishes.
-
Page 17: Timer Reset
The automatic or manual switching off of the oven will not disable the locking function. To disable the locking function hold down the 3. key until the control lock symbol appears on the display (about 5 sec.) followed by OFF, then the display shows again the current hour. -
Page 18: Replacing The Bulb
REPLACING THE BULB Important: Unplug the appliance from the electrical power supply. Check that the oven is at room temperature, otherwise wait for it to cool. Remove the side rack. To replace the oven bulb B, remove the protective cover A by turning it anti- clockwise. -
Page 19: Removing The Oven Door
REMOVING THE OVEN DOOR To aid cleaning and make access to the oven interior easier, both oven doors can be simply removed (see diagram). To make the cleaning operation easier, the door can be removed from the hinges as follows: The hinges A are provided with two movable bolts B. -
Page 20: Cleaning And Maintenance
CLEANING AND MAINTENANCE Important: before carrying out maintenance on the oven, it must always be unplugged from the power supply or disconnected from the mains via the electrical system master switch. Wait for the appliance to cool down before proceeding with any cleaning operation. - Page 24 12300192331...
Need help?
Do you have a question about the Sienna ES9060DSXS and is the answer not in the manual?
Questions and answers