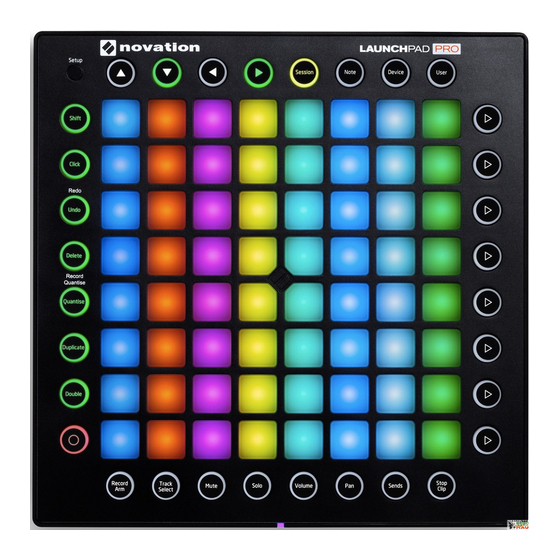
Novation Launchpad Pro User Manual
Hide thumbs
Also See for Launchpad Pro:
- Quick start manual (12 pages) ,
- Programmer's reference manual (28 pages)
Table of Contents
Advertisement
Advertisement
Table of Contents

Subscribe to Our Youtube Channel
Related Manuals for Novation Launchpad Pro


![Recording Equipment Novation Launchpad Mini [MK3] User Manual](https://static-data2.manualslib.com/product-images/282/1649453/60x60/novation-launchpad-mini-mk3-.jpg)


Summary of Contents for Novation Launchpad Pro
-
Page 2: Table Of Contents
Aftertouch Threshold Pad Lighting 4 Mixer Buttons -Record Arm MIDI Out -Track Select MIDI Channel -Mute 16 Using the Launchpad Pro, Ableton Live -Solo and Hardware -Volume -Using the Launchpad Pro’s MIDI Ports -Pan -Using Your Audio Interface’s MIDI In/Out -Sends... -
Page 3: Introduction
Introduction Along the back of the Launchpad Pro are a number of other important places for connecting power, USB and MIDI cables. The Novation Launchpad Pro is a MIDI controller designed to inspire music making in Ableton Live and other software,... -
Page 4: Latch Vs Momentary
Set Sync On for the Output of Launchpad Pro so that the Clip Triggering and Colours pad LEDs pulse and flash in time with your project tempo. When the Session button is pressed, the Launchpad Remote On for both Input and Output allows the Launchpad Pro’s 8x8 grid of RGB LED pads gives you intuitive... -
Page 5: Scene Launch
Pressing the Scene Launch buttons on the right side of The Mixer’s eight buttons lie along the very bottom of the the Launchpad Pro will trigger horizontal rows of clips, aka Launchpad Pro, providing quick access to many functions ‘scenes’. These buttons allow you to launch, stop, and/ of Ableton’s Mixer section. -
Page 6: Track Select
Track Select Solo Track Select allows you to focus on a given track, without The Solo page allows you to isolate the audio signal of one record arming it. All of the bottommost pads on this page or more tracks. This is great for close listening in the studio are dimly blue but brighten when selected. -
Page 7: Pan
It’s worth mentioning that although the full version of Ableton Live allows for twelve Sends, only the first eight sends are accessible on the Launchpad Pro. Also note that Session Mode capabilities, such as scene and clip launching, are not available on the Sends page. -
Page 8: Shift
With a clip selected and playing Perhaps the simplest button on the in Note or Device Mode, one press of Launchpad Pro, Click turns Live’s Delete will erase the clip. Metronome on/off when pressed and released. When engaged, Click lights Quantise up green. -
Page 9: Duplicate
Double Pressing this Function button doubles clip length. For Note Mode lets you play the Launchpad Pro like an example, a 2-bar clip becomes 4 bars; an 8-bar clip instrument in order to create your own percussive and becomes 16 bars, and so on. -
Page 10: General Functionality
With any MIDI instrument on a track other than a Drum Press and release the Note button to latch Note Mode. Rack (e.g. Ableton Operator or Novation V Station plugin) Further hits of the Note button toggle the Clip View and pressing the Note Mode button will display the Note page, Device View on your screen. -
Page 11: Device Mode
User Mode). Tip: Press the Up and Down arrow buttons simultaneously At any given moment, the Launchpad Pro can only display to return the lower-left corner pad to C1. Press the Left and 64 of a Drum Rack’s potential 128 pads. Accessing all of Right arrow buttons simultaneously to return the scale’s root... -
Page 12: The 8 'Faders
effects without a mouse—a tremendous asset, especially How to Create Macros on stage. To effectively use Device Mode, fi rst press and release the Device button, entering the Device page. Next, engage Track Select momentarily and choose a track by hitting one of the bottom pads. -
Page 13: General Notes On Device Mode
Finally, just like in Note Mode, Device Mode’s scene launch buttons have no default functionality. This means that Finally, in the ‘MIDI To’ choosers select Launchpad Pro they are freely assignable via MIDI mapping. Furthermore, Output in the top, and Ch. 6 (User Mode’s default channel) whatever MIDI mappings you create are unique to Device on the bottom. -
Page 14: Setup Button
Sitting inconspicuously in the upper-left corner of the mapping. Furthermore, whatever MIDI mappings you create Launchpad Pro is the Setup button. Pressing and holding are unique to Device Mode and independent of all other this button reveals the Setup page (illustrated below), where modes. -
Page 15: Layout Select
MIDI In—to receive MIDI back from Launchpad Pro in big letters. (Press any button or pad to your hardware connect your hardware’s MIDI Out to the skip this scrolling text if it takes too long for your needs.) -
Page 16: Aftertouch Threshold
• ‘Off’ means that pads will output CC values at 127, mostly helpful for users who want to use the Launchpad Pro with hardware MIDI devices. When set to on (lit), MIDI from regardless of how hard or soft your strike them. -
Page 17: Midi Out
Line Out on the back of your hardware unit into an input on Ableton Live and Hardware your audio interface. With a little knowledge the Launchpad Pro and Live become a great team for controlling your external hardware devices, such as synthesisers, drum machines, and so on. -
Page 18: Using Standalone Layouts With Hardware
Drum or Fader layouts to begin sending MIDI out of the an input on your interface. Launchpad Pro. If you suspect that MIDI is not being sent, check that the ‘MIDI Out’ button found on the Setup page is lit. This ensures that MIDI created from hitting the control surface will be sent from the Launchpad Pro’s MIDI Port to... -
Page 19: Troubleshooting
MIDI controls, or any other troubleshooting. You now have convenient, hands-on control of your Logic X session. Let’s look at how you might start using the Launchpad Pro with Logic X, but the methods shown here will apply to most other music software.
Need help?
Do you have a question about the Launchpad Pro and is the answer not in the manual?
Questions and answers