Sign In
Upload
Download
Table of Contents
Contents
Add to my manuals
Delete from my manuals
Share
URL of this page:
HTML Link:
Bookmark this page
Add
Manual will be automatically added to "My Manuals"
Print this page
×
Bookmark added
×
Added to my manuals
Manuals
Brands
Novation Manuals
Recording Equipment
Launchkey 25
User manual
Novation Launchkey 25 User Manual
Hide thumbs
Also See for Launchkey 25
:
User manual
(46 pages)
1
Table Of Contents
2
3
4
5
6
7
8
9
10
11
12
13
14
15
16
17
18
19
20
21
22
23
24
25
26
27
28
29
30
31
32
33
34
35
36
37
38
39
40
41
42
43
44
45
46
47
48
49
50
51
52
53
54
55
page
of
55
Go
/
55
Contents
Table of Contents
Troubleshooting
Bookmarks
Table of Contents
Table of Contents
Introduction
Key Features
Box Contents
Getting Started
Troubleshooting and Support
Model Specific Features
Semi-Weighted Keybed (Launchkey 88 Only)
Hardware Overview
Getting Connected
Connecting Launchkey with a Computer
Connecting Launchkey with External MIDI Enabled Instruments
Working with Ableton Live
Installation
Setup
Session Mode
Launching Clips
Launching Scenes
Stop, Solo, Mute
Record
Capture MIDI
Quantise
Click
Undo
Arm/Select (Launchkey 49, 61 and 88 Only)
Drum Mode - Playing and Recording Drums
Using Ableton Live's Mixer
Pots
Faders (Launchkey 49, 61 and 88 Only)
Device Mode - Navigating and Controlling Devices
Device Select
Device Lock
Transport Functions
Working with Cubase
Setup
Pot Modes and Fader Modes (49, 61, 88 Key)
Device Mode
Volume Mode
Pans Mode
Sends (Sends a and B)
Pad Mode
Session Mode
Fader Buttons (Launchkey 49, 61 and 88 Only)
Select Mode
Arm Mode
Transport Controls
Track ◄ ► Buttons
Pad (Scene Launch)
Standalone Features
Grid
Drum Mode
Scale Chord Mode
User Chord Mode
Fixed Chord
Scale Mode
Custom Modes
Pads
Pots
Faders (Launchkey 49, 61 and 88 Only)
Arpeggiator
Arpeggiator Pot Controls
Arp Modes
Arp Rates
Arp Rhythms
Latch
Arp Control Lock
Octave Buttons
Settings
Pot Pickup
Navigation Mode
Strum Mode
Arp Controls in Strum Mode
Working with Other Daws
Logic
Setup
Session Mode
Pots
Faders (Launchkey 49, 61 and 88 Only)
Arm/Select (Launchkey 49, 61 and 88 Only)
Transport Functions
Navigation
Reason
Setup
Transport Control
Pots
Pads Session Mode
Navigation
Preset Browsing
Working with HUI (Pro Tools, Studio One Etc.)
Setup
Pro Tools
Studio One
Pad Session Mode
Navigation
Controlling the Mixer
Faders and Fader Buttons (Launchkey 49, 61 and 88 Only)
The Faders Always Control Track Volumes for the Selected Bank of Tracks
Transport Buttons
The Transport Buttons Listed below will Function as Described When Used with HUI
Physical Characteristics
Weight and Dimensions
Custom Modes and Components
Advertisement
Quick Links
1
Table of Contents
2
Key Features
3
Getting Started
Download this manual
User Guide
Version 6
1
Table of
Contents
Previous
Page
Next
Page
1
2
3
4
5
Advertisement
Table of Contents
Need help?
Do you have a question about the Launchkey 25 and is the answer not in the manual?
Ask a question
Questions and answers
Related Manuals for Novation Launchkey 25
Electronic Keyboard Novation Launchkey Series User Manual
(46 pages)
Electronic Keyboard Novation Launchkey 49 Getting Started Manual
(4 pages)
Novation Launchkey 49 Getting Started Guide
(article)
Recording Equipment Novation Launch Control XL Getting Started Manual
Usb midi device (9 pages)
Novation Launchkey 25,49,60 Manual
(article)
Recording Equipment Novation Launchpad Pro User Manual
(20 pages)
Recording Equipment Novation Launchpad S Getting Started Manual
(4 pages)
Recording Equipment Novation Launchpad X User Manual
(36 pages)
Novation LAUNCHPAD X - Grid Controller Manual
(article)
Recording Equipment Novation Launchkey MK3 Programmer's Reference Manual
(21 pages)
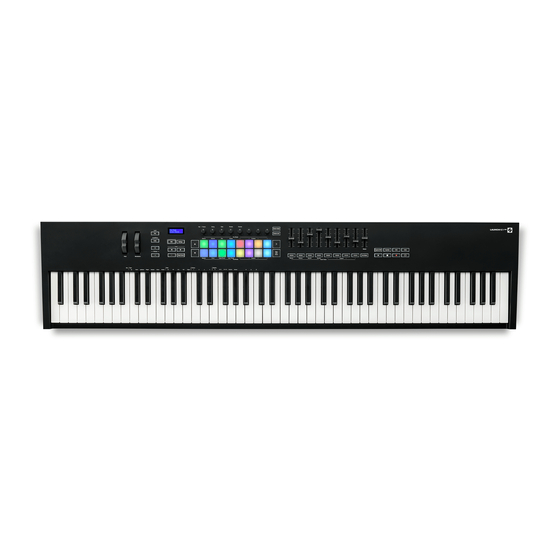
Recording Equipment Novation Launchkey 88 User Manual
(55 pages)
Recording Equipment Novation Launchkey Mini MK3 User Manual
(38 pages)
Recording Equipment Novation REMOTE25SL User Manual
Novation remote25sl: user guide (61 pages)
Recording Equipment Novation Launchpad Mini [MK3] User Manual
(22 pages)
Novation SL MkIII 49SL, 61SL Manual
(article)
Recording Equipment Novation circuit User Manual
(72 pages)
This manual is also suitable for:
Launchkey 37
Launchkey 49
Launchkey 61
Launchkey 88
Table of Contents
Save PDF
Print
Rename the bookmark
Delete bookmark?
Delete from my manuals?
Login
Sign In
OR
Sign in with Facebook
Sign in with Google
Upload manual
Upload from disk
Upload from URL


![Recording Equipment Novation Launchpad Mini [MK3] User Manual](https://static-data2.manualslib.com/product-images/282/1649453/60x60/novation-launchpad-mini-mk3-.jpg)


Need help?
Do you have a question about the Launchkey 25 and is the answer not in the manual?
Questions and answers