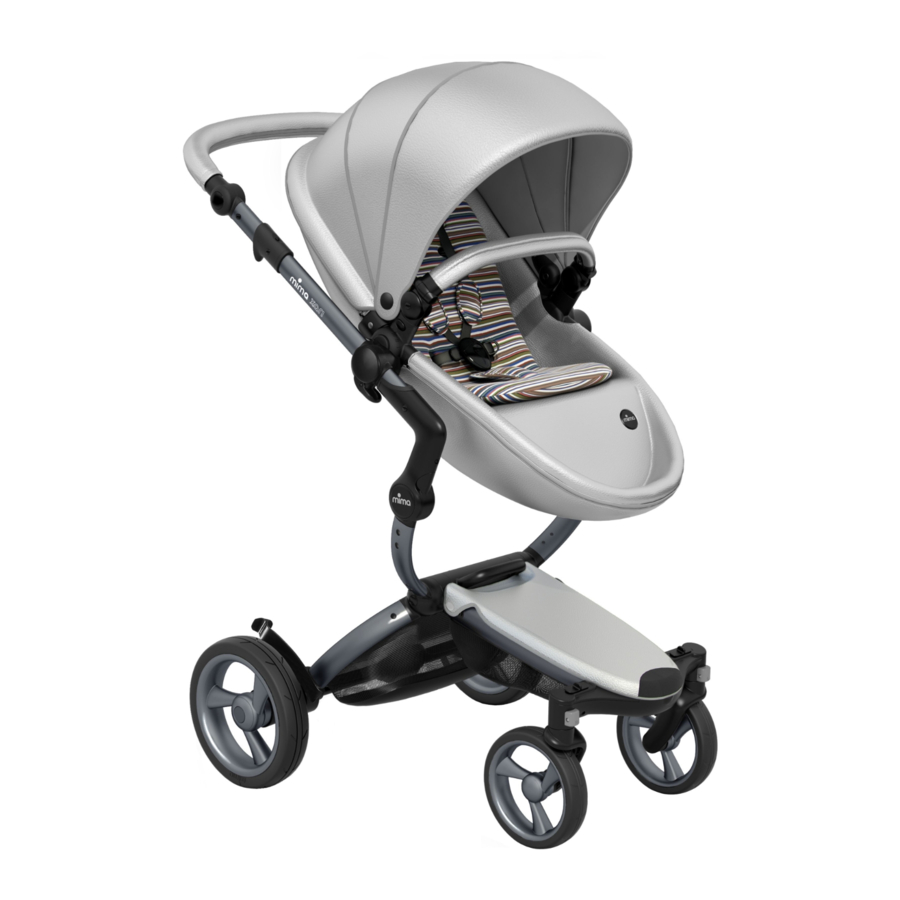
Mima xari User Manual
Hide thumbs
Also See for xari:
- User manual & warranty (120 pages) ,
- Manual (19 pages) ,
- User manual (7 pages)
Table of Contents
Advertisement
Quick Links
Download this manual
See also:
User Manual and Warranty
Advertisement
Table of Contents

Summary of Contents for Mima xari
-
Page 2: Table Of Contents
Our products are designed and developed with great care for your own comfort and safety and that of your child. We hope you enjoy xari. Please read these instructions carefully before using the pushchair for the first time, this will guarantee safe usage of the product and enable you to find out about all its handy features. -
Page 3: What You Get
WHAT YOU GET You have received 2 boxes. Please make sure that they contain all the parts that are listed below. If anything is missing, please contact your supplier. Box 1: Box 2: 1 chassis with 2 baskets attached 1 seat pad with safety harness 1 seat with carrycot inside 1 apron flap 1 safety bar... -
Page 4: Please Note
• Do not use the stroller if any parts are damaged or • It may be dangerous to leave your child unattended. missing. It may be unsafe to use replacement parts that or not supplied by mima. • Ensure that all the locking devices are engaged before use. -
Page 5: First Steps
Insert the wheel rod into the wheel fitting and push in until it clicks. 5. Front wheel swivel lock Use the front wheel swivel lock when you are using xari on rough terrain. Push down the swivel lock button to activate. Pull it up again to deactivate. -
Page 6: Handlebar Height
(don’t force the front fork in advance). Rotate the handlebar into the desired position. 9. Fold chassis (with seat attached) • xari can be folded with the seat attached (i.e. in its upright position and forward facing). • cannot be folded with the carrycot attached. -
Page 7: Stage 1: Baby
STAGE 1: BABY CARRYCOT • When using for children under the age of 6 xari months, we recommend using the supplied carrycot until the child can sit unaided. 11. Set up carrycot Zip open the seat and take out the carrycot. -
Page 8: Stage 2: Toddler
STAGE 2: TODDLER SAFETY HARNESS • Whenever a child is placed in the seat, ensure that the safety harness is correctly fitted. • The shoulder straps can be set at two different height positions. Choose the position closest to the top of the child´s shoulders. -
Page 9: Accessories
ACCESSORIES SAFETY BAR • Always use the safety bar for the safety of your child. 24. Remove safety bar covers Push in the buttons and slide the covers off. Keep the covers in a safe place for future use. 25. Attach safety bar While pressing the two buttons on the outside of the 25 + 26 safety bar, push it down onto the seat frame, until it clicks. -
Page 10: Apron
Stretch the rain cover over the seat or carrycot and fix the velcro straps around the seat brackets. OTHER ACCESSORIES We frequently develop new accessories for xari. For more details please visit www.mimakids.com or contact your retailer. -
Page 11: Care And Maintenance
CARE AND MAINTENANCE • To keep in perfect condition please go through the xari following steps regularly. • Fabrics and plastics conform to the highest grade of colourfastness. But excessive exposure to the sun can cause premature fading of plastics and fabrics. -
Page 12: Warranty
WARRANTY REGISTER YOUR PRODUCT ONLINE AT WWW.MIMAKIDS.COM This will activate your warranty and help us keep you informed about any possible product updates. Your product complies with the current safety requirements and is guaranteed to be free from any manufacturing or material defects at the time of purchase. - Page 13 NOTES...
- Page 14 All rights reserved © Mima International Ltd. 2013...


Need help?
Do you have a question about the xari and is the answer not in the manual?
Questions and answers