Table of Contents
Advertisement
Quick Links
Advertisement
Table of Contents

Related Manuals for National 106


Summary of Contents for National 106
- Page 1 National Optical & Scientific Instruments Inc. 6508 Tri-County Parkway Schertz, Texas 78154 Phone (210) 590-9010 Fax (210) 590-1104 INSTRUCTIONS FOR MODELS 106, 106-L, 106-LED 109, 109-L, 109-LED ELEMENTARY COMPOUND MICROSCOPES Copyright © 1/2/01 National Optical & Scientific Instrument Inc.
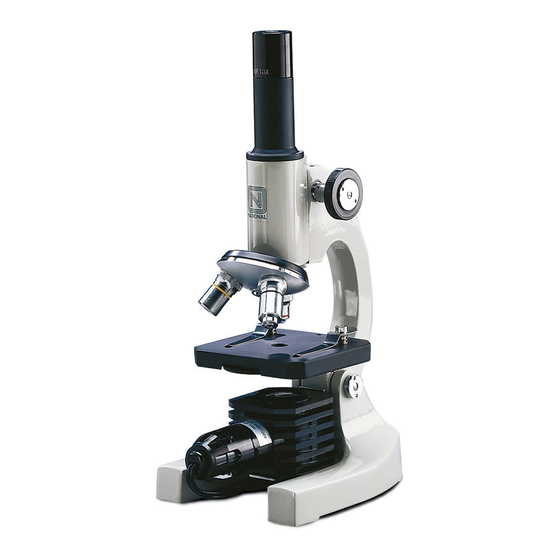
- Page 2 Base Models supplied with substage electrical illuminator: 106-L and 106-L Illustrated 109-L Fine focusing knob Models 106 and 109 supplied with Models 109, 109-L, 109-LED LED illuminator for Models substage mirror. feature coarse and fine focusing. 106-LED and 109-LED...
-
Page 3: Description Of Components
C. Note that model 106 can be tilted at the inclination joint to provide comfortable viewing angle. Model 109 has a special inclined eyepiece so that it is not necessary to tilt microscope at inclination joint. - Page 4 D. First, assure that light is available for illuminating the specimen. Mirror models Assure that there is a good nearby source of light (overhead light, tabletop lamp or reasonably bright natural light). Position the concave (curved) side of mirror upward. Look through eyepiece and tilt the entire mirror (tilts on either of two axis) until light appears to fill the entire field of view.
-
Page 5: Mechanical Maintenance
into proper position under the hole in center of stage. If aperture is not properly positioned, you will observe shadows in the field of view when looking through the microscope. M. Changing magnification Note that each of the three objectives have a different color ring. This permits the teacher to instruct the class to switch magnifications by referring to the color of the ring. - Page 6 D. Replace with a 115-130v 15 watt lamp with double contact, medium bayonet base. This is a standard, commonly used microscope replacement bulb. It is also available from National, specifying replacement part #800-101. Do not use higher than 15 watt bulb. Depress lamp slightly and rotate in clockwise direction.
-
Page 7: Troubleshooting Procedures
TROUBLESHOOTING PROCEDURES PROBLEM REASON FOR PROBLEM SOLUTION No Illumination Disc diaphragm has not “clicked” into Turn disc diaphragm until it “clicks” into (All Models) proper position and is blocking light position source beneath stage (Non illuminated models) Mirror not properly positioned to Reposition mirror direct light through microscope (115 Volt Electric Models) -
Page 8: Optional Accessories And Parts
OPTIONAL ACCESSORIES AND PARTS: #800-101 Replacement bulb, 115v 15 watt, D.C. medium bayonet base for electric illuminator #900 Replacement substage illuminator, 115v 15 watt #906-LED Replacement substage LED illuminator for cordless operation WARRANTY - 5 YEAR LIMITED WARRANTY Please see our website, www.nationaloptical.com, for complete warranty details and exclusions. (Revised 1/18/13)