Sign In
Upload
Download
Table of Contents
Contents
Add to my manuals
Delete from my manuals
Share
URL of this page:
HTML Link:
Bookmark this page
Add
Manual will be automatically added to "My Manuals"
Print this page
×
Bookmark added
×
Added to my manuals
Manuals
Brands
GME Manuals
Radio
TX685
Instruction manual
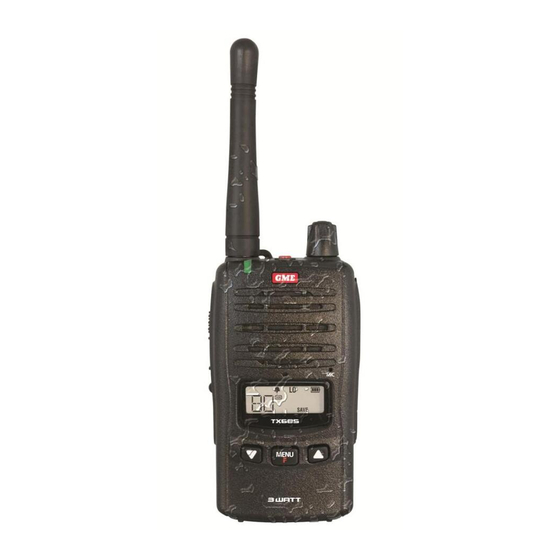
GME TX685 Instruction Manual
3 and 5 watt compact uhf cb radios
Hide thumbs
Also See for TX685
:
Instruction manual
(20 pages)
1
Table Of Contents
2
3
4
5
6
7
8
9
10
11
12
13
14
15
16
17
18
19
20
page
of
20
Go
/
20
Contents
Table of Contents
Bookmarks
Table of Contents
Table of Contents
Safety Information
Accessories Supplied
Important INFORMATION CONCERNING Uhf CB Radio
Important Advice
Features
Controls
Lcd Icons
Powering The Radio
Charging The Battery Pack
Battery Low Alert
Battery Usage
Conserving Battery Power
General Operation
Power On/Off
Adjusting The Volume
Display Lighting
Receiving Signals
Transmitting
Selecting Channels
Squelch
Keypad Lock
Duplex Operation
Scanning
Scanning Features
Ctcss/Dcs Silent Mode
Menu
Using The Menu
Duplex Mode Selection
Ctcss And Dcs Code Selection
Transmitter Power
Voice Scrambler
Vox Settings
Squelch Level Setting
Roger Beep Tone
Button Beep
Call Alarm Selection
Dual Watch
Dual Watch Operation
Ctcss Tone Frequencies
Dcs Tone Chart
Uhf Cb Operating Frequencies
Specifications
Sc Contract Warranty Against Defects
Warranty Period
Advertisement
Quick Links
1
Controls
2
Charging the Battery Pack
3
General Operation
4
Keypad Lock
Download this manual
3 and 5 watt compact UHF CB radios
I N S T R U C T I O N M A N U A L
Table of
Contents
Previous
Page
Next
Page
1
2
3
4
5
Advertisement
Table of Contents
Need help?
Do you have a question about the TX685 and is the answer not in the manual?
Ask a question
Questions and answers
Related Manuals for GME TX685
Two-Way Radio GME TX6155 Instruction Manual
3 and 5 watt compact uhf cb radios (20 pages)
Radio GME TX680 Instruction Manual
Pocket size 3 watt handheld uhf radio (16 pages)
Radio GME TX670 Instruction Manual
Pocket size 2 watt handheld uhf cb radio (20 pages)
Radio GME TX670 Instruction Manual
2 watt handheld uhf cb radio (32 pages)
Radio GME TX650 Instruction Manual
(20 pages)
Radio GME TX6150 Instruction Manual
3 and 5 watt compact uhf cb radios (20 pages)
Radio GME TX630 Instruction Manual
Pocket size 2 watt handheld uhf radio (12 pages)
Radio GME TX675 Instruction Manual
2 watt uhf cb handheld radio (24 pages)
Radio GME TX665 Instruction Manual
1 watt uhf cb handheld radio (25 pages)
Radio GME TX677 Instruction Manual
2 watt uhf cb handheld radio (33 pages)
Radio GME TX677 Instruction Manual
2 watt uhf cb handheld radio (37 pages)
Radio GME TX6160 Instruction Manual
5 watt compact uhf cb radio (36 pages)
Radio GME TX6160X Instruction Manual
Handheld uhf cb radio – 5 watt (34 pages)
Radio GME TX667 Instruction Manual
1 watt uhf cb handheld radio (37 pages)
Radio GME TX6600PRO Instruction Manual
5 watt ip67 uhf pro cb handheld radio (94 pages)
Radio GME TX6165 Instruction Manual
Handheld uhf cb radio – 5 watt (38 pages)
This manual is also suitable for:
Tx6150
Table of Contents
Print
Rename the bookmark
Delete bookmark?
Delete from my manuals?
Login
Sign In
OR
Sign in with Facebook
Sign in with Google
Upload manual
Upload from disk
Upload from URL


Need help?
Do you have a question about the TX685 and is the answer not in the manual?
Questions and answers