Table of Contents
Advertisement
Quick Links
Advertisement
Table of Contents

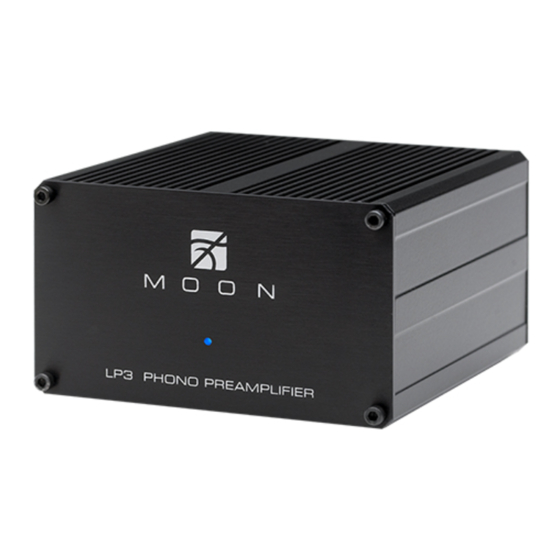
Summary of Contents for moon LP3
- Page 1 Owner’s Manual MOON Series Phono Preamplifier...
-
Page 2: Important Safety Instructions
MOON LP3 Phono Preamplifier Important Safety Instructions Read these instructions. Keep these instructions. Heed all warnings. Follow all instructions. Do not use this apparatus near water. Clean only with a dry cloth. Do not block ventilation openings. Install in accordance with the manufacturer’s instructions. - Page 3 To prevent shock hazard, all three connections must ALWAYS be used. Connect the MOON LP3 only to an AC source of the proper voltage; Both the shipping box and rear panel serial number label will indicate the correct voltage. Use of any other voltage will likely damage the unit and void the warranty.
-
Page 4: Table Of Contents
MOON LP3 Phono Preamplifier Table of Contents Congratulations ..........5 Unpacking and Warnings ........5 Introduction ............ 6 Installation & Placement ........6 Circuit Board Layout ......... 7 Internal Adjustments ........8 Rear Panel Connections ........9 Operating the LP3 ...........10 Specifications ..........10... -
Page 5: Congratulations
MOON audio components are so musically satisfying. The performance of your LP3 will continue to improve during the first 300 hours of listening. This is the result of a “break-in”... -
Page 6: Introduction
Installation & Placement The MOON LP3 requires reasonable ventilation to maintain an optimum and consistent operating temperature. As a result, it should be placed in a location with empty space around it for proper heat dissipation. As well, it should be placed on a solid level surface. -
Page 7: Circuit Board Layout
MOON LP3 Phono Preamplifier Circuit Board Layout Figure 1: MOON LP3 Circuit Board layout Available Adjustments: A – Capacitance loading jumper B – Resistance loading jumper C – Gain level jumper ____________________________________________________________________________________ Circuit Board Layout... -
Page 8: Internal Adjustments
This is the result of the LP3’s genuine mirror-image circuit design which yields exceptional stereo separation. Always place the preamplifier that your LP3 is connected to, either into mute or stand-by mode prior to changing any of the following input settings. -
Page 9: Rear Panel Connections
Figure 5: Left and right channel jumper banks for moving coil gain adjustment Rear Panel Connections Figure 6: MOON LP3 Rear panel The rear panel will look similar to Figure 6 (above). There is one pair of single-ended inputs on RCA connectors located in the center with a ground post directly above. -
Page 10: Operating The Lp3
In the event that you plan to be away from your home for a few days, powering off the Phono Preamplifier may not be a bad idea. Once fully “broken-in”, please keep in mind that your LP3 will require several hours of playing time before IMPORTANT: A turntable with a functional cartridge it reaches its peak performance after you’ve powered it up again.


Need help?
Do you have a question about the LP3 and is the answer not in the manual?
Questions and answers