Advertisement
Contents:
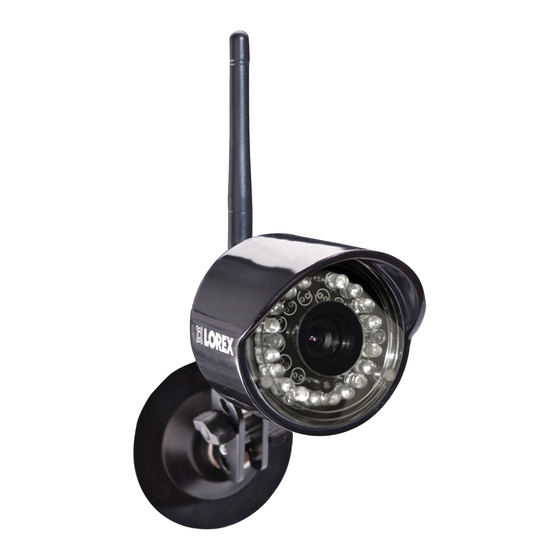
Digital Wireless Color
Camera with Antenna
InstALLAtIon WARnInGs
• Aim camera to best optimize the viewing
area: select a location that provides a clear view
of the area you want to monitor, which is free
from dust, and is not directly exposed to a strong
light source or direct sunlight.
• It's always preferred to install the camera in a
sheltered location whenever possible.
• Avoid installing camera wherever there are thick
walls, obstructions, or interference
(i.e. transformers, microwave ovens or other
electrical equipment) between camera(s) and
receiver.
• Select a location for the camera that has an
ambient temperature between 14°F~122°F
(-10°C~50°C).
• Before starting permanent installation, have
another person hold the camera for you while
you verify its performance by observing the
image on a monitor.
FOR MORE INFORMATION:
www.lorextechnology.com
CoLoR DIGItAL WIReLess InDooR/oUtDooR
ACCessoRy CAMeRA
LW2100AC1 - qUICk stARt GUIDe
Before you install the camera, carefully plan where and how it will
be positioned, and where you will route the cable that connects the
camera to the power adaptor.
Camera Mounting
Stand
InstALLInG tHe CAMeRA
1. Carefully unpack the camera.
2. Mount the stand to the wall:
• Mark the position of the
• Drill holes and insert the
• Firmly attach the stand
3. Attach the camera to the
mounting stand. Adjust
the angle of the camera
until the desired view
is set. Tighten the
thumbscrews to secure
the desired camera
position.
Mounting
Screws
screw holes on the wall.
drywall plugs as needed.
to the wall using the
provided screws.
Power Adaptor
Quick Start Guide
for camera*
*May not be exactly as shown
NOTE:
AVOID INSTALLING IN A
LOCATION WHICH REQUIRES
THE WIRELESS SIGNAL TO PASS
THROUGH CEMENT, CONCRETE
AND METAL STRUCTURES. THIS
WILL REDUCE THE
TRANSMISSION RANGE.
LW2100AC1 QSG_EN_R1 Page 1
Thumbscrews
Advertisement
Table of Contents

Subscribe to Our Youtube Channel
Related Manuals for Lorex LW2100AC1


Summary of Contents for Lorex LW2100AC1
- Page 1 CoLoR DIGItAL WIReLess InDooR/oUtDooR ACCessoRy CAMeRA LW2100AC1 - qUICk stARt GUIDe Before you install the camera, carefully plan where and how it will be positioned, and where you will route the cable that connects the Contents: camera to the power adaptor.
- Page 2 LW2100 receiver. To add this accessory camera to LW2100 receiver), and is necessary for configuring a different Lorex Digital Wireless Receiver, first, check the”Wireless additional cameras. By default the camera that came Accessory Camera Compatibility Chart” available in the “Manuals and with the LW2100 system is assigned to channel no.
Need help?
Do you have a question about the LW2100AC1 and is the answer not in the manual?
Questions and answers