Advertisement
1. Before Installing
Ensure that you have received the following items:
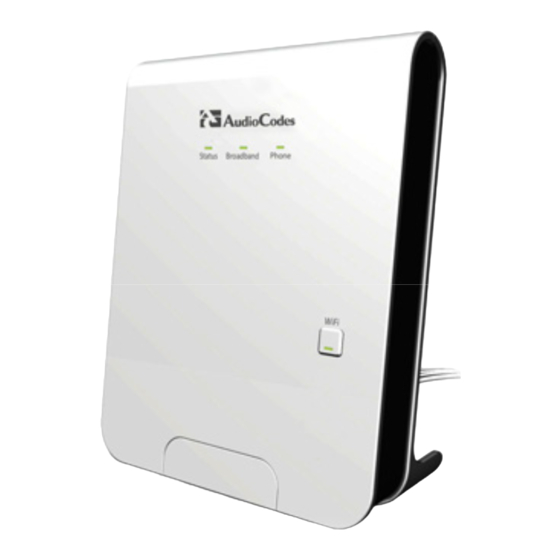
AudioCodes' MP-252 Multimedia Home Gateway
1 x RJ-11 telephone cable
1 x RJ-45 Ethernet cable
12V AC/DC power adaptor (use only supplied)
You'll also need (not supplied by AudioCodes) the following:
A broadband Internet connection
ADSL cable (if required)
Analog telephones
An additional RJ-11 telephone cable (if required)
Additional RJ-45 Ethernet cables (if required)
2. Cabling
1.
Connect MP-252-BW to the Internet by cabling the ADSL port to
the telephone socket, using an RJ-11 telephone cable.
ADSL
1
LAN
Computers
LAN
2
2.
Connect the MP-252-BW 10/100Base-T Ethernet ports labeled LAN
(1 to 4) to your LAN computers, using CAT 5 Ethernet cables.
Wi-Fi
Power
110/220 VAC
4
3
POTS Phone
3.
Connect the MP-252-BW FXS telephone ports labeled Phone (1 to
2) to analog telephones, using RJ-11 telephone cables.
4.
Connect MP-252-BW to a standard 110/220 VAC electrical wall
outlet using the supplied AC/DC power adapter; the MP-252-BW
Status LED turns on and when initialization completes (~ 2 min.),
the Status LED changes from red to green. If MP-252-BW is off,
press the Power button located on the rear panel to switch it on.
Before connecting MP-252-BW to power, ensure that the VAC
ratings match, and that you have read the Compliance and
Regulatory Information at www.audiocodes.com/library.
For wall mounting MP-252, refer to the supplied documentation.
3. Configuring Network Parameters
To initially authenticate your MP-252-BW Wi-Fi network, open a
Web browser and then log in with the case-sensitive, default
username ("admin") and password ("admin").
1.
Verify that your PC's LAN status displays "Connected" in the 'Local
Area Connection Status' window (Start menu > Settings > Network
Connections > Local Area Connection).
2.
If the LAN status displays "Disconnected", click Properties, select
'Internet Protocol (TCP/IP)', and then click Properties. Ensure that
the option 'Obtain an IP address automatically' is selected.
3.
Open your Web browser, and then enter the following URL address:
http://mp252.home.
The MP-252-BW embedded Web server's 'Welcome' screen is
displayed. Click OK, and then define a new login password.
4.
In the 'Quick Setup' page, choose the Internet connection method.
Consult with your ISP for the required connection type, and then
click OK. The Network map displays devices connected to MP-252-
BW. Your PC is now connected to the Internet and you can now
configure VoIP parameters.
If there is no Internet connection, MP-252-BW Web server's Map
View page (Home) displays a red
Consult your ISP for valid connection parameters.
icon after the globe icon.
Advertisement
Table of Contents

Related Manuals for AudioCodes MP-252


Summary of Contents for AudioCodes MP-252
- Page 1 Status LED turns on and when initialization completes (~ 2 min.), 1 x RJ-45 Ethernet cable the Status LED changes from red to green. If MP-252-BW is off, press the Power button located on the rear panel to switch it on.
- Page 2 Information contained in this document is believed to be accurate and reliable at the time of printing. However, due to ongoing product improvements and revisions, AudioCodes cannot guarantee accuracy of printed material after the Date Published nor can it accept responsibility for errors or omissions. This document is subject to change without notice.
Need help?
Do you have a question about the MP-252 and is the answer not in the manual?
Questions and answers