Subscribe to Our Youtube Channel
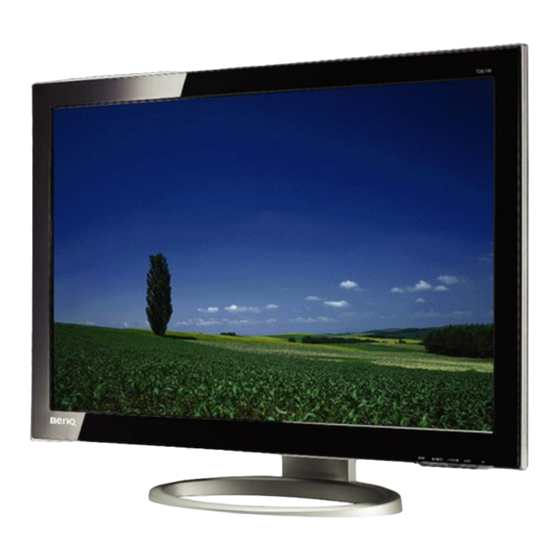
Summary of Contents for BenQ T261W
-
Page 1: User Manual
T261W User Manual ● ENGLISH ○ DEUTSCH ○ ESPAÑOL ○ ITALIANO ○ FRANÇAIS ﻋﺮﺑﻲ ○ 日本语 ○ 繁體中文 ○ 简体中文 ○ 한국어 ○ ○ Magyar ○ Čeština ○ POLSK ○ PORTUGUÊS ○ Русский Downloaded from ManualMonitor.com Manuals... -
Page 2: Table Of Contents
CONTENTS Safety Instruction ............................2 Chapter 1 Introduction ..........................4 1.1 Features............................. 4 1.2 Checking List............................ 4 Chapter 2 Installation..........................5 2.1 Installing / Removing the Pedestal ..................... 5 2.2 Connecting the Monitor ......................... 5 2.2.1 Connecting Cables......................5 2.2.2 HDMI Connecting ........................ 6 Chapter 3 Overview of the monitor ...................... -
Page 3: Safety Instruction
Safety Instruction Warning: Please read all of following safety instructions in order to prevent harm to the user and damage to property. Power • Ensure that the local mains voltage lines within the limit of AC 100~240V. • Use the power cord of accessories it is enclosed with your monitor, do not use attachments not recommended by manufacturer as they may cause hazards. - Page 4 Safety Instruction Cleaning • Unplug the power cord before cleaning the monitor. Otherwise, this may cause electric shock or fire. • Use a smooth cloth with the recommended detergent for monitor cleaning, but for the connector of cable and plug of power cord, please clean it properly with a dry cloth.
-
Page 5: Chapter 1 Introduction
Chapter 1 Introduction 1.1 Features ① 25.5" Wide TFT LCD Color Monitor ② Multi-Ports Video Sources (HDMI, DVI,VGA), and Audio Input ③ Multi-Media Hidden Type Speaker (3Wx2) ④ Full HD (1080p) Supported ⑤ Windows Vista™ Premium Certification ⑥ VESA DDC/CI Compatible ⑦... -
Page 6: Chapter 2 Installation
Chapter 2 Installation 2.1 Installing / Removing the Pedestal To install or remove the pedestal (base) to/from the monitor, please observe the Fig-2.1 as following or refer to the QSG (Quick Setup Guide). Fig-2.1 2.2 Connecting the Monitor Warning: Observe the "Safety" in the chapter "Safety Introduction" in this operating manual before you connecting the monitor. -
Page 7: Hdmi Connecting
Chapter 2 Installation (2) Connect the 15pin D-Sub signal cable to the VGA (ANALOG) video port on the (2) Connect the 15pin D-Sub signal cable to the VGA (ANALOG) video port on the back of your monitor and computer. back of your monitor and computer. (3) Connect the 19pin DVI-D signal cable to the DVI (DIGITAL) video port on the (3) Connect the 19pin DVI-D signal cable to the DVI (DIGITAL) video port on the back of your monitor and computer if its video card included DVI out terminal. -
Page 8: Chapter 3 Overview Of The Monitor
Chapter 3 Overview of the monitor 3.1 Cotrols Panel Fig-3.1 1) Menu Button (MENU) (1) Press it to enter into main MENU. (2) Under sub-OSD mode, press it to enter the sub-menu. ◄ ► 2) Select Button ( /MUTE, /INPUT) (1) Use these buttons to choose or adjust items on the OSD. -
Page 9: Chapter 4 Adjusting The Monitor
Chapter 4 Adjusting the monitor 4.1 Direct Functions 4.1.1 Power Switch 1) This ON/OFF button is used for switching the monitor on and off Note: The ON/OFF switch does not disconnect the monitor from the mains voltage. To completely disconnect the mains voltage, please remove the power plug from the socket. -
Page 10: Osd Menu Functions
Chapter 4 Adjusting the monitor 4.2 OSD Menu Functions You can use the buttons on the control panel to set the screen display via an integrated OSD (On Screen Display) menu. 4.2.1 Menu Features The following features can all be accessed by using your monitor’s on screen menu system. - Page 11 Chapter 4 Adjusting the monitor Adjust the overall image and background screen brightness. Brightness Adjust the image brightness in relation to the background. Contrast Move the picture image horizontally left or right. H Position Move the picture image vertically RIGHT or LEFT. V Position Increase or decrease the horizontal size of image.
-
Page 12: Chapter 5 Technical Information
Chapter 5 Technical Information 5.1 General Specification LCD Panel Display Area 550.08 mm (H) x 343.8 mm (V), 25.5” diagonal Pixel Pitch 0.2865 mm (H) x 0.2865 mm (V) Display Color 16.7 M Response Time (typical) 5 ms Resolution Maximal Resolution 1920 x 1200 @60Hz Optimum Resolution 1920 x 1200 @60Hz... -
Page 13: Preset Mode
Chapter 5 Technical Information 5.2 Preset mode Preset operating modes as following: Item Resolution Refresh rate Horizontal frequency 640 x 480 60 Hz 31.47 kHz 800 x 600 60 Hz 37.88 kHz 1024 x 768 60 Hz 48.36 kHz 1280 x 768 60 Hz 47.4 kHz 1280 x 800... -
Page 14: Signal Connector Pin Assignment
Chapter 5 Technical Information 5.4 Signal connector pin assignment 5.4.1 DVI-D signal connector pin assignment The PIN assignment of the DVI-D connector / cable is as following: PIN Signal PIN Signal PIN Signal TMDS Data 2- TMDS Data 1- TMDS Data 0- TMDS Data 2+ TMDS Data 1+ TMDS Data 0+... -
Page 15: Appendix A Trouble Shooting
Appendix A Trouble shooting Before calling for service, please check the information in this section to see if you can remedy any problems by yourself. If you need assistance, please call the dealer where you purchased the LCD monitor. 1) There is no SCREEN image Please check these items: (1) The power cord is securely connected to the monitor, the adaptor, and the wall outlet.


Need help?
Do you have a question about the T261W and is the answer not in the manual?
Questions and answers