Table of Contents
Advertisement
Quick Links
Advertisement
Table of Contents

Related Manuals for BenQ T201W


Summary of Contents for BenQ T201W
- Page 1 T201W/T201WA 20’’ Wide-Screen LCD Monitor User Manual...
-
Page 2: Table Of Contents
Table of Contents Package contents ........................3 Installation ..........................4 To connect the monitor to your PC ................4 To connect the monitor to the power source ............4 Adjusting your monitor ......................5 Functions of the buttons and indicator ..............5 OSD icon list ....................... 5 Troubleshooting ........................7 Specifications .........................8 20’’... -
Page 3: Package Contents
1. Package contents 1. LCD Monitor 2. Monitor Base (the shape of base may vary according to the monitor model) 3. Power Cord (plug may vary according to the electrical standards for your area) 4. Analog Signal Cable 5. Quick Installation Guide 6. -
Page 4: Installation
2. Installation To connect the monitor to your PC 1. Make sure that the PC and monitor are unplugged. 2. Connect the signal cable (VGA or DVI) to the monitor and the PC. To connect the monitor to the power source Connect the separate power cable to the monitor and a grounded outlet. -
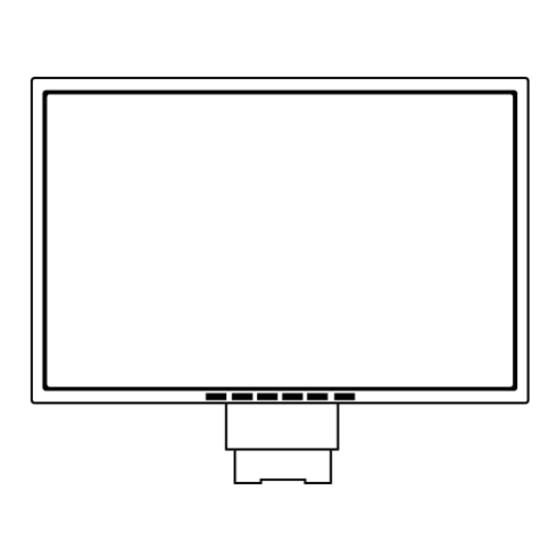
Page 5: Adjusting Your Monitor
3. Adjusting your monitor Functions of the buttons and indicator Item Function Enter Enter OSD menu, select item, enter submenu, and confirm recall. 1. Positive adjustment, change within several selections. 2. Hot key of "Brightness". 1. Minus adjustment, change within several selections. 2. - Page 6 Miscellaneous * Select "Miscellaneous" adjustment submenu Brightness * Adjust the luminance of the screen Contrast * Adjust the contrast level of the screen H. Position * Shift the screen left or right V. Position * Shift the screen up or down Pixel Clock * Adjust the monitor internal sampling clock rate Phase...
-
Page 7: Troubleshooting
4. Troubleshooting Symptom Remedy *Blank Screen* Power indicator is off • Make sure the power cable is connected properly (see Installation on page 4 • Make sure that the monitor was turned on using the power switch (see To connect the monitor to your PC on page 4 •... -
Page 8: Specifications
5. Specifications 20’’ Wide-Screen LCD monitor Item T201W/T201WA Display Size 433.44 (H) x 270.90 (V) mm Panel Pixel Pitch 0.258 (H) x 0.258 (V) mm Monitor Display Colors 16.2M colors Horizontal: 30 - 82 KHz Input Signal Frequency Vertical: 56 - 76 Hz...
Need help?
Do you have a question about the T201W and is the answer not in the manual?
Questions and answers