Life Fitness 9500HR Installation Manual
Support plate on damaged frame cross-member/bracket installation
Hide thumbs
Also See for 9500HR:
- Service manual (108 pages) ,
- Operation manual (57 pages) ,
- Assembly instructions manual (49 pages)
Advertisement
Table of Contents
- 1 Belt, Deck, and Wax Bag Removal
- 2 Lift Actuator Removal and Assessment of Damage to the Frame Cross-Member
- 3 Frame Cross-Member Repairs and Installation of the Support Plate
- 4 Adjusting the Lift Actuator Screw
- 5 Deck and Striding Belt Installation
- 6 Belt Tracking Alignment and Tensioning (Stall Test) on Used Belts
- 7 Belt Tensioning on New Belts
- 8 Complete Reassembly
- Download this manual
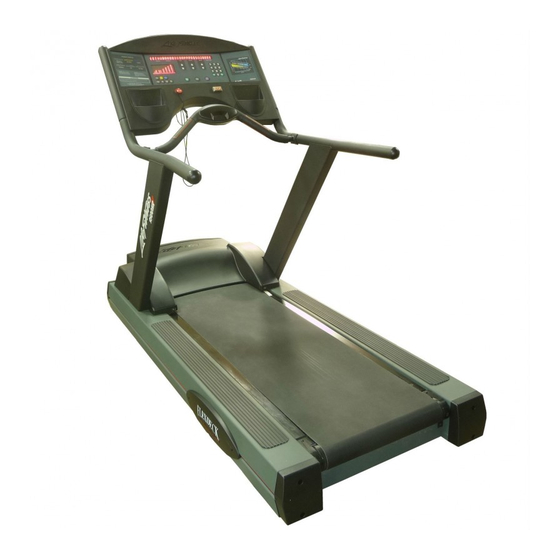
Life Fitness Model 9500HR Treadmills
How to...Install the Support Plate on Damaged Frame Cross-Member/Bracket
Tools required: Hex Key Wrench Set, Socket Set, C-Clamps, Phillips Screwdriver
NOTE: STEPS 1-12 cover Belt, Deck, and Wax Bag Removal.
1. Turn the unit power OFF, then unplug the POWER CORD at the electrical outlet.
2. Remove the front and rear FRAME CAPS on the right side of the unit.
3. Remove the right HANDRAIL FOOT COVER.
4. Remove the mounting bolts
securing right HANDRAIL to
the frame.
5. Before loosening the
STRIDING BELT,
mark the location of the
BELT TENSIONING BOLTS
or record the number of turns
for proper belt re-tensioning.
6. Loosen the STRIDING
BELT by turning the BELT
TENSIONING BOLTS
counterclockwise.
7. Carefully tilt the unit on its left side (user's left) and
remove the rear ROLLER GUARD.
8. Cover the end of the stationary
leg to protect the striding belt
during removal.
9. Remove the striding belt.
10. Carefully tilt the unit back to its
upright, normal operating position.
11. Remove the DECK SCREWS and
DECK.
12. Pinch-off the wax hose and
remove the WAX COVER, BAG,
and TRAY.
Frame
GK26-00002-0063
Wax Bag
Tray
Cover
Washer (4)
Mounting Bolts (4)
Advertisement
Table of Contents

Related Manuals for Life Fitness 9500HR


Summary of Contents for Life Fitness 9500HR
- Page 1 Life Fitness Model 9500HR Treadmills How to…Install the Support Plate on Damaged Frame Cross-Member/Bracket Tools required: Hex Key Wrench Set, Socket Set, C-Clamps, Phillips Screwdriver NOTE: STEPS 1-12 cover Belt, Deck, and Wax Bag Removal. 1. Turn the unit power OFF, then unplug the POWER CORD at the electrical outlet.
- Page 2 Life Fitness Model 9500HR Treadmills How to…Install the Support Plate on Damaged Frame Cross-Member/Bracket NOTE: STEPS 13-16 cover LIFT ACTUATOR REMOVAL and ASSESSEMENT OF DAMAGE to THE FRAME CROSS-MEMBER. 13. Unplug the LIFT ACTUATOR from the WIRE HARNESS. 14. Remove the upper nut, bolt, and washer securing the ACTUATOR NUT BRACKETS together.
- Page 3 Life Fitness Model 9500HR Treadmills How to…Install the Support Plate on Damaged Frame Cross-Member/Bracket NOTE: STEPS 21-24 cover how to adjust the lift actuator screw if moved or if incline error message is displayed. 21. Test the unit. If an incline error occurs then proceed to adjust the actuator screw.
- Page 4 Life Fitness Model 9500HR Treadmills How to…Install the Support Plate on Damaged Frame Cross-Member/Bracket NOTE: STEPS 31-33 cover BELT TENSIONING on NEW belts. 31. Prior to belt tensioning, place two pieces of tape 50” apart on the left and on the right edges of the striding belt as illustrated.
Need help?
Do you have a question about the 9500HR and is the answer not in the manual?
Questions and answers