Table of Contents
Advertisement
Advertisement
Table of Contents

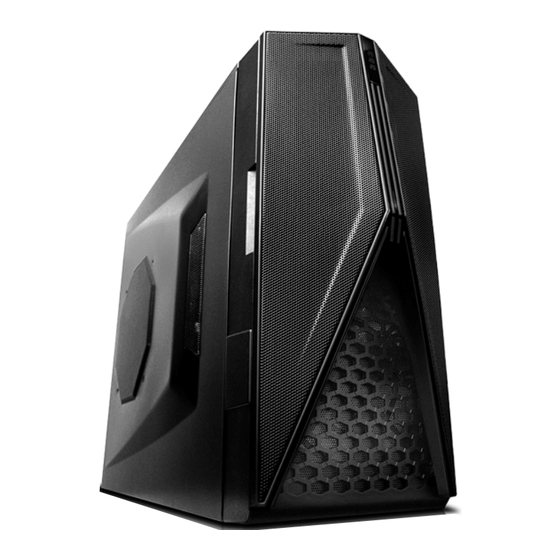
Summary of Contents for NZXT Hades
- Page 1 Hades User’s manual...
-
Page 3: Thank You
With every product, we are still breaking more boundaries and limits. Once again, thank you and all NZXT fans for the support and we hope to bring more amazing products in the coming years. -
Page 4: Hades Specifications
5970 Dual 200mm intake Large air system: 200mm front fan, dual top 140mm fan, Side 200mm fan, rear 120mm exhaust. NZXT includes the chassis with all fans except for one top 140mm fan Control the flow: Gaming, overclocking, or office work the dual 8W per channel... -
Page 5: Table Of Contents
DIMENSIONS (D x W x H): 525 x 220 x 450 mm CHASSIS MATERIAL: Steel CHASSIS WEIGHT : 6.95 Kg Table of Contents Thank you....................... 1 HADES Specifications .................... 2 Before Beginning....................3 Getting starting ......................3 Motherboard Installation ..................4 LED, Power and Reset Installation ................. 5 ... -
Page 6: Motherboard Installation
Pull the side panel back, and then lift the panel to remove it. Motherboard Installation Please refer to the case interior infrastructure and secure the power supply at the back of the case by using the screws provided. NZXT. 4... -
Page 7: Led, Power And Reset Installation
The HDD LED located on the front panel should flash Blue when there is activity in the hard drive. (Blue/Black, +/-) Connect the POWER LED(labeled +P LED/-P LED) to the appropriate headers on your motherboard.(Green/Black,+/-) All Black Pin Connectors correspond to ground. NZXT. 5... - Page 8 Audio Port Installation The NZXT Hades supports AC97 and Intel HD Audio, please connect according to your motherboard specifications Please first refer to your motherboard manual and match the labels on the audio wires with your motherboard pins.
-
Page 9: External 5.25" / 3.5" Drive Bay Installation
External 5.25” / 3.5” Drive Bay Installation Please follow the directions below to install the 5.25” in the Hades chassis, follow the same instructions for the 3.5” external bay: Remove the front panel of the chassis by pulling from the opening at the bottom of the front panel. - Page 10 Slide the 5.25” drive in from the front of the chassis Insert the 5.25” Device through the 5.25” bay Match the holes with the bay and the screw less bracket Attach the screw less bracket matching the 5.25” holes NZXT. 8...
-
Page 11: Internal 3.5" Drive Bay Installation
User may also choose to screw the 5.25” device. Internal 3.5” Drive Bay Installation In order to allow for optimal airflow and better wire management, Hades allows the user to mount towards the motherboard panel. Please follow the directions below to install the internal 3.5” devices: Open the side panel to gain access inside the chassis. -
Page 12: Wire Routing And Cpu Fan Bracket Removal
Slide the bracket back into the cage to secure it. Wire Routing and CPU fan bracket Removal The Hades is designed to allow for optimal airflow and wire management inside the chassis, please follow the guidelines below on how to use the features. - Page 13 Use the opening at the top of the motherboard to route any 4pin or 8 pin cables to the motherboard Remove heat sinks easily through the CPU punch-out on the motherboard tray NZXT. 11...
-
Page 14: Psu Filter Removal
Dual channel 8W Fan controller The Hades comes pre-equipped with two channel of fan control each supporting up to 8W of power. Channel two is pre-wired to the 20CM fan at the front of the chassis while the 2 channel is pre-wired to the top and rear fans. -
Page 15: Three Temperature Lcd Display
Three Temperature LCD display The Hades three temperature display is mounted on the front panel and is designed to be viewed from a slightly higher angle, perfect for users who place their PCs below their desks. Simply tape the probes to the desired sensor point and attach the power to the meter to use the temperature display.


Need help?
Do you have a question about the Hades and is the answer not in the manual?
Questions and answers