Daikin FDYP125B8V1 Installation Manual
Split system
Hide thumbs
Also See for FDYP125B8V1:
- Operation manual (10 pages) ,
- Operation manual (10 pages) ,
- Operation manual (12 pages)

Related Manuals for Daikin FDYP125B8V1


Summary of Contents for Daikin FDYP125B8V1
-
Page 1: Installation Manual
INSTALLATION MANUAL Split System air conditioners FDYP125B8V1 FDYP200B8V1 FDYP250B8V1 FDQ125B8V3B FDQ200B8V3B FDQ250B8V3B... - Page 2 125 class: >350 200+250 class: >450 >300 1440 602 (125 class) 840 (200+250 class) 1 2 3 1 2 3 1 2 3 1 2 3 1 2 3 1 2 3 L N P 1 2 3 L N P 1 2 3 L N P 1 2 3...
- Page 3 3PW25005-4...
-
Page 4: Table Of Contents
ELECTRIC SHOCK, SHORT-CIRCUIT, LEAKS, FIRE OR fulfilled and that meets your customers approval. OTHER DAMAGE TO THE EQUIPMENT. BE SURE ONLY TO USE ACCESSORIES MADE BY DAIKIN WHICH ARE Is the air conditioner installed at a well-ventilated place where SPECIFICALLY DESIGNED FOR USE WITH THE... -
Page 5: Check List
Use suspension bolts for installation. Check whether the ceiling REPARATIONS BEFORE INSTALLATION is strong enough to support the weigth of the unit or not. If there Suspension bolt position (Refer to figure is a risk, reinforce the ceiling before installing the unit. The fan speed for this indoor unit is preset to provide standard Install this unit where the bottom panel is more than 2.5 m above external static pressure. -
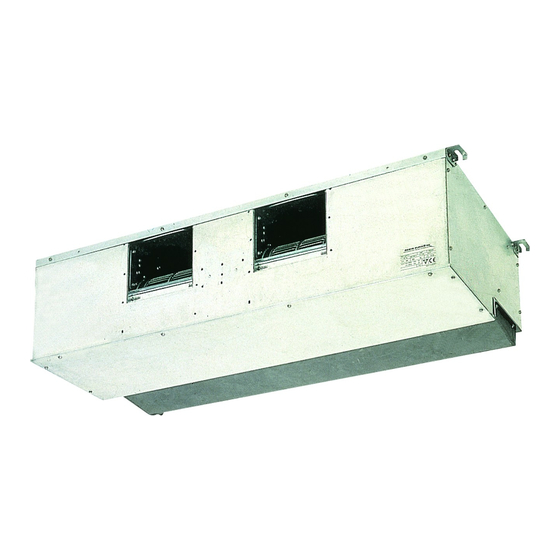
Page 6: Indoor Unit Installation
Refer to the table below for the dimensions of flare nut spaces. NDOOR UNIT INSTALLATION Flare dimension A (mm) When installing optional accessories, refer to the instruction manual Pipe of each optional accessory. Depending on the field conditions, it may gauge Tightening torque R407C... -
Page 7: Drain Check
When connecting wires of the same gauge, connect them in RAIN CHECK accordance with the figure below. Make sure that the drain hose is firmly connected. Put some water into the drain pan to check if the water flows smoothly. If proper drainage is not carried out from the outdoor drain pipes during air conditioning operation, chances are that the pipe is clogged with dust and dirt. -
Page 8: Field Setting
Wiring example IELD SETTING Pair type (Refer to figure Setting external static pressure Remote controller controls 1 indoor unit (standard system). Depending on the external static pressure (ducts, filter, etc.) which is connected to the air conditioning unit the fan speed should be set by Control by two remote controllers (Refer to figure changing the wires in the switch box. -
Page 9: Internal Wiring - Parts Table
NTERNAL WIRING PARTS TABLE Refer to the wiring diagram on the unit. The abbreviations used are listed below. NOTE When using the central remote controller, see manual for connection to the unit. Ground the shield of the remote controller cord to the indoor unit. - Page 10 Zandvoordestraat 300, B-8400 Oostende, Belgium 4PW23694-1A...
Need help?
Do you have a question about the FDYP125B8V1 and is the answer not in the manual?
Questions and answers