Table of Contents
Advertisement
Advertisement
Table of Contents

Subscribe to Our Youtube Channel
Related Manuals for Argo Hydro Digit

Summary of Contents for Argo Hydro Digit
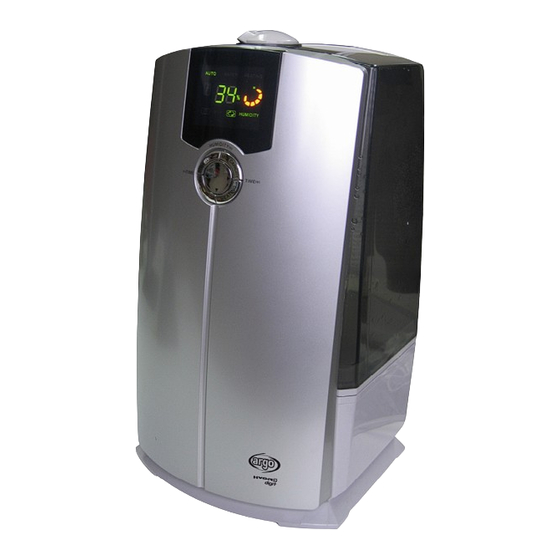
- Page 1 ULTRASONIC HUMIDIFIER OPERATING INSTRUCTIONS Read the instructions carefully before operating the appliance or carrying out maintenance operations. Observe all the safety instructions; failure to observe the instructions may lead to accidents and/or damages. Store these instructions. V 04/10...
- Page 2 GENERAL OPERATING AND SAFETY INSTRUCTIONS • The appliance is a highly effective humidifier: use this humidifier only as outlined in this manual. Any other use not recommended by the manufacturer may cause fire, electric shock or malfunctions. • Ensure that the mains voltage complies with that indicated on the data plate (220-240VAC/50Hz). •...
-
Page 3: Description Of The Appliance
• Fill the water tank with clean water on a daily basis. Remove any residual water in the tank after every use. Clean the water tank and nebuliser every one or two weeks and keep them clean. Do not add any aromatic fragrances to the water in the tank. - Page 4 DESCRIPTION OF THE APPLIANCE CONTROLS WARNING: when moving Humidity level appliance, do not grip the tank Water vapour adjustment level adjustment handle (1) but hold the appliance ON/OFF button from the bottom. Timer adjustment Timer adjustment Warm water Mode selection Humidity level adjustment INTERIOR...
-
Page 5: Filling The Water Tank
OPERATING INSTRUCTIONS FILLING THE WATER TANK 1. Firstly, remove the mist discharge nozzle from the water tank, by simply turning the appliance upside-down. 2. Remove the water tank from the appliance, by simply pulling the handle upwards. Remove the plug on the bottom of the tank by unscrewing it anti- clockwise. - Page 6 OPERATING INSTRUCTIONS HOW TO ACTIVATE THE HUMIDIFIER 1. Insert the power supply plug in the socket: the humidifier will emit a buzzer sound. WARNING! Use alternating current (AC) as specified on the data plate. Higher voltages may cause the risk of malfunctions, fire or electric shock. WARNING! Do not use the humidifier if the cord or plug are damaged, or if the plug does not fit tightly into the socket.
- Page 7 OPERATING INSTRUCTIONS OPERATION IN THE “AUTO” MODE The AUTO mode automatically activates after pressing the ON/OFF button when turning on the humidifier, without selecting any function. In this mode, the sensor installed inside the humidifier detects the temperature and humidity of the surrounding atmosphere and compares the values with the Ambient Most appropriate most appropriate humidity % for the environment (as calculated in relation to...
- Page 8 OPERATING INSTRUCTIONS CUSTOM SETTING MODE Press the “ON/OFF” button to start the appliance. Press the “Set up” button repeatedly to set the desired operating mode. Once the desired mode has been set, the mist emission level can be freely adjusted (to high, medium or low), in addition to the cool or warm humidification mode, the % of humidity and the timer.
- Page 9 OPERATING INSTRUCTIONS HOW TO TURN OFF THE HUMIDIFIER 1. Press the ON/OFF button, the indicator 2. Remove the plug from the socket. lights on the display start fading. Press the ON/OFF button again, a buzzer sounds and the humidifier turns off. MIST EMISSION WITH A FULL TANK WITH THE WATER TANK FULL When the humidifier operates in:...
-
Page 10: Parts To Be Replaced
PARTS TO BE REPLACED ION EXCHANGE FILTER • A removable ion exchange filter is housed inside the humidifier: its function is to remove the calcium and magnesium salts normally contained in water, as these may turn into “white dust” if they vaporise and deposit on furniture, objects and floors. -
Page 11: Cleaning And Maintenance
CLEANING AND MAINTENANCE PRECAUTIONS Warning Always remove the plug from the socket before cleaning the appliance, or electric shocks and • malfunctions may occur. Wait until the water inside the appliance cools before cleaning to avoid the risk of burns. •... -
Page 12: Storage After Use
CLEANING AND MAINTENANCE MAINTENANCE OF THE WATER TANK AND DISCHARGE NOZZLE Remove the discharge nozzle and unscrew the plug on the bottom of the tank by turning it anti-clockwise to eliminate the residual water. The discharge nozzle will fall if it is not removed before eliminating the water. -
Page 13: Troubleshooting
TROUBLESHOOTING In the event of malfunctions, check the following points before contacting the technical assistance centre. • Should you not be able to solve the problem, please contact the technical assistance centre nearest to • you. Problem Possible cause Suggested solution The plug is not properly inserted into Insert the plug properly into the socket.
Need help?
Do you have a question about the Hydro Digit and is the answer not in the manual?
Questions and answers