
Related Manuals for PARKZONE Ultra Micro F-27Q Stryker 180


Summary of Contents for PARKZONE Ultra Micro F-27Q Stryker 180
- Page 1 Ultra Micro F-27Q Stryker 180 Instruction Manual Bedienungsanleitung Manuel d’utilisation Manuale di Istruzioni...
- Page 2 NOTICE All instructions, warranties and other collateral documents are subject to change at the sole discretion of Horizon Hobby, Inc. For up-to-date product literature, visit www.horizonhobby.com and click on the support tab for this product. Meaning of Special Language: The following terms are used throughout the product literature to indicate various levels of potential harm when operating this product: NOTICE: Procedures, which if not properly followed, create a possibility of physical property damage AND little or no possibility of injury.
-
Page 3: Table Of Contents
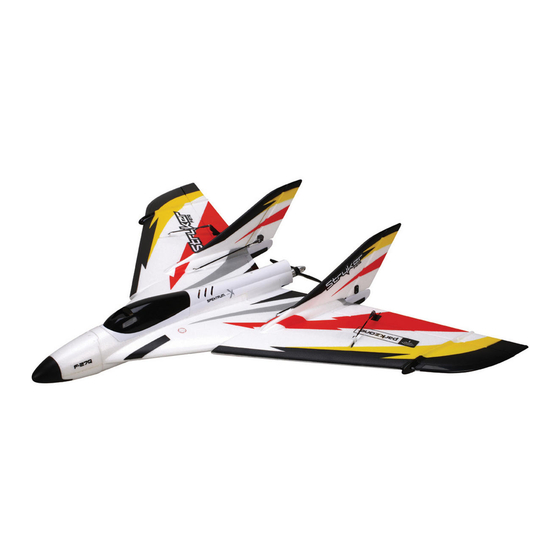
Thank you for purchasing the ParkZone® Ultra Micro Series F-27Q Stryker 180. You’re just a battery charge away from one of the most exciting ultra micro fl ying experiences available. The Ultra Micro Series F-27Q Stryker packs the punch of an E-fl ite® 3000Kv 180 brushless outrunner motor that delivers exhilarating speed and climb performance, just like the big F-27Q. -
Page 4: Charging The Battery
Charging the Battery Your Ultra Micro Stryker comes with a Celectra™ 2S 7.4V DC Li-Po Charger and 2-Cell 7.4V 200mAh 25C Li-Po battery. Please visit www.horizonhobby.com for optional battery adapters. Refer to battery warnings. It is recommended to charge the battery pack while you are inspecting the aircraft. -
Page 5: Battery Warnings
Battery Warnings The Battery Charger (EFLCU1007) included 40–120º F. Do not store battery or model with the Ultra Micro Stryker has been in a car or direct sunlight. If stored in a designed to safely charge the Li-Po battery. hot car, the battery can be damaged or even catch fi... -
Page 6: Transmitter And Receiver Binding
Transmitter and Receiver Binding Binding is the process of programming the receiver of the control unit to recognize the GUID (Globally Unique Identifi er) code of a single specifi c transmitter. You need to ‘bind’ your chosen Spektrum DSM2 /DSMX® technology equipped aircraft transmitter to the receiver for proper operation. -
Page 7: First Flight Preparation
First Flight Preparation 7. Perform the Control Direction Test with 1. Remove and inspect box contents. the transmitter. 2. Read this instruction manual thoroughly. 8. Adjust fl ight controls and transmitter. 3. Install Flight battery in the airplane (once 9. Adjust battery for center of gravity (CG). it has been fully charged). -
Page 8: Adjusting Center Of Gravity (Cg)
Adjusting Center of Gravity (CG) The recommended CG location is 67mm (2.6 Balance the model on the edge of a metal inches) forward from the fi rewall at the back ruler to fi nd the Center of Gravity. Place the of the fuselage. -
Page 9: Transmitter And Model Setup
Transmitter and Model Setup Transmitter Setup We recommend setting all channels at Normal Flying wings are controlled by elevons in servo reversing when using DX7, DX8, (moveable surfaces on the wing). Elevons take JR® 9303/9503, 11X and 12X transmitters. the aileron control (move opposite directions), and elevator control (move up/down same direction) and mixes them together For the DX6i, we recommend this setup for... -
Page 10: Control Direction Test
Control Direction Test Bind your aircraft and transmitter before doing these tests (see Binding). Move the controls on the transmitter to make sure aircraft control surfaces move correctly (Mode 2 shown). After doing the Control Test, correctly set the failsafe. Make sure the transmitter controls are neutral and the throttle and throttle trim are in the low position, then rebind the model to your transmitter. -
Page 11: Motor Service
Motor Service CAUTION: Always keep hands away from the propeller, ESC and motor while the fl ight battery is connected. Failure to do so could result in personal injury. Diassembly 1. Remove front canopy (A) from the fuselage. 2. Disconnect battery from ESC. 3. -
Page 12: Flying Tips And Repairs
Flying Tips and Repairs For your fi rst fl ights, set your transmitter timer Range Check your Radio System to 5 minutes. Adjust your timer for longer or After fi nal assembly, range check the radio shorter fl ights once you have fl own the model. system with the Ultra Micro Stryker. -
Page 13: Additional Safety Precautions And Warnings
Additional Safety Precautions and Warnings As the user of this product, you are solely • Always carefully follow the directions responsible for operating in a manner that and warnings for this and any optional does not endanger yourself and others, support equipment (chargers, or result in damage to the product or the rechargeable battery packs, etc.). -
Page 14: Replacing Vertical Fins
Replacing Vertical Fins 1. When a vertical fi n or rudder is damaged beyond repair using foam-compatible CA, disconnect linkage from control horn. 2. Carefully cut vertical fi n from housing in fuselage. 3. Clean glue from fuselage housing. 4. Attach new vertical fi n and rudder (A) in fuselage housing (B) using foam- compatible CA (C). -
Page 15: Troubleshooting Guide
Troubleshooting Guide Possible Cause Solution Problem Aircraft will not respond Throttle stick and/or throttle trim is too high Reset controls with throttle stick and throttle trim at to throttle but responds to lowest setting other controls Throttle channel is reversed Reverse throttle channel on transmitter Motor is unplugged from receiver Open fuselage and ensure the plug for the motor is... -
Page 16: Limited Warranty
Limited Warranty What this Warranty Covers Warranty Services Horizon Hobby, Inc. (“Horizon”) warrants to the original Questions, Assistance, and Services purchaser that the product purchased (the “Product”) will be Your local hobby store and/or place of purchase cannot provide free from defects in materials and workmanship at the date mwarranty support or service. -
Page 17: Warranty And Service Information
Warranty and Service Information Country of Purchase Horizon Hobby Address Phone Number/Email Address 877-504-0233 Horizon Service Center 4105 Fieldstone Rd Online Repair Request visit: (Electronics and engines) Champaign, Illinois 61822 USA United States www.horizonhobby.com/service of America Horizon Product Support 4105 Fieldstone Rd 877-504-0233 (All other products) Champaign, Illinois 61822 USA... -
Page 18: Replacement Parts
Replacement Parts • Ersatzteile • Pièces de rechange • Pezzi di ricambio Part # | Nummer Description Beschreibung Description Descrizione Numéro | Codice Decal Set: UM F-27Q Dekorbogen Set: UM UM F-27Q Stryker : Set adesivi: UM F-27Q PKZU2203 Stryker F-27-Q Stryker Planche de déco Stryker... -
Page 19: Optional Parts And Accessories
Pièces et accessoires optionnels • Componenti e accessori opzionali Part # | Nummer Description Beschreibung Description Descrizione Numéro | Codice Hook and Loop Set Parkzone Klettband Ultra micro -Set de Set fascette (5): Ultra PKZ1039 (5): Ultra Micros (5): Ultra Micros bande auto-agrip- Micros... -
Page 20: Parts Contact Information
Parts Contact Information • Kontaktinformationen für Ersatzteile • Coordonnées (pièces) • Recapiti dei distributori Phone Number/ Country of Purchase Horizon Hobby Address Email Address 4105 Fieldstone Rd 800-338-4639 United States Sales Champaign, Illinois, 61822 USA sales@horizonhobby.com Units 1-4 Ployters Rd +44 (0) 1279 641 097 Staple Tye United Kingdom... - Page 21 © 2011 Horizon Hobby, Inc. ParkZone, E-flite, JR, Celectra, DSM, DSM2, DSMX, Bind–N–Fly, and ModelMatch are trademarks or registered trademarks of Horizon Hobby, Inc. The Spektrum trademark is used with permission of Bachmann Industries, Inc. Futaba is a registered trademark of Futaba Denshi Kogyo Kabushiki Kaisha Corporation of Japan.
Need help?
Do you have a question about the Ultra Micro F-27Q Stryker 180 and is the answer not in the manual?
Questions and answers