Advertisement
Quick Links
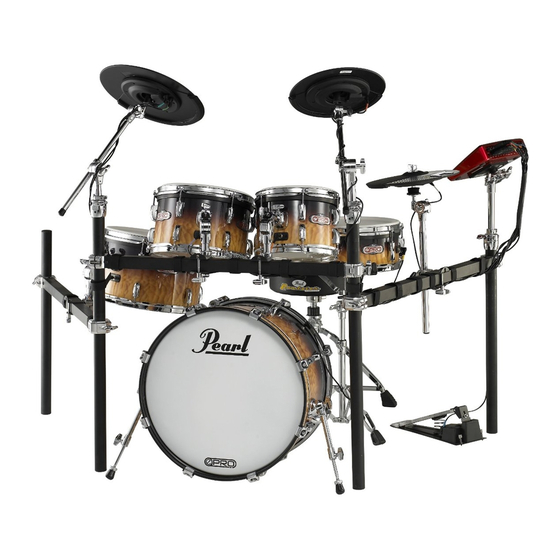
PEARL
Instruction Manual
Congratulations on your purchase! To get optimum performance of your E-PRO Live Drums,
please read this Instruction Manual before playing.
sample
http : //www.pearldrum.com
Products and specifications are subject to change without notice.
Printed in Taiwan
-1003-
Advertisement

Related Manuals for Pearl E-PRO Live


Summary of Contents for Pearl E-PRO Live
- Page 1 PEARL Instruction Manual Congratulations on your purchase! To get optimum performance of your E-PRO Live Drums, please read this Instruction Manual before playing. sample http : //www.pearldrum.com Products and specifications are subject to change without notice. Printed in Taiwan -1003-...
- Page 2 SET-UP EXAMPLE (FRONT) SET-UP EXAMPLE (BACK) sample Bass Drum r.e.d.box Module 10” Tom Tom Drum Pedal (Optional) W 12” Rubber Hi-Hat Cymbal Snare Stand 12” Hi-Hat Cymbal 12” Tom Tom Tru-Trac Bass Drumhead 12” Rubber Crash Cymbal Hi-Hat Controller 13” Crash Cymbal 16”...
- Page 3 COMPONENTS / HARDWARE CARTON COMPONENTS / DRUM CARTON sample D-10 D-11 D-12 D-13 D-14 Drum Rack (x1) Includes : PC-8 Pipe Clamps (4) CLH-80E (x1) Hi-Hat Holder S-790 (x1) Snare Stand UX-80 (x1) Universal Clamp CH-80E (x2) Cymbal Holders TH-900S (x3) Tom Holders NP-485 (x12) Velcro Straps...
- Page 4 COMPONENTS / ELECTRONICS CARTON COMPONENTS / BRASS CYMBAL CARTON ECC-12S (x1) 12” Brass HH Cymbal ECC-12B (x1) 12” Plastic Bottom HH ECC-13D (x1) 13” Brass Crash Cymbal ECC-16T (x1) 16” Brass Ride Cymbal CM-1 (x2) Cymbal Mount COMPONENT / RUBBER CYMBAL CARTON EPC-12S (x1) TTP-14 (x2) 14”...
- Page 5 Bracket attached) and connect one to each end of the *The bottom head on the Toms and the snare side head on Front Bar (it has a Pearl logo badge) as shown (Fig. 1). Tesion Bolt the Snare Drum are pre-assembled at the factory.
- Page 6 1. Place the Front Head on to the Bass Drum shell as Tesion Rod Bolt using the provided Hex wrench and remove the black shown with the Pearl logo up and square the Pearl logo Claw steel hoop (Fig. 9). (Fig. 11). Place the Bass Drum hoop over the head with Washer the flat side of the hoop facing down (Fig.
- Page 7 SETTING THE DRUMS ON THE RACK ASSEMBLYING THE r.e.d.box Module BASS DRUM r.e.d.box 1. Attach the r.e.d.box Mount to the bottom of the Position the Bass Drum upright and set the Bass Drum r.e.d.box as shown using a screwdriver. Do not Spurs as shown with the front of the drum about an inch overtighten (Fig.
- Page 8 WIRING AND MOUNTING CRASH/RIDE CYMBALS WIRING AND MOUNTING BRASS HI-HAT CYMBAL 1. Locate the Ride and Crash Cymbal and their matching 1. Unscrew the Wing Nut on the Hi-Hat Holder and Wing Nut cables and insert the cables into the corresponding remove the Felt and Metal Washers and the jacks.
Need help?
Do you have a question about the E-PRO Live and is the answer not in the manual?
Questions and answers