Table of Contents
Advertisement
Quick Links
Advertisement
Table of Contents

Related Manuals for Varytec Studio Par II CDM 150


Summary of Contents for Varytec Studio Par II CDM 150
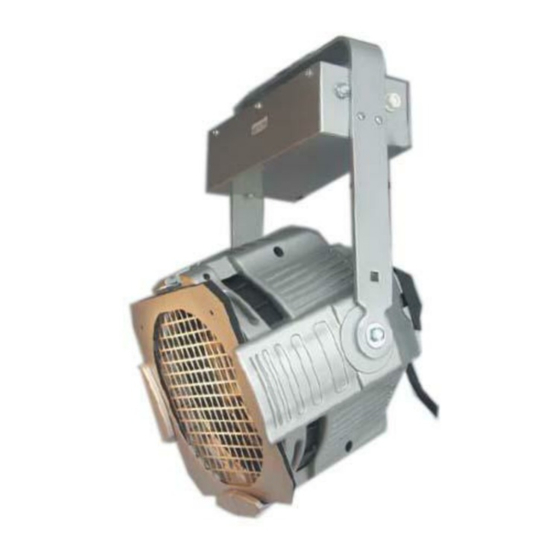
- Page 1 User’s manual Studio Par II CDM...
-
Page 2: Table Of Contents
Table of content Safety instructions........................... 3 Color frame retaining clip ........................ 4 Cleaning the reflector ........................4 Installing the lamp ........................... 5 Lens identification ........................... 6 Changing CDM PAR lenses ......................6 6.1. Installing a lens ........................6 6.2. Removing a lens ........................7 Technical data .......................... -
Page 3: Safety Instructions
1. Safety instructions FOR SAFE AND EFFICIENT OPERATION Be careful with heat and extreme temperatureAvoid exposing it to direct rays of the sun or near a heating appliance. Not put it in a temperature bellow 41°F /5°C, or exceeding 95°F /35°C. Keep away from humidity, water and dust Do not place the set in a location with high humidity or lots of dust. -
Page 4: Color Frame Retaining Clip
2. Color frame retaining clip The color frame holder is equipped with a spring-loaded retaining clip that prevents color frames and accessories from falling out. Warning! Hang the CDM PAR with the color frame retaining clip in the locked position 1. -
Page 5: Installing The Lamp
4. Installing the lamp Always replace the lamp if it becomes damaged or deformed. Verify that the lamp you use is suitable for the electronic power at your facility. Caution! Operating lamps above or below their rated voltage reduces lamp life and can cause premature lamp failure. -
Page 6: Lens Identification
5. Lens identification Lenses for the CDM PAR come in four versions. The type or beam spread can be identified by the lens texture. Very narrow spot Narrow Spot Clear glass Stippie glass (slight diffuse texture) 15°round beam shape 19° round beam shape Medium flood Wide flood Fewer facets, sized 6 x 22mm... -
Page 7: Removing A Lens
4. From the top of the fixture, slide the lens behind the lens catchers and position its base behind the tabs on the bottom of the lens rotation ring. 5. gently push the top of the lens inward until it snaps behind the spring clip. 6.2. -
Page 8: Technical Data
7. Technical data Power supply 230-240V 50Hz Power consumption 150W Dimensions (L x W x H) 280 x 245 x 405 Weight 9,1kg Fitting lamp CDM-T lamps Base G12 Fuse 250V 4A Max ambient temperature working 25°C Max ambient temperature housing 70°C Minimum distance 8 / 9... - Page 9 Importeur: B & K Braun GmbH Industriestraße 1 D-76307 Karlsbad www.bkbraun.com info@bkbraun.com 9 / 9...
Need help?
Do you have a question about the Studio Par II CDM 150 and is the answer not in the manual?
Questions and answers