Table of Contents
Advertisement
Advertisement
Table of Contents

Related Manuals for TC-Helicon Ditto


Summary of Contents for TC-Helicon Ditto
- Page 1 English Manual MP-75...
-
Page 2: Table Of Contents
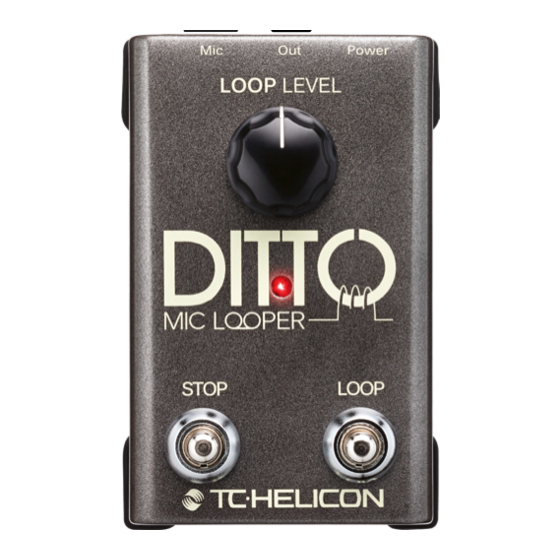
About this manual Technical specifications 6. LOOP LEVEL control knob 7. USB port Introduction Getting support Creating loops Setup Product Ditto Mic Looper Product (firmware) version Document English Manual Document version / date 2014-11-17 Ditto Mic Looper English Manual – 2014-11-17... -
Page 3: Important Safety Instructions
12. Use only with a cart, stand, tripod, bracket, or table specified by the manufacturer, or sold with the ap- paratus. When a cart is used, use caution when moving the cart/apparatus combination to avoid injury from tip-over. Ditto Mic Looper English Manual – 2014-11-17... -
Page 4: Emc/Emi
Connect the equipment into an outlet on a cir- ► cuit different from that to which the receiver is connected. ► Consult the dealer or an experienced radio/TV technician for help. Ditto Mic Looper English Manual – 2014-11-17... -
Page 5: About This Manual
This manual will teach you everything you need Thank you for purchasing Ditto Mic Looper. Automatic mic gain ► to know to make great loops with your new Ditto ► Five minutes of looping time Mic Looper. We’re super excited to be able to bring you such Unlimited overdubs ►... -
Page 6: Setup
Let’s get loopin’! process to ensure Mic Control is off. Mic Control The Ditto Mic Looper box should contain the fol- If you are in a hurry, chances are you’ll find what should only be enabled if you are using a micro- lowing items: you’re looking for in this overview. - Page 7 Setup Setup examples Setup example 1: This is the most basic setup: your microphone, Basic looping – no effects Ditto Mic Looper and your PA. MP-75 Basic looping – no effects Ditto Mic Looper English Manual – 2014-11-17...
- Page 8 Setup Setup example 2: Place your vocal effect pedals before Ditto Mic Vocal effects before Looper. This will allow you to create and record Ditto Mic Looper different sounds within the same looping session simply by switching your effects on and off.
- Page 9 Setup Setup example 3: Place your vocal effect pedals after Ditto Mic Vocal effects after Looper. This will allow you to record “dry” loops Ditto Mic Looper and dynamically apply vocal effects in real time. MP-75 Vocal effects after Ditto Mic Looper...
-
Page 10: Inputs, Outputs, Controls
(most of the time it’s not), adjust your mixer channel trim for the correct level accord- Use the USB port to connect Ditto Mic Looper ing to your mixer’s instructions. For other setups, to a computer to update the device’s firmware. -
Page 11: Creating Loops
The LED will blink twice in rapid succession, and To start recording, press the LOOP footswitch the previously deleted take will be restored. once. The LED will light up in red, indicating Ditto When you’re done, press the LOOP footswitch Using Undo/Redo creatively Mic Looper is in Record mode. - Page 12 (over- dubs) right away. 3. Press it a third time to go to playback. With Ditto Mic Looper, you can choose your pre- ferred method. To switch to the alternative operation mode (“Re- cord loop > Record overdubs > Play”), do this: ►...
-
Page 13: Frequently Asked Questions
There are updaters… of overdubs that I can record?” – for Microsoft Windows (these are ZIP ar- Our guess is that you will tire out before Ditto Mic chives containing the firmware installer) Looper does. Ditto Mic Looper allows an unlim- ited number of overdubs –... -
Page 14: Technical Specifications
USB connector type: Mini-B USB ► The updated firmware will now be transferred Controls: ► to Ditto Mic Looper. Wait for the progress bar ► Loop level knob to reach 100%. When the update procedure is ► Loop footswitch complete, the pedal will automatically restart. - Page 15 Ditto Mic Looper English Manual – 2014-11-17...
Need help?
Do you have a question about the Ditto and is the answer not in the manual?
Questions and answers