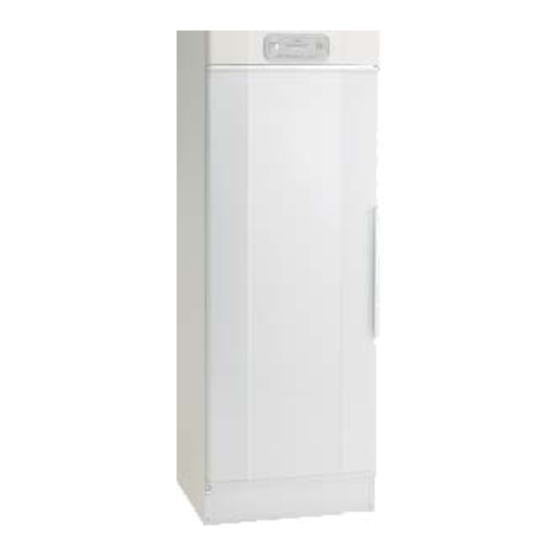
Summary of Contents for PEKO ETS-1700 E
- Page 1 Drying Cabinet Installation and Operating Manual Model:- ETS-1700 E Electronic sensor drying...
-
Page 2: Data Plate Details
Peko Equipment Limited and maintenance. Peko House Northbridge Road Berkhamsted PEKO Equipment Limited reserve the right to make Herts. HP4 1GE improvements and/or changes to the cabinet and to the contents of this manual: tel: 01442 872323 Origination: 01/2008... -
Page 3: Important Safety Instructions
IMPORTANT SAFETY INSTRUCTIONS IMPORTANT These instructions and warnings have been provided to help avoid misuse and unnecessary risks and should be read before the cabinet is installed and used. NOTE: Keep this manual in a safe place so that it is always available for future use. WARNING To reduce the risk of fire, electric shock, or ... -
Page 4: Installation Instructions
INSTALLATION INSTRUCTIONS UNPACKING WARNING: The cabinet should be handled Remove all packaging material. and transported with care. The unit is top heavy Do not use sharp implements with the risk of tipping over when positioned on which could damage the cabinet. its wooden pallet. - Page 5 INSTALLATION INSTRUCTIONS (cont.) REVERSING THE DOOR HINGE SIDE The door is supplied with the hinges to the right hand side as standard. Follow the in- structions below to change to left hinge . Use the packaging material on the floor to protect the cabinet, then place down with the door uppermost.
- Page 6 INSTALLATION INSTRUCTIONS (cont.) LOCATING AND FIXING THE CABINET The appliance should not be located in a posi- tion such that any doorways or safety exits are impeded with the cabinet door open and the hanging rails extended. The drying cabinet is only designed for opera- tion indoors in a dry environment at a tempera- ture above freezing point.
-
Page 7: Exhaust Connection
INSTALLATION INSTRUCTIONS (cont.) EXHAUST CONNECTION The exhaust ducting should not be connected into an existing chimney, boiler flue or tumble The cabinet can be connected to an exhaust dryer system. duct in two ways: 1. CONNECTION TO AN EXISTING SYSTEM 2. -
Page 8: Electrical Connections
INSTALLATION INSTRUCTIONS (cont.) ELECTRICAL CONNECTIONS The cabinet is supplied ready for connection to the power supply with a UK style three pin plug complete with a 10 A fuse. The power supply rated at 220- 240volt, 50-60 Hz. The power cable is approx. 1.8m in length. The plug (and socket outlet) should be in an accessible position for ease of removal. -
Page 9: Operating Instructions
OPERATING INSTRUCTIONS GENERAL WARNING To reduce the risk of fire, electric shock, or injury to the person, read the IMPORTANT SAFETY INSTRUCTIONS before operating this appliance. Model ETS-1700 E LOADING THE CABINET cabinet contains three Do not lay items flat on the up-... -
Page 10: Operating Control Panel
OPERATING INSTRUCTIONS OPERATING CONTROL PANEL Main power switch Power on indicator—green Display screen Programme Start / Stop Automatic programme 40 Automatic programme 60 Manual time control / step function Reduce drying time function Increase drying time function DISPLAY Current programme selection Revolving symbol indicating drying process in progress Manual programme setting, display shows total time that counts down, or Automatic programme setting, display shows cool down cycle only... -
Page 11: Drying Programmes
OPERATING INSTRUCTIONS (cont.) DRYING PROGRAMMES The drying cabinet is equipped with two automatic programmes AUT 40°C Sensor control AUT 60°C Sensor control In addition the drying cabinet has four time-controlled programmes Default setting Range MAN 30°C 150 mins. 15 - 360 mins. -
Page 12: During Operation
OPERATING INSTRUCTIONS (cont.) DOOR OPEN If the door is opened when the drying programme has been started with the START / STOP button (4) activated, the display will show ‘CLOSE DOOR’. When the door is closed, the selected programme will re-start. If the door is left open during the drying process the heating effect is automatically turned off. -
Page 13: Setting The Controls
OPERATING INSTRUCTIONS (cont.) SETTING THE CONTROLS Always follow the washing instructions as shown on the care labels. Set the temperature and the time to suit the most delicate articles to be dried. Remove garments from the cabinet as they become dry. -
Page 14: Troubleshooting And Service
TROUBLESHOOTING AND SERVICE PROBLEM The fan does not operate and the cabinet is not heating up:- Check that the cabinet is connected to the power supply and that the fuses are intact. The drying cabinet is not heating although the power supply to the unit is confirmed:- If the green power indicator is not illuminated then the over heat thermostat may have tripped out. -
Page 15: Technical Data
TECHNICAL DATA MANUFACTURING APPROVALS Class IP 24 (See data plate for details) Independently tested and CE marked Capacity: 4kg general laundry (approx. wet weight) Evaporation rate: 17 g/min. Electrical supply: 220-240V a.c. 50-60Hz Motor: 35W. Heating element: 1500W Overheat cut-out: Timer: ECO DRYER Electronic Fan capacity:... - Page 16 EQUIPMENT LIMITED Peko House Northbridge Road Berkhamsted Herts. HP4 1GE Tel: 01442 872323 Fax: 01442 866900 www.peko.co.uk...


Need help?
Do you have a question about the ETS-1700 E and is the answer not in the manual?
Questions and answers