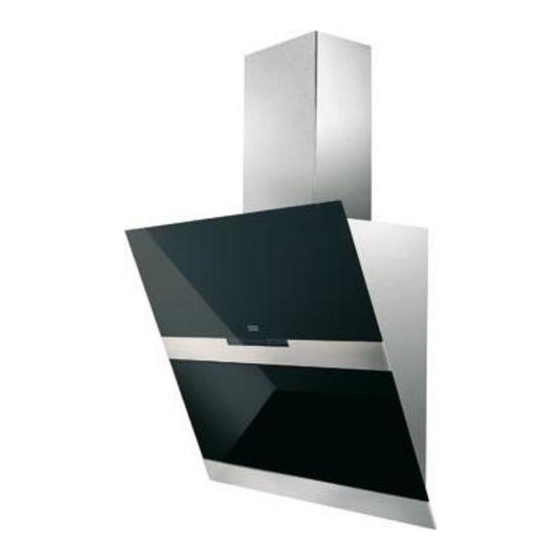
Franke FSW 908 TC Instructions For Use And Installation
Cooker hood franke fsw 908 tc
Hide thumbs
Also See for FSW 908 TC:
- Instructions for use and installation (76 pages) ,
- Handbook (19 pages)
Summary of Contents for Franke FSW 908 TC
- Page 1 Istruzioni per l’uso e l’installazione Cappa Instructions for use and installation Cooker Hood Mode d’emploi et installation Hotte de Cuisine Bedienungsanleitung und Einrichtung Dunstabzugshaube Kullanım ve montaj talimatları Davlumbaz FSW 908 TC...
-
Page 2: Table Of Contents
Instructions Manual INDEX RECOMMENDATIONS AND SUGGESTIONS ........................17 CHARACTERISTICS................................18 INSTALLATION ..................................20 USE.......................................23 MAINTENANCE..................................24... -
Page 3: Recommendations And Suggestions
RECOMMENDATIONS AND SUGGESTIONS The Instructions for Use apply to several versions of this appliance. Accordingly, you may find descriptions of individual features that do not apply to your specific appliance. INSTALLATION • The manufacturer will not be held liable for any damages resulting from incorrect or improper installation. -
Page 4: Characteristics
CHARACTERISTICS 7.2.1 Components Ref. Q.ty Product components Cooker hood with control unit, lights, blower unit, filters Upper chimney Lower chimney Air outlet grid Reducer flange Ø 150-120 Cover for recycling version Ref. Q.ty Installation components 7.2.1 Fixing brackets for upper chimney Plugs Plugs SB 12/10 Screws 4,2 x 44,4... - Page 5 Dimensions...
-
Page 6: Installation
INSTALLATION Wall drilling and bracket fixing 1÷2 7.2.1 292 292 As a first step, proceed with the following drawings: • a vertical line up to the ceiling or up to the upper limit, at the centre of the area in which the hood is to be fitted;... - Page 7 Hood body mounting • Firstly, it is necessary to adjust the two Vr-screws of the 11a-brackets, at minimun (B). • Hang the hood body on the two brackets 11a. • Connect the hood to the mains supply by means of a bipolar switch with at least 3 mm contact gap.
- Page 8 RECYCLING VERSION AIR OUTLET To install the hood in recycling version, the optional charcoal filter kit must be purchased. • Remove the chimney angle bracket. • Screw the filter cover onto the air outlet, using four screws 12c (2.9 x 12.5). •...
-
Page 9: Use
Control panel Key Function Display Upper panel closed: when pressed for about one sec- Indicates the selected speed. ond it opens the upper panel. It switches the motor on at the latest selected speed. Upper panel open: when shortly pressed it switches the motor on/off. -
Page 10: Maintenance
MAINTENANCE Metal grease filters Filters can be washed in the dish machine. They need to be washed when Drop-sign appears on the display or in any case every 2 months, or even more frequently in case of particularly intensive use of the hood. Alarm reset •... - Page 11 Charcoal filter (recycling version) This filter cannot be washed or regenerated. It must be replaced when the C appears on the display or at least once every 4 months. The filter saturation alarm has to be activated already before. Activation of the alarm signal •...
- Page 12 Replacing the fuser The hood panel opening and closing mechanism is con- trolled by a starter motor which is activated by a fuser. This fuser works only on the starter motor. In case the fuser gets damaged when the panel is closed it is be necessary to manually unblock the panel.
- Page 13 çevre ve insan sağlığı üzerindeki olumsuz etkilerini bertaraf etmeye katkı sağlamış olursunuz. Bu ürünün geri dönüşüm koşulları hakkında daha ayrıntılı bilgi için hudutları içinde bulunduğunuz belediyenin ilgili diaresine, atık yoketme servisine veya ürünün satıcısına danışınız. Franke S.p.a. Via Pignolini,2 37019 Peschiera del Garda (VR) www.franke.it...


Need help?
Do you have a question about the FSW 908 TC and is the answer not in the manual?
Questions and answers