
Related Manuals for Pure Water A-12


Summary of Contents for Pure Water A-12
- Page 1 PURE WATER ™ A-12 OWNERS MANUAL 4120 NW 44th Lincoln, NE 68524 U.S.A. Phone: 402/467-9300 • Fax: 402/467-9393 Page 1...
-
Page 2: Table Of Contents
Exercise care when removing the boiling tank lid and never remove it when the distiller is operating. • A-12 distillers are designed to work with a direct water hookup. Do not operate using manual water fill. • The installation and use of this product must comply with all applicable state and local laws and regulations. -
Page 3: Introduction
INTRODUCTION Congratulations on purchasing the finest home water distillation system on the market. With proper care and attention, the Pure Water A-12 will give you many years of top performance and high-quality drinking water. FOR THE RECORD The model and serial number are found on the back panel. You should record both the model and serial number below for future reference. -
Page 4: Getting Acquainted With Your A-12
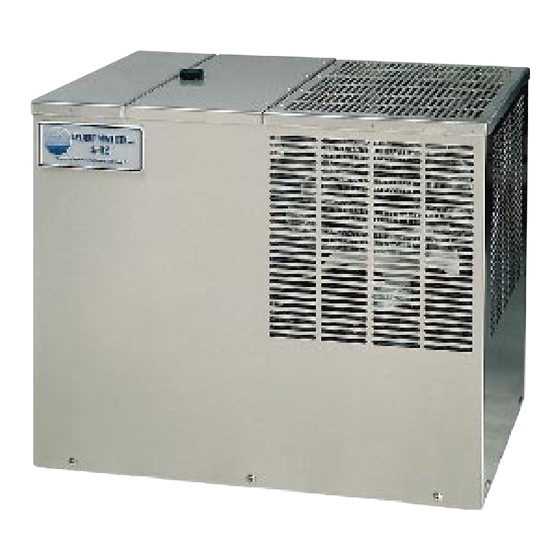
GETTING ACQUAINTED WITH YOUR A-12 Figure 1 Your A-12 consists of several major components concealed inside the stainless steel enclosure: (1) the distiller, where high-quality water is produced; (2) the storage tank, where distilled water is stored; and (3) the demand pump that distributes distilled water to your desired location. -
Page 5: Installing Your
INSTALLING YOUR A-12 Select an area that will allow the Pure Water A-12 to remain level. Improper leveling could affect the production rate. Electrical requirements: Isolated 115 to 120 Volt AC, 20 Amp circuit (220 to 240 Volt AC, 10 Amp on some models). - Page 6 d) Tighten screws evenly. Brackets should be parallel. Tighten firmly. Do not over-tighten. See figure 2. e) Connect 1/4” tubing to the saddle tapping valve outlet. f) Coil a minimum of 8’ (240 cm) of tubing behind the distiller. This will allow the distiller to be moved away from the wall for cleaning or service.
-
Page 7: Connecting The Boiling Tank Drain Line
Failure to install properly could result in the unit draining hot water onto the floor. If your installation plans do not call for installing with a drain, contact your authorized Pure & Secure, LLC Distributor immediately. Pure Water cannot be responsible for any damage resulting from improper installation. -
Page 8: Connecting The Distilled Waterline
(blue fitting) on the rear of the unit (see figure 4). Press in firmly. Note: If you purchased a pressure tank for your A-12, please take note of installation instructions included with your Pressure Tank Kit now. If no pressure tank will be used, please proceed. -
Page 9: First Time Start- Up, Rinsing, Sterilization And Filter Install
Phillips screwdriver Utility knife Adjustable wrench We recommend that you sterilize your A-12 before putting it into use in order to eliminate any microorganisms that may have collected in the storage tank. TO STERILIZE YOUR A-12: 1. Open the top door. -
Page 10: Maintenance And Cleaning
26. You now have approximately 2 1/2 gallons of water in the storage tank for consumption. MAINTENANCE AND CLEANING The Pure Water A-12 is designed for low maintenance performance. The A-12 has a built-in drain valve that flushes the contaminants and residue out of the boiling tank after each full tank of distilled water is produced. -
Page 11: Cleaning The Boiling Tank
CAUTION: UNDER NO CIRCUMSTANCES SHOULD THE CLEANING SOLUTION BE HEATED AND RUN THROUGH A STEAM STERILIZATION OR DISTILLATION CYCLE. USE THE FOLLOWING PROCEDURES FOR CLEANING THE A-12: a) Open the faucet on the sink and remove enough water to restart the unit. This will be evident because the fan will turn on. -
Page 12: Exploded View
EXPLODED VIEW Page 12... - Page 13 120V 240V 120V 240V Key # Description Key # Description 8009 8009 Lid Knob with Stud 424A 424A Reset Retainer 6022 6022 Lid O-Ring 32007 32007 Boiling Tank Mounting Angle Lid Disc, Boiling Tank Fan Motor Mounting Bracket Lid Disc, Storage Tank 32504 32504V Fan Motor 6049...
-
Page 14: Troubleshooting
TROUBLESHOOTING CAUTION: BE SURE THE ELECTRICAL POWER CORD IS UNPLUGGED FROM THE OUTLET AND REMOVE THE EXTERIOR CLADDING BY REMOVING THE SCREWS AT THE BASE OF THE UNIT BEFORE ATTEMPTING ANY REPAIRS. Problem Observation Probable Cause Solution A. The machine will not Power cord plugged into Wall outlet not working. - Page 15 TROUBLESHOOTING (CONT’D.) Problem Observation Probable Cause Solution C. Fan will not run or is Fan is tightly mounted on Defective fan motor. Replace fan motor. making excessive storage tank. noise. Fan blade is not loose Excessive vertical move- Replace fan motor. around shaft of motor.
- Page 16 TROUBLESHOOTING (CONT’D) Problem Observation Probable Cause Solution Defective outside boiling tank E. Boiling tank over- Float actuating arm is fully Replace microswitch. flows with water. depressing the bottom two high-level microswitch. boiling tank high-level Defective heating element microswitches. Have service technician relay.
- Page 17 TROUBLESHOOTING (CONT’D) Problem Observation Probable Cause Solution F. Machine does not Storage tank high-level Defective storage tank Both the boiling tank and shut off when storage microswitch is fully de- high-level microswitch. storage tank high-level tank is full. pressed. microswitches must be Defective inside boiling fully depressed before the tank high-level micro-...
- Page 18 TROUBLESHOOTING (CONT’D.) Problem Observation Probable Cause Solution G. Automatic drain valve Distiller is turned ON and If water continues to drain out does not open or shut. plugged into outlet. while distillation is taking place: Defective drain valve. Clean boiling tank. Clean or replace the drain valve.
- Page 19 TROUBLESHOOTING (CONT’D.) Problem Observation Probable Cause Solution Defective pump override Replace switch. (CONTINUED) (CONTINUED) H. Demand pump not Machine is plugged in and switch. working properly or turned ON. not at all. Not enough water in stor- Allow machine to distill age tank.
- Page 20 Form #6305A, ©2005, Pure & Secure, LLC. Rev. 7/00 Page 20...
Need help?
Do you have a question about the A-12 and is the answer not in the manual?
Questions and answers