Table of Contents
Advertisement
Advertisement
Table of Contents

Related Manuals for Glow-worm Climapro1


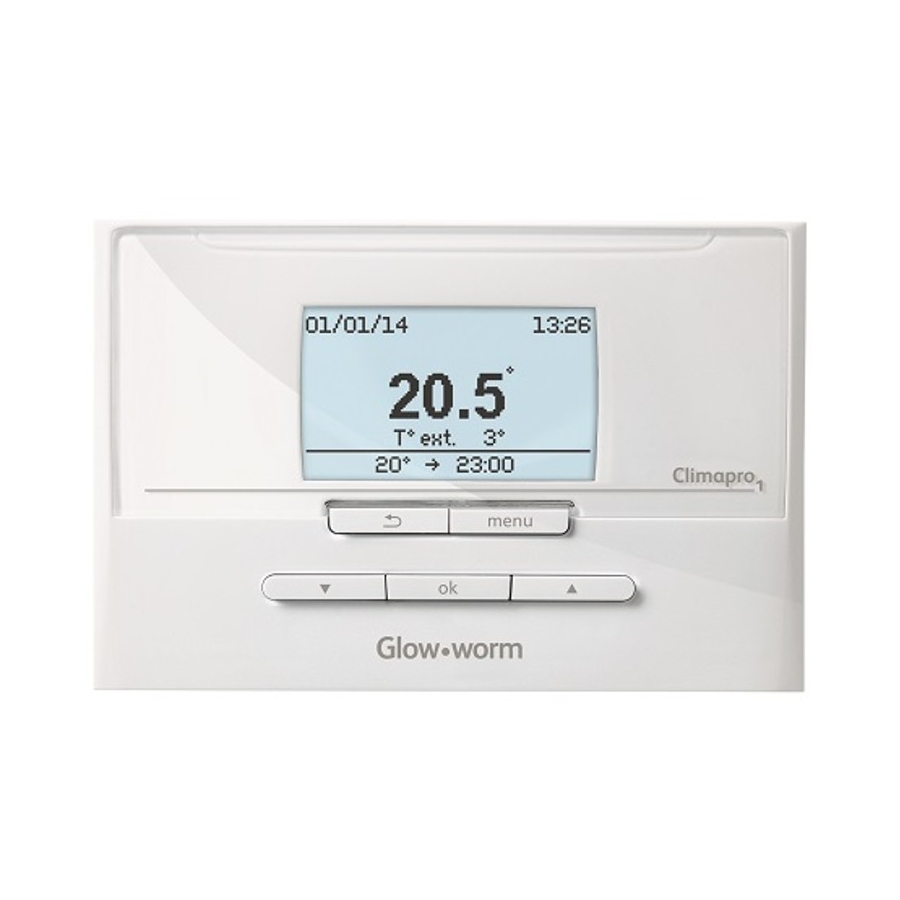
Summary of Contents for Glow-worm Climapro1
- Page 1 The energy you need Instructions for Installation Climapro Climapro...
-
Page 2: Table Of Contents
TABLE OF CONTENTS INTRODUCTION Product documentation ..................3 CE Mark ......................3 INSTALLER Climapro installation ..................3 List of contents ................... 3 Fixing ......................3 Electrical connections ..................4 Wired room thermostat ................5 Wireless room thermostat ................5 Commissioning ....................5 INSTALLER MENU Accessing the installer menu ................ -
Page 3: Introduction
2 Radio receiver (*) delivered with the wireless version Slide the radio receiver into the notches. • IMPORTANT: It is easier to pass the EBUS cable if the pre-cut part is removed. - 3 - 0020140263_00 - 11/11 - Glow-worm... - Page 4 (refer to the technical the radio receiver. data chapter). IMPORTANT: The location of the EBUS terminal block varies according to the heating system. It is always identifi ed by having «BUS» written on it. - 4 - 0020140263_00 - 11/11 - Glow-worm...
-
Page 5: Commissioning
Finalise the installation in the installer menu. • connection to the EBUS 24V terminal on the control box Check that these main settings are • compatible with the installation. Check the installation by issuing a heating • demand. - 5 - 0020140263_00 - 11/11 - Glow-worm... -
Page 6: Installer Menu
If this function is deactivated, the heating system no longer takes into account the ambient temperature. The heating system uses just the outside temperature. - 6 - 0020140263_00 - 11/11 - Glow-worm... -
Page 7: Tree Diagram
Correct the outdoor temperature 0°C Settings Connexion Effi ciency info off Radio * Auto time Radio test Service indicator off (*) extra menu in wireless connection mode. (**) Not applicable for Glow-worm - 7 - 0020140263_00 - 11/11 - Glow-worm... -
Page 8: Summary Of Menus And Functions Available
Hot water Activate/deactivate the function Activate/deactivate the programme Maximum T° Recirculation Cooling Activate/deactivate the function Activate/deactivate the programme Options Effi ciency info Auto time Date/time Language Service indicator About Radio Connection Radio test - 8 - 0020140263_00 - 11/11 - Glow-worm... -
Page 9: Maintenance
- the setting of the max. heating for the installation. temperature. outlet temperature is suitable for the installation. The installation assistant is Reset the room thermostat. not displayed See chapter "Reinitialisation of during the the room thermostat". Commissioning. - 9 - 0020140263_00 - 11/11 - Glow-worm... -
Page 10: Resetting The Room Thermostat
Red LED supply to the off - Defective EBUS electricity supply connection cable and that the appliance is properly connected and turned on. • Check the electrical connection between receiver and the appliance. - 10 - 0020140263_00 - 11/11 - Glow-worm... -
Page 11: Technical Data
Average unobstructed working range (*) Average range within the home Thermostat dimensions: Height Width 146.5 Depth Wireless receiver dimensions: Height Width Depth (*) Can vary according to installation conditions and electromagnetic environment - 11 - 0020140263_00 - 11/11 - Glow-worm... - Page 12 GLOW-WORM Nottingham Road, Because of our constant endeavour for Belper, Derbyshire. improvement, details may vary slightly DE56 1JT from those shown in these instructions. The energy you need www.glow-worm.co.uk...
Need help?
Do you have a question about the Climapro1 and is the answer not in the manual?
Questions and answers