Table of Contents
Advertisement
Quick Links
Advertisement
Table of Contents

Related Manuals for Glow-worm Migo


Summary of Contents for Glow-worm Migo
- Page 1 Migo 0020197229 en Operating instructions...
-
Page 2: Table Of Contents
Operating instructions Checking the battery charge condition ....11 Change batteries ..........11 Contents 4.10 Start screen ............12 Troubleshooting ..........13 Safety ..............3 Caring for the product........13 Action-related warnings ......... 3 Decommissioning..........13 Intended use ............3 Permanently decommissioning the product.. -
Page 3: Safety
The action-related warnings are classified in for which it is not intended. accordance with the severity of the possible The Glow-worm Migo controller controls a danger using the following warning signs and heating installation with a Glow-worm boiler signal words:... -
Page 4: General Safety Information
This product can be used by children aged General safety information from 8 years and above and persons with re- 1.3.1 Danger caused by improper duced physical, sensory or mental capabilities operation or lack of experience and knowledge if they Improper operation may present a danger to have been given supervision or instruction you and others, and cause material damage. - Page 5 ▶ Do not combine batteries with other battery 1.3.4 Risk of material damage caused by types. frost ▶ Do not combine new and used batteries. ▶ Ensure that the heating installation always ▶ Insert the batteries, making sure that the remains in operation during freezing con- poles are the right way round.
-
Page 6: Notes On The Documentation
Product Article number The heat generator heats the water in the domestic hot water Migo 0020197229 cylinder until it reaches the set temperature. The time period defines when hot water should be ready in the domestic hot water cylinder. -
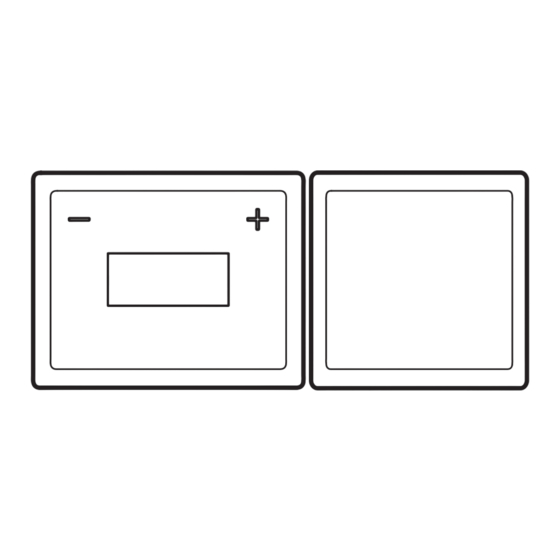
Page 7: Product Design
Barcode with serial number (on the protection mode button mostat communication unit only), Status LED 7th to 16th digit = product article number (on the communication unit only) Migo Product designation V mA Operating voltage and power consump- tion 0020212897_02 Operating instructions... -
Page 8: Ce Marking
Preventing malfunctions Information on the Meaning data plate Ensure that the room air can freely circulate around the LR03 Battery type thermostat and that the thermostat is not covered by furniture, curtains or other objects. CE marking In the rooms in which the thermostat is installed, open the radiator valves completely. -
Page 9: Installing The App
Use your mobile device to download the app from http://migo.glow-worm.co.uk. Alternatively, search for Migo on Google Play™ or in the App Store™. Install the relevant app on your mobile device. When first setting up the connection, establish a Bluetooth connection between the product and your device (→... -
Page 10: Restoring The Connection
Restoring the connection 4.7.1 Activating/deactivating comfort protection mode ▶ If the above display view is shown, reduce the distance between the thermostat and the communication unit in order to restore the connection. Press the Bluetooth button/comfort protection mode Comfort protection mode button (1) briefly on the communication unit. -
Page 11: Checking The Battery Charge Condition
Checking the battery charge condition If the above display view appears on the thermostat, the bat- teries are flat. If the (1) symbol appears in the thermostat display, the ▶ Replace the batteries in the thermostat. batteries are almost flat. Change batteries Danger! Risk of death caused by unsuitable batter-... -
Page 12: Start Screen
4.10 Start screen Remove the thermostat from the product bracket or remove the product stand from the thermostat. After you insert the batteries, the start screen is displayed. Insert three new batteries (they must all be the same The start screen shows that the thermostat is searching for type). -
Page 13: Troubleshooting
Caring for the product ▶ Clean the casing with a damp cloth and a little solvent- free soap. ▶ Do not use sprays, scouring agents, detergents, solvents or cleaning agents that contain chlorine. Decommissioning Permanently decommissioning the product ▶ Have a competent person permanently decommission the If the communication unit is not found (e.g. -
Page 14: Guarantee And Customer Service
Customer service For contact details for our customer service department, you can write to the address that is provided on the back page, or you can visit www.glow-worm.co.uk. Operating instructions 0020212897_02... -
Page 15: Appendix
Appendix Faults – Overview Symbol Meaning Remedy – Batteries almost flat. Replace the batteries in the thermostat. – Batteries flat. Replace the batteries in the thermostat. – No connection to the communication unit. Reduce the distance between the thermostat and the communication unit. - Page 16 Supplier Vaillant Group UK LTD Nottingham Road Belper-Derbyshire DE56 1JQ Telephone 01773 824639 Technical helpline 0330 100 7679 After sales service 0330 100 3142 0020212897_02 www.glow-worm.co.uk Publisher/manufacturer Vaillant Group UK LTD Nottingham Road Belper-Derbyshire DE56 1JQ Telephone 01773 824639 Technical helpline 0330 100 7679 After sales service 0330 100 3142 www.glow-worm.co.uk...
Need help?
Do you have a question about the Migo and is the answer not in the manual?
Questions and answers
how do i use the clock on the migo app to set daily schedules