Advertisement
Instructions for use
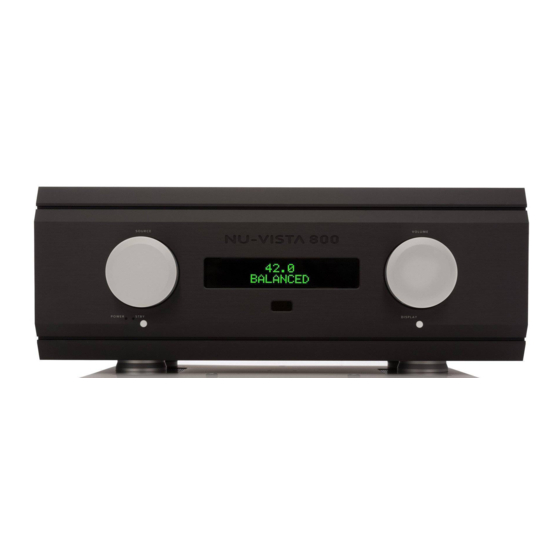
Thank you for purchasing the Musical Fidelity Nu-Vista 800 integrated amplifier.
The Nu-Vista 800 uses our tried and tested ultra-low distortion power amplifier circuitry, which has enough current
reserve to drive even the most demanding speakers with ease. The low noise and distortion, high-quality Nu-Vista
preamplifier uses valve* circuits used in our original Nu-Vista products, redesigned, to fulfil our latest practices
and expectations. This completes the integrated amplifier giving a perfect sound from a great looking full size unit.
The Nu-Vista 800 will aesthetically match with present and future Nu-Vista series products. Such a combination
will yield one of the best high-fidelity systems available at any price.
Used properly and carefully, it should give many years of outstanding musical reproduction.
Dust regularly with a soft duster or soft brush, but be careful when using cleaning or polishing agents - they may
harm the surface finish.
If there are any questions about the audio system, please consult the dealer, who is there to help and advise.
Advertisement

Related Manuals for Musical Fidelity Nu-Vista 800


Summary of Contents for Musical Fidelity Nu-Vista 800
- Page 1 Thank you for purchasing the Musical Fidelity Nu-Vista 800 integrated amplifier. The Nu-Vista 800 uses our tried and tested ultra-low distortion power amplifier circuitry, which has enough current reserve to drive even the most demanding speakers with ease. The low noise and distortion, high-quality Nu-Vista preamplifier uses valve* circuits used in our original Nu-Vista products, redesigned, to fulfil our latest practices and expectations.
- Page 2 * UK English “valve” mentioned hereafter, refers to the ‘electron valve’ kind, also known as electron “tube” in other parts of the world. P a g e...
-
Page 3: Table Of Contents
CONTENTS Section Page – Mains plug (UK only), modification warning Safety Information – Installation precautions General advice – Introduction, cleaning, installation, power connections, audio Installation connections – Illustrations, main unit front & rear panels Facilities and connections – Operation and illustration Remote control handset –... -
Page 4: Safety Information
If connecting to a BS1363 plug, a 13 amp fuse must be used. WARNING: ANY MODIFICATIONS TO THIS PRODUCT NOT EXPRESSLY APPROVED BY MUSICAL FIDELITY WHO IS THE PARTY RESPONSIBLE FOR STANDARDS COMPLIANCE COULD VOID THE USER'S AUTHORITY TO OPERATE THIS EQUIPMENT. -
Page 5: General Advice
Heed all warnings shown on the back of the product. • Only connect the Nu-Vista 800 to a mains outlet having the same voltage as marked at the back of the unit. • Always ensure that when disconnecting and reconnecting your audio equipment the mains supply is switched off. -
Page 6: Installation
Power Connections The Nu-Vista 800 is supplied with a standard IEC mains cable which plugs into the IEC socket at the back of the unit (see page 7). When plugged in and mains supply is present the orange STDBY LED will light. -
Page 7: Facilities And Connections
FACILITIES & CONNECTIONS SOURCE selector 4 ON/STANDBY Button IR RECEIVER window DISPLAY VOLUME control DISPLAY AND LED functions button LOUDSPEAKER OUTPUTS right 11 CD, AUX1/HT, AUX2, TUNER line input RCA sockets HT/AUX function selector for AUX1/HT input 12 LINE OUT (fixed) output RCA sockets 9 LOUDSPEAKER OUTPUTS left 13 PRE OUT (volume controlled) output RCA sockets... -
Page 8: Remote Control Handset
REMOTE CONTROL The universal remote control shown below enables functions from this and related units to be operated from a convenient distance. Equivalent buttons on the remote control have the same functions as those on the front panel of the unit. Other functions are only available by remote control. -
Page 9: Operation
OPERATION Starting Once all connections are made, switch on the unit, using the POWER button front of the unit. The display will light up and base LEDs (under front panel) will show RED. This means the speaker outputs are muted, and will remain in this state for about 12 seconds, so no sound will be heard from the speakers. -
Page 10: Balanced
OPERATION BALANCED 60.0 BALANCED To use the BALANCED input, connect source balanced outputs to the BALANCED input sockets (see page 7). Select BALANCED input by rotating the source select control so BALANCED is displayed. Pressing the corresponding button on the remote handset has the same effect (see page 8). ILLUMINATIONS When used in darker environments, for example listening or home theatre rooms. -
Page 11: Wiring
WIRING Simple speaker lead wiring Bass/treble terminal links in Bass/treble terminal links in (source and mains leads omitted for clarity) Speaker lead bi-wiring Bass/treble terminal links removed Bass/treble terminal links removed source and mains leads omitted for clarity) Speaker bi-amping (requires additional power amplifier) Bass/treble terminal links removed Bass/treble terminal links removed source and mains leads omitted for clarity) - Page 12 If none of these actions affect a cure, please contact the dealer, or an authorised Musical Fidelity service agent. Remember; never open the case of the Nu-Vista 800, as this will invalidate the guarantee. P a g e...
-
Page 13: Specifications
LR03 or AAA, manganese alkaline type 2 off Felt pads 4 off Spike Foot 4 off Spike Foot Cups 4 off Remote Feet 4 off Musical Fidelity reserves the right to make improvements which may result in specification or feature changes without notice. P a g e... - Page 14 DISPOSAL INFORMATION RELEASE DATE CHANGES 2014 Nu-Vista 800 Integrated July issue DISPOSAL The crossed out wheeled bin label that appears on the back panel of the product indicates that the product must not be disposed of as normal household waste. To prevent possible harm to the environment please separate the product from other waste to ensure that it can be recycled in an environmentally safe manner.
Need help?
Do you have a question about the Nu-Vista 800 and is the answer not in the manual?
Questions and answers