Table of Contents
Advertisement
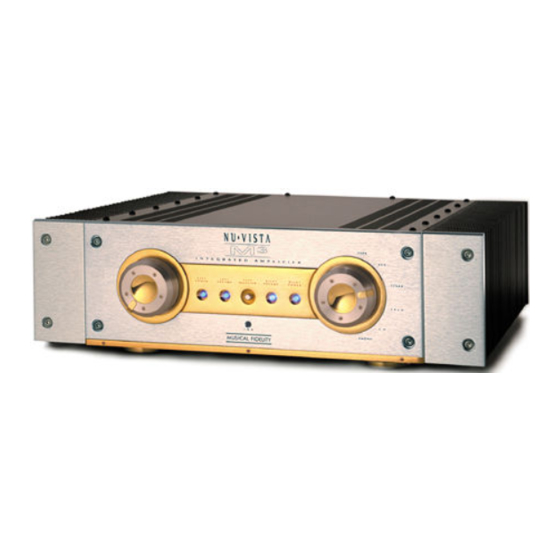
SUPER INTEGRATED AMPLIFIER
Thank you for purchasing the Musical Fidelity
Nu-Vista M
The Nu-Vista M
famous Nu-Vista preamplifier and the legendary Nu-Vista
Used properly and carefully, it should give you many
The Nu-Vista M
Dust regularly with a soft duster or soft brush but be
careful using cleaning or polishing agents - they may
If you have any questions about anything in your
audio system, please consult your dealer who is there to
issue 1/26.10.2000
INSTRUCTIONS FOR USE
3
super integrated amplifier with remote control.
3
is based on the combination of the world
NV300 power amplifier.
years of outstanding musical reproduction.
3
operates in Class A/B which in
our experience offers the ultimate in
musical accuracy and pleasure.
For the best results Nu-Vista interconnects and
loudspeaker cables should be used.
harm the surface finish.
help and advise you.
Nu-Vista M
INTRODUCTION
3
Instructions for Use. Page 1 of 10
Advertisement
Table of Contents

Related Manuals for Musical Fidelity Nu-Vista M3


Summary of Contents for Musical Fidelity Nu-Vista M3
- Page 1 INTRODUCTION SUPER INTEGRATED AMPLIFIER INSTRUCTIONS FOR USE Thank you for purchasing the Musical Fidelity Nu-Vista M super integrated amplifier with remote control. The Nu-Vista M is based on the combination of the world famous Nu-Vista preamplifier and the legendary Nu-Vista NV300 power amplifier.
-
Page 2: Safety Information
SAFETY INFORMATION IMPORTANT! This unit is supplied in the U.K. with a mains lead fitted with a moulded 13 amp plug. If, for any reason, you need to cut off this plug, please observe the following safety precautions. Please dispose of the cut-off plug safely. It must not be plugged into a mains power supply. The wires in the mains lead supplied with this appliance are coloured in accordance with the following code: Green and yellow....Earth... -
Page 3: General Advice
GENERAL ADVICE INSTALLATION PRECAUTIONS and USER INFORMATION Your new Nu-Vista M is designed and built to provide trouble-free performance, but as with all electronic devices it is necessary to observe a few precautions. Heed all warnings on the back of the unit. Only connect the preamplifier to a mains outlet of the voltage marked on the back of the unit. - Page 4 CONNECTIONS AND FACILITIES Nu-Vista M back panel layout Nu-Vista M front panel layout RIGHT speaker outputs Volume control PREAMP output Left Preamp power LED TAPE RECORD output Left PSU LED TAPE input Tape monitor button AUX input Infra red receiver lens Tuner input Right PSU LED SACD input...
- Page 5 CONNECTIONS AND FACILITIES P O W E R S U P P L Y U N I T Nu-Vista M PSU front panel layout Nu-Vista M PSU back panel layout Mains on/off switch Right power amp PSU output Power LED Preamp PSU output Left power amp PSU output Right power amp PSU fuse...
- Page 6 CONNECTIONS WARNING connectors into the sockets. How to connect your Nu-Vista M Normal Stereo use. THE NU-VISTA M IS A POWER- FUL AMPLIFIER AND IS LINE LEVEL I/P CONNECTION DESIGNED TO SUPPLY HIGH The Nu-Vista M has 5 line level inputs - VOLTAGES AND HIGH CUR- CD, Tuner, Aux, SACD, and Tape.
-
Page 7: Operation
OPERATION BEFORE YOU SWITCH ON REMOTE CONTROL You should make all connections to the The Nu-Vista M features Infra Red Nu-Vista M before switching on. remote control of volume, input selection and mute functions via the supplied remote Follow this routine before you listen for control handset. - Page 8 OPERATION PREAMP OUTPUT source with the source selector button on the front panel. The selected source will now be sent to the 'Tape Record' output for The Nu-Vista M has a permanently recording by the attached tape machine. active preamp output situated on the back panel.
-
Page 9: Troubleshooting
TROUBLESHOOTING Basic troubleshooting of an amplifier is similar to troubleshooting of any other electrical or electronic equipment. Always check the most obvious possible causes first. To give you a few ideas of what to look for, check the following: Problem Probable Cause Remedy No power when POWER... -
Page 10: Specifications
SPECIFICATIONS SUPER INTEGRATED AMPLIFIER Power Output 250 watts per channel into 8 Ohms THD (Typically) < 0.007% at 1KHz < 0.003% at 1KHz (‘A’ weighted) Frequency response (Typically) 20Hz - 60KHz +0.25 / -3dB Inputs 1 phono 5 line level Outputs Speaker outputs, Tape out, Preamp out.
Need help?
Do you have a question about the Nu-Vista M3 and is the answer not in the manual?
Questions and answers