Table of Contents
Advertisement
Quick Links
Advertisement
Table of Contents

Related Manuals for Roland UNO-Di


Summary of Contents for Roland UNO-Di
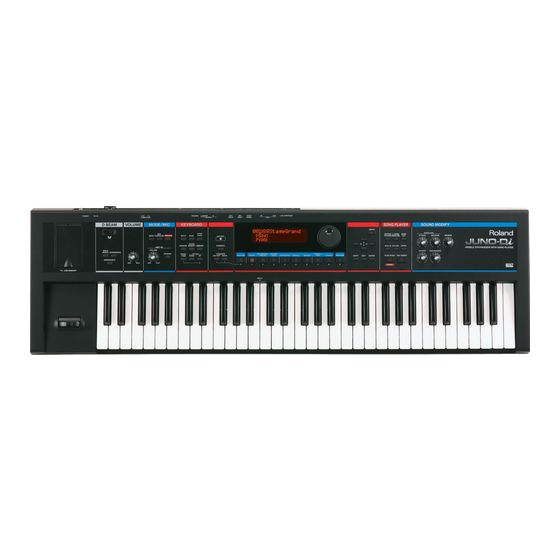
- Page 1 ® JUNO-Di Mobile Synthesizer with Song Player Getting to Know the JUNO-Di © 2009 Roland Corporation U.S. All rights reserved. No part of this publication may be reproduced in any form without the written permission of Roland Corporation U.S. JDiWS01...
- Page 2 Hot Links Each Workshop booklet is meant to be read in order from beginning Roland’s JUNO synthesizers have been making history since the 1980s. to end. However, if we mention an upcoming section—and you see They’ve always been affordable, easy to use, and sounded great. The this arrow—you can click the arrow to jump there immediately.
-
Page 3: Using Batteries
Re-attach the compartment door by inserting its far edge, and then Using Batteries gently pressing down the door so its tabs lock in place. The JUNO-Di can run for about five hours using eight standard nickel- metal hydride AA-type batteries (purchased separately). With an active USB If you reconnect the adaptor while operating on batteries, the JUNO-Di connection, you’ll get around four hours of battery operation. - Page 4 As you play the JUNO-Di keyboard, slowly raise the JUNO-Di’s VOLUME knob to set your listening level. Match the battery-powered JUNO-Di with Roland’s battery-powered The JUNO-Di Controls CUBE Street or MOBILE CUBE, and you’ve got a rig you can take anywhere.
-
Page 5: Combining Sounds
JUNO-Di off and back on before proceeding with “GM2” is short for General MIDI 2. To learn more about General MIDI, demo playback. you can download Roland’s An Introduction to MIDI InFocus booklet from here. Press the PLAY/STOP button in the SONG PLAYER area—... -
Page 6: Selecting Sounds
Performances Built for Speed You can set up sounds as Favorites that you can grab quickly. In addition to standard 16-part performances, the JUNO-Di has a few special We’ll discuss Favorites later. If you’d like to read this section tools for constructing simple performances fast. When you press now, click this jump button. -
Page 7: Transposing The Keyboard
D Beam. • EXPRESSION— adjust parameter designated at the Roland factory as the best for adding expression to the current patch. • ASSIGNABLE— to control the value of a parameter in the current patch that’s been set to respond to D Beam control. - Page 8 Quickly Creating a Two-Sound Split The JUNO-Di’s Transpose feature raises or lowers the pitch of the current sound. If you’re using the Split or Dual features, it affects When you create a simple split using the JUNO-Di’s Dual feature, the pitch of the currently selected part. If you’re playing a standard the keyboard is divided into Lower and Upper zones, each of performance, it also affects the pitch of the current part.
- Page 9 Quickly Creating a Two-Sound Layer The Dual feature layers two patches or rhythm sets on top of each other so they both play when you strike any key on the keyboard. Here’s how to use the JUNO-Di’s Dual feature. Set the parameters on this screen as desired. You can set Select the first patch or rhythm set you want to use in your layered •...
- Page 10 Quick Access to Favorite Sounds and Performances Registering a Sound or Performance as a Favorite Select the patch, rhythm set, or performance you want to register as The JUNO-Di’s Favorite feature allows you to set up frequently used patches, a Favorite. rhythm sets, and performances for quick recall by registering them as If you’re not already there, navigate to the desired bank as described Favorites.
-
Page 11: Chord Memory
The Arpeggiator Chord Memory The arpeggiator takes notes you play on the keyboard and generates a pre- The JUNO-Di’s Chord Memory feature generates a chord based on a single programmed phrase based on those notes. Each of these phrases is called a key you play on the keyboard. -
Page 12: Midi Controller Mode
MIDI Controller Mode The JUNO-Di can act as a powerful MIDI controller you can use for playing external MIDI sound modules, soft synths on a computer, or sequencing in a computer-based digital audio workstation (“DAW”). In fact, with its light Make sure the REVERB button is lit to hear the effect, since pressing weight, battery power, onboard sounds, and USB MIDI connectivity, the SHIFT and REVERB to get to this screen turns off the REVERB button. - Page 13 The Song Player Side of the JUNO-Di How To Play Rhythm Patterns • To start playing a rhythm pattern— press its pad. The pad lights and the Now that we’ve discussed the JUNO-Di as a synthesizer, let’s pattern begins playing. discuss its Song Player tools.
-
Page 14: Using The Playlist Editor
SONG PLAYER’s LEVEL button, and then turning the Value dial to set its volume as desired. To learn more about MIDI, SMFs, and SysEx data, see Roland’s An Introduction to MIDI InFocus booklet, which you can download here. Selecting Rhythm Sets... - Page 15 The pane at the right of the Playlist Editor screen shows you the contents of Once you’ve created the playlist(s) you want, and set its/their playback whatever it is you’ve selected in the Playlist list. Below, we’ve selected Playlist options, select the stick—called “JUNO-Di” in the Playlist Editor’s Drive Library, so the pane on the right is showing us our entire playlist library.
- Page 16 Playing Songs and Playlists Adjusting the Playback Volume of a Song To change the playback volume of a song, press the SONG PLAYER Before playing back an SMF, press the PERFORM button to light it. If area’s LEVEL button to display the AUDIO LEVEL screen when an you want to play along on the JUNO-Di keyboard, turn the Value dial to audio or MP3 file is selected, or the SMF LEVEL screen when an SMF select the PERFORM sound you want to play before starting playback.
Need help?
Do you have a question about the UNO-Di and is the answer not in the manual?
Questions and answers