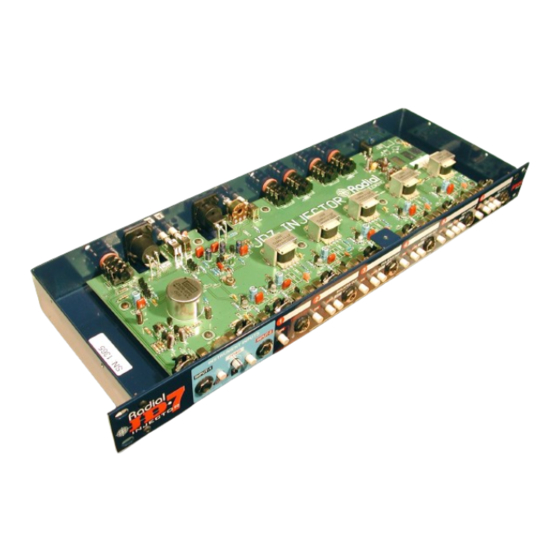
Summary of Contents for Radial Engineering JD7 Injector
- Page 1 Radial JD7 Injector Guitar Signal Distribution and Routing System Owner’s manual Radial Engineering is a division of JP Cabletek Electronics Ltd.
- Page 2 120V present between the amp chassis and ground. Radial Engineering takes no responsibility for this or how the JD7 is connected or used. It is the users full responsibility to ensure that proper electrical polarity is maintained on all equipment connected to the JD7 and that proper building electrical codes have been followed wherever the JD7 is being used.
- Page 3 We are confident that you will quickly go well beyond the scope of this manual as you develop new and creativewaystousethisdevice! As you read this, keep one thing in mind: The Radial JD7 Injector was designed to enhance the creative spirit during the recording process.
-
Page 4: Connecting The Power
For lowest insertion noise keep the power supply unit away from any audio connections. Plug the power adapter cord into the rear 9VDC input on the rear. The JD7 does not have a power on-off switch for two reasons: (a) the Class-A circuit will sound better once the unit has gained electrical and thermal stability, and (b) on-off transients can devastate speakers down the line if 'popped' by switching on at full volume. -
Page 5: Input Section
‘plastic’ finger knob on the JD7 as Drag will normally not be used once you have your set-up dialed in. You will find that the JD7 will quickly become a centerpiece in your studio and you will be using it all the time. We made the Drag control hard to adjust so that it will not be changed inadvertently. - Page 6 60 cycle ground hum caused by ground loops. A ground lift switch is available to allow JD7-to-amp grounding to be lifted at any output. Many older vintage amplifiers use the chassis as the neutral.
- Page 7 Radial DI’s! Labelmarking zones: The Radial JD7 panel has been silk screened with white label areas for identifying your routing. These can be a lifesaver during those hectic studio sessionswhere simplifying equipment routingwouldbeabighelp. Use only erasable pens such as a dry/wet erase or wax markers. Test a small corner on a back label for eraseability beforemarking the front.
- Page 8 Replay the dry track, sending the signal to the XLR female input on the JD7. Selec t ‘INPUT-2’ by depressing the ‘Selec t’ swit ch on the front panel to turn on the XLR input. Adjus t input level to suit.
- Page 9 The JD•7 balanced output should be connected to a mic preamp or mixer mic input. Q: Where can I buy a JD•7? A: The Radial JD•7 is a professional box sold through professional audio and recording outlets. Please contact Radial Engineering for the name of a dealer near you.
-
Page 10: Specifications
22”w x 10”d x 4.5”h (55.9cm x 25.4cm x 11.4cm). Shipping weight: 8lbs / 3.63kg. Radial Engineering 1638 Kebet Way, Port Coquitlam Canada V3C 2M7 tel: 604-942-1001 · fax: 604-942-1010 email: info@radialeng.com web: www.radialeng.com Radial Engineering is a division of JP Cabletek Electronics Ltd. - Page 11 Set-up Saver...
- Page 12 Radial Engineering is a division of JP Cabletek Electronics Ltd.


Need help?
Do you have a question about the JD7 Injector and is the answer not in the manual?
Questions and answers