Table of Contents
Advertisement
Gebrauchs- und Montageanweisung
Glaskeramik-Kochfeld
Instructions for fitting and use
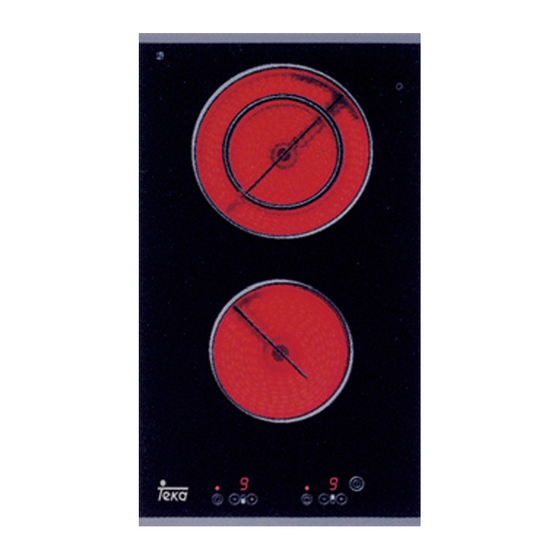
Glass ceramic hob
Instructions de montage et d'utilisation
Table de cuisson vitrocéramique
Gebruiks- en montage-instructies
Keramische kookplaat
Istruzioni per uso e montaggio
Piano di cottura in vetroceramica
Instrucciones para el uso y montaje
Encimera vitrocerámica
Instruções de uso e de montagem
Placa de cozinhar em vitrocerâmica
227059 P11
Advertisement
Table of Contents

Related Manuals for Teka VT-TC-2P


Summary of Contents for Teka VT-TC-2P
- Page 1 Gebrauchs- und Montageanweisung Glaskeramik-Kochfeld Instructions for fitting and use Glass ceramic hob Instructions de montage et d’utilisation Table de cuisson vitrocéramique Gebruiks- en montage-instructies Keramische kookplaat Istruzioni per uso e montaggio Piano di cottura in vetroceramica Instrucciones para el uso y montaje Encimera vitrocerámica Instruções de uso e de montagem Placa de cozinhar em vitrocerâmica...
- Page 2 Elimination de l’emballage Ce que vous trouverez ici... Eliminez le plus écologiquement possible l'emballage de trans- Lisez soigneusement les informations portées dans ce manuel port. Le recyclage des matériaux d'emballage permet d'économi- avant de mettre votre table de cuisson en service. Vous y trouve- ser des matières premières et de réduire le volume des déchets.
-
Page 3: Table Of Contents
Disposing of the packaging For your information... Please ensure the environmentally-friendly disposal of the Please read this manual carefully before using your appliance. It packaging that came with your appliance. Recycling the contains important information on safety and on how to use and packaging material saves on resources and cuts down on waste. -
Page 4: Safety Instructions
Safety instructions Connection and operation • If food boils over onto the sensor buttons, we advise you to Safety instructions activate the OFF button. • The appliances are constructed in accordance with the • Hot pans should not cover the sensor buttons, since this will relevant safety regulations. -
Page 5: Appliance Description
Appliance description 1. ON/OFF button Appliance description 2. Plus button 3. Minus button 4. Power setting display 5. Lock button 6. Lock control lamp 7. Circuit activation key 8. Multi-circuit control lamp Operating the hob with the sensor buttons The ceramic glass hob is operated with touch control sensor buttons. -
Page 6: Operation
Operation Operating time limit How to cut power consumption Operation The hob has an automatic time limit function. The duration of The following are a few useful hints to help you cut your continuous use of each cooking zone depends on the cooking consumption of energy and use your new hob and the cookware level selected (see chart), provided that the setting of a efficiently. -
Page 7: Grilling On The Griddle Cooking Zone
Operation Grilling on the griddle cooking zone Residual heat display A glass ceramic hob is suitable for grilling food direct on a hot The glass ceramic hob is equipped with an H as a cooking zone. Food to be grilled, such as steaks or sausages, is residual heat display. -
Page 8: Operating The Buttons
Operation Operating the buttons The controls described here expect the pressing of a (selection) button to be followed by the pressing of a subsequent button. The next button will need to be pressed within 10 seconds, otherwise the selection will be deleted. The plus / minus buttons can be touched individually or be permanently pressed. -
Page 9: Switching On The Second Element
Operation Switching on the second element (only for cooking zones with several circuits) Two-circuit connection of the respective cooking zone can only be effected after the corresponding cooking zone has been switched on. 1. Select the desired cooking level 1-9. 2. -
Page 10: Automatic Boost Function
Operation Automatic boost function Power Automatic boost function Parboiling takes place at power level 9 with the automatic boost function. setting Time (sec) After a certain time the power level will switch down automatically to a lower simmering setting (1 to 8). When using the automatic boost function only the simmering setting with which the food is to be cooked through needs to be selected since the electronic unit switches down automatically. -
Page 11: Cleaning And Care
Cleaning and Care Changes in the colour of the hob will not affect the function and Cleaning and Care the stability of the glass ceramic material. These colour changes are not changes in the material but food residues which were not •... -
Page 12: What To Do If Trouble Occurs
What to do if trouble occurs The hob or a cooking zone has suddenly switched off What to do if trouble occurs • Did you accidentally press the ON/OFF button? • Are the sensor buttons partly covered by a damp cloth, fluid or a metallic object? The buzzer will sound for a while and an “F”... -
Page 13: Instructions For Assembly
Instructions for assembly Safety instructions for kitchen unit fitters Installation Instructions for assembly • Veneers, adhesives and plastic surfaces of surrounding Important furniture must be temperature resistant (>75°C). If the veneers • If the cooking surface is located above furniture parts (side and surfaces are not sufficiently heat resistant they can panels, drawers, etc.), then an intermediate bottom must be become deformed. - Page 14 Instructions for assembly Clips • Drive the clips into the worktop cut-out at the intervals indicated. It is not necessary to adjust the height due to the horizontal stop. • Important! The horizontal drive of the clips must be flush with the worktop (avoid the risk of fractures) •...
- Page 15 Instructions for assembly...
-
Page 16: Electrical Connection
Instructions for assembly Electrical connection Start of operation • The electrical connection must be carried out by a qualified Once the hob has been installed and the power supply has been electrician who is authorised to carry out such work! provided (mains connected) an automatic test of the controls will be carried out and information for Customer Service will be •...
Need help?
Do you have a question about the VT-TC-2P and is the answer not in the manual?
Questions and answers