
Related Manuals for Alto MP8


Summary of Contents for Alto MP8
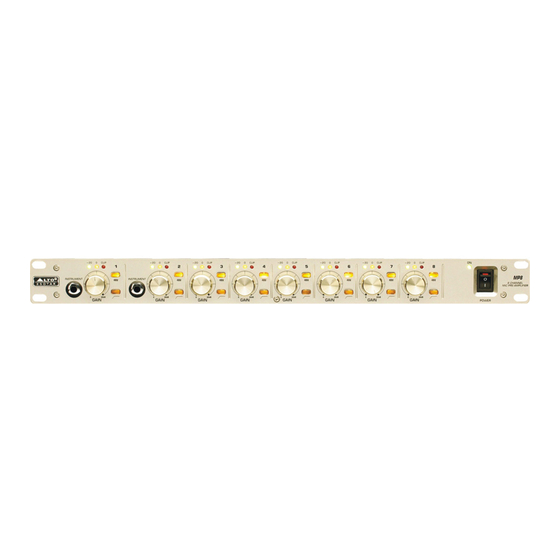
- Page 1 User's Manual EIGHT CHANNELS MICROPHONE/ INSTRUMENT PREAMPLIFIER www.altoproaudio.com Version 1.3 Oct. 2006 English English...
- Page 2 SAFETY RELATED SYMBOLS Fuse To prevent fire and damage to the product, use only the recommended fuse type as indicated in this CAUTION manual. Do not short-circuit the fuse holder. Before RISK OF ELECTRIC SHOCK DO NOT OPEN replacing the fuse, make sure that the product is OFF and disconnected from the AC outlet.
- Page 3 Nothing else to add, but that we would like to thank all the people that made the MP8 Eight Channel Micro phone/...
-
Page 4: Table Of Contents
TABLE OF CONTENTS 1. INTRODUC ION ..............................4 2. FEATURES.................................4 3. CONTROL ELEMENTS............................4 4. INSTALLATION AND CONNECTION........................6 5. BLOCK DIAGRAM..............................8 6. TECHNICAL SPECIFICATION..........................9 7. WARRANTY.................................10... -
Page 5: Introduc Ion T
These first 2 channels of our MP8 include high gain mic /line input with an integrated DI box feature. - Page 6 Each channel comes with input socket. There are balanced XLR sockets (from channel 3 to channel 8) and combo sockets (channel 1 and channel 2). It provides ultra low noise and wide gain control allowing the MP8 user to boost desirable signal without increasing unwanted background noise. Phantom power is available to each channel input of the MP8.
-
Page 7: Installation And Connection
Please ensure that the MP8 supply voltage matches your area voltage before plugging the power cord into the wall outlet, use the same fuse as marked on the fuse holder at the AC power connection. The mains connection of the MP8 is made by using the enclosed mains cord and unit standard IEC receptacle. - Page 8 Please allow at least an additional 4" depth for the connectors on the rear panel. Be sure that there is enough air space around the unit for sufficient ventilation and please do not place the MP8 on high temperature devices such as power amplifiers etc. to avoid overheating.
-
Page 9: Block Diagram
5. BLOCK DIAGRAM... -
Page 10: Technical Specification
<0.007% <-100dB, 22Hz to 22Khz Crosstalk FUNCTION SWITCHES Each MP8 input channel is provided of individual 48V Phantom Power switch 48 Volt Phantom Power High pass filter Each MP8 input channel is provided of individual 80Hz high pass switch INDICATORS 3 element LED display: -20 / 0 / CLIP dB. -
Page 11: Warranty
7. WARRANTY 1. WARRANTY REGISTRATION CARD To obtain Warranty Service, the buyer should first fill out and return the enclosed Warranty Registration Card within 10 days of the Purchase Date. All the information presented in this Warranty Registration Card gives the manufacturer a better understanding of the sales status, so as to purport a more effective and efficient after-sales warranty service. - Page 12 No. 1, Lane 17, Sec. 2, Han Shi West Road, Taichung 40151 Taiwan http://www.altoproaudio.com Tel: 886-4-22313737 email: alto@altoproaudio.com Fax: 886-4-22346757 All rights reserved to ALTO. All features and content might be changed without prior notice. Any photocopy, translation, or reproduction of part of this manual without written permission is forbidden. Copyright 2006 SEIKAKU GROUP NF02243-1.3...
Need help?
Do you have a question about the MP8 and is the answer not in the manual?
Questions and answers