
Related Manuals for Yujin Robot YCR-M05


Summary of Contents for Yujin Robot YCR-M05
-
Page 1: User Guide
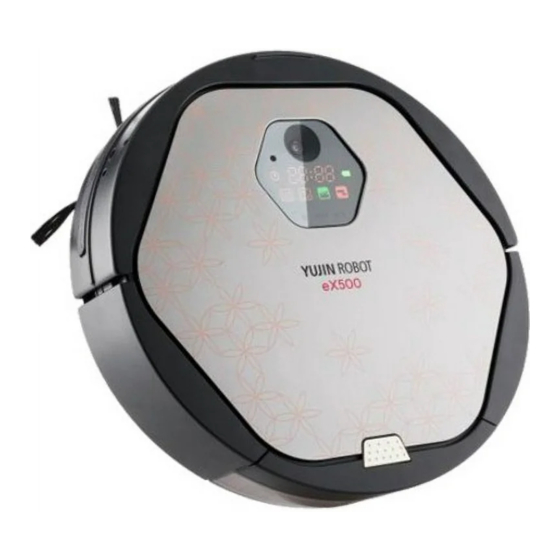
YCR-M05 User Guide Robotic Vacuum Cleaner eX500 ■Please be sure to read the Safety Precautions before use. www.yujinrobotusa.com... -
Page 2: Table Of Contents
Safety precautions Components Reference Tips for e ective cleaning Operating principles of eX500 Installing eX500 pre-operation check list • Assemble side-brushes • Insert remote control batteries • Assemble Ultra Microfiber Mop Pre-cleaning check list • Install Base(Charging) Station • Charging •... -
Page 3: Safety Precautions
Please read this manual carefully and follow all warnings and instructions. Users must be aware of operations prohibited by this product. Prohibited Users must follow the instructions to avoid serious injury or death. Warning Users must follow the instructions to avoid injury or product damage. - Page 4 Precautions before using - Do not touch the charger's power cord with wet hands. is may cause electric shock. Prohibited - Arrange cables or wires in the cleaning area before use to avoid entangling with the robot. Warning is may cause re or electric shock due to damaged cable. - Remove light objects or clothing from the cleaning area before use.
- Page 5 Precautions while using - In the event of an unusual sound, smell or smoke emanating from the product, immediately turn o eX500 and place it in a safe distance away from anything ammable. Warning is may cause electric shock or re. - Do not use eX500 on a table or any high surface.
-
Page 6: Components
Components MODE CLOCK TIMER Robot Cleaner Charging Cleaning Brush Remote Control Station (Batteries included) (Cleaning Brush is inside of the charging station) YCR -M0 5 Qu ick St ar t Gu Rob otic Vac uum Clea ner eX5 00 ※The complet e user manual is also available to downloa d... -
Page 7: Charging Station
● Charging Station ● Dust Bin Antibacterial /Blackout Filter Filter Case Charging Display Dust Bin Infrared Generator Blade Non-Slip Charging Terminal ● Remote Control ● Display Screen Start/Stop Power Button Button Direction Button Increase/ Clock/ Enter Button Decrease Cleaning Buttons Time Battery Status... -
Page 8: Tips For E Ective Cleaning
Tips for effective cleaning Please follow the instructions below for high cleaning e ciency. - Remove and empty eX500' s dust bin a er each use. - Use the Area Boundary Tape to con ne eX500 to a particular room or area, and prevent it from ge ing too close to electrical cords, computer cords, or delicate objects on the oor, etc. -
Page 9: Pre-Operation Check List
Pre-operation check list Assemble side-brushes 1. A er turning over eX500, identify the position of the le and right side brushes. 2. Match the L side brush to the L marked on the bo om of eX500. en match the groove on the xed pin and the side brush and press on rmly. -
Page 10: Pre-Cleaning Check List
Pre-cleaning check list Install Base (Charging) Station 1. Open the back cover of the Charging Station, and install the adapter with connected power plug as shown in the gure 2 above. 2. Completely connect the charging jack of the adapter to the jack inside the charging station. -
Page 11: Set Current Time
Set Current Time ※ Make sure to set the current time for the set cleaning time. 1. Press the Clock bu on on the remote control. e time on the display screen will ash. 2. Set the "hour" with the (+)(-) bu ons on the remote control, and press the Enter bu on. -
Page 12: Using The Move And Charge Functions
3. Use the MODE bu on to select AUTO or During an intelligent cleaning, the robot NDOM. performs the cleaning in vision mapping method. When the robot decides that the cleaning is Spot mode and Max mode can only be selected nsihed, it returns to the starting point. -
Page 13: Cleaning Mode
※ Climbing mode is on by default and eX500 will climb up a height Cleaning of 0.79 inches. ※ To prevent eX500 from climbing onto taller objects press the mode CLIMB button. With climbing mode disabled the robot will only climb a height of 0.79 inches. -
Page 14: Emptying The Dust Bin And Cleaning The Antibacterial Filter
Emptying the Dust Bin and cleaning the Antibacterial Filter 1. Hold the Dust Bin as in the gure and separate Antibacterial Filter Cover. 2. Clean the Filter using Cleaning Brush. ※ Dust Bin can be washed with water. However, completely dry them before assembling and using them again. Cleaning the Side Brushes 1. -
Page 15: Cleaning The Main Brush
Cleaning the Main Brush 2. Unlock the le /right- xed 2. Turn eX500 over and clip of the main brush. place the bo om facing upside. 4. Separate the brush cover then remove the main brush. 5. Clean hair, carpet ber and other substances may get stuck on the main brush using the cleaning brush. -
Page 16: Storage
Storage 1. If eX500 is not used for a long period of time, turn o the Power Switch on the side of the Main Body. ※ Please be aware that the ba ery could be discharged a er an extended period of non-use. -
Page 17: Troubleshooting
Below is the explanation about the most occurred ‘breakdowns’ when using this product. If you can’t solve the problem with information below, please call your Customer service center. Problem C a u s e S o l u t i o n See <Product care &... -
Page 18: Error Codes
Dust bin is full or lter is Empty and clean the dust bin. dirty. Noise of the See <Product care & maintenance> Main brush is dirty. eX500 is (page 13) and clean the lter. Main brush is dirty or hairs ge ing worse. - Page 19 Sensor Charging Time 110 min. Usage Time 120 min. (based on normal floor) Noise 58 dB[A] Yujin Robot Customer Support : 1.855.926.1601 Monday-Friday 9 am to 6pm PST Saturdays Closed Sundays Closed MADE IN KOREA ©2014 Yujin Robot Inc. 16410 Manning Way, Cerritos, CA 90703 support@yujinrobotusa.com...
Need help?
Do you have a question about the YCR-M05 and is the answer not in the manual?
Questions and answers