Sign In
Upload
Download
Table of Contents
Contents
Add to my manuals
Delete from my manuals
Share
URL of this page:
HTML Link:
Bookmark this page
Add
Manual will be automatically added to "My Manuals"
Print this page
×
Bookmark added
×
Added to my manuals
Manuals
Brands
ChamSys Manuals
DJ Equipment
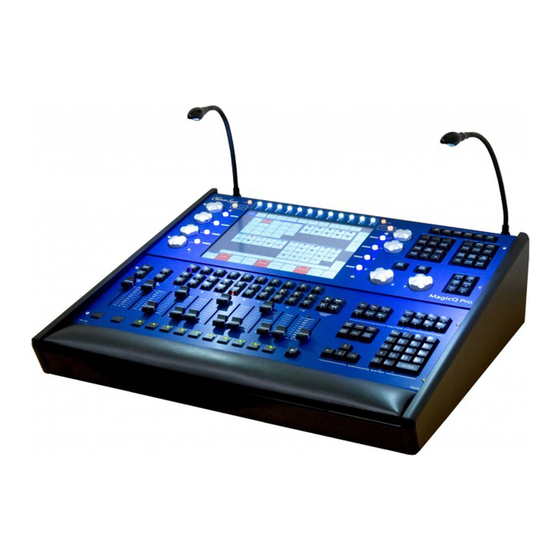
MagicQ MQ100 Pro
Quick start manual
ChamSys MagicQ MQ100 Pro Quick Start Manual
Magicq series
Hide thumbs
1
2
3
4
5
6
7
8
9
10
11
12
13
14
15
16
17
18
19
20
21
22
23
24
25
26
27
28
29
30
31
32
33
34
Table Of Contents
35
page
of
35
Go
/
35
Contents
Table of Contents
Troubleshooting
Bookmarks
Table of Contents
Safety Information
DMX Connections
Powering down
Resetting the Console
Console Layout
Touch Screen & Encoders
Head Control
Editor Buttons
Getting Going
Starting up the Console
Calibrating the Touch Screen
Starting a New Show
Enabling Console Outputs
Using Direct DMX Outputs
Using Artnet and Artnet to DMX Interfaces
Connecting a Magicq Playback Wing
Connecting External Monitors
Naming and Numbering Heads
Controlling Heads
Selecting Heads
Recording a Group
Recalling a Group
Locating Heads
Modifying Attributes
Recording a Palette
Recording a Cue Stack (Chase or Theatre Stack)
Adding in Fx
Saving Your Show
Playing Back Your Show
Troubleshooting
Screen Problems
Startup Problems
Backup Archives
Reporting Problems
Advertisement
Quick Links
1
Safety Information
2
DMX Connections
3
Console Layout
4
Connecting External Monitors
Download this manual
www.chamsys.co.uk
MagicQ Console Quick Start Manual
ChamSys
MagicQ Quick Start Manual
1 of 34
Table of
Contents
Previous
Page
Next
Page
1
2
3
4
5
Advertisement
Table of Contents
Need help?
Do you have a question about the MagicQ MQ100 Pro and is the answer not in the manual?
Ask a question
Questions and answers
Related Manuals for ChamSys MagicQ MQ100 Pro
DJ Equipment ChamSys MagicQ MQ50 Installation, Software Manual And Warranty Certificate
Console (40 pages)
Music Mixer ChamSys MQ70 Service Document
(26 pages)
DJ Equipment ChamSys MagicQ User Manual
(328 pages)
DJ Equipment Chamsys MagicQ MQ200 Pro Quick Start Manual
Magicq series (35 pages)
DJ Equipment Chamsys MagicQ MQ300 Pro Quick Start Manual
Magicq series (35 pages)
DJ Equipment Chamsys Magic MQ100 Xpert Quick Start Manual
Magicq series (35 pages)
DJ Equipment ChamSys MagicQ MQ Stadium Series Manual
Console (46 pages)
DJ Equipment ChamSys QuickQ Series Service Document
(18 pages)
DJ Equipment ChamSys QuickQ 10 Manual
Test procedure (5 pages)
This manual is also suitable for:
Magicq mq50
Magicq mq200 pro
Magicq mq300 pro
Magic mq100 xpert
Table of Contents
Print
Rename the bookmark
Delete bookmark?
Delete from my manuals?
Login
Sign In
OR
Sign in with Facebook
Sign in with Google
Upload manual
Upload from disk
Upload from URL


Need help?
Do you have a question about the MagicQ MQ100 Pro and is the answer not in the manual?
Questions and answers