Table of Contents
Advertisement
ChamSys QuickQ Series Service Document
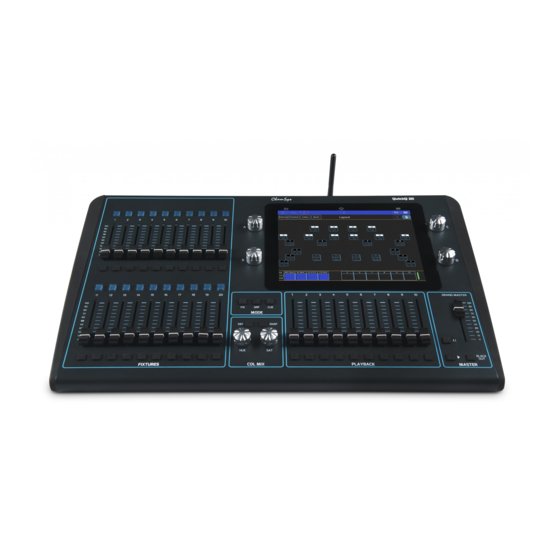
ChamSys QuickQ Series
Service Document
This manual covers all consoles in the ChamSys QuickQ series.
MAINTENANCE SHOULD BE CARRIED OUT BY EXPERIENCED AND
QUALIFIED PERSONNEL ONLY
WARNING – LIVE 240V AC. DISCONNECT MAINS BEFORE
PERFORMING ANY MAINTENANCE
Page 1 of 17
www.chamsys.co.uk
Advertisement
Table of Contents

Related Manuals for ChamSys QuickQ Series


Summary of Contents for ChamSys QuickQ Series
- Page 1 ChamSys QuickQ Series Service Document ChamSys QuickQ Series Service Document This manual covers all consoles in the ChamSys QuickQ series. MAINTENANCE SHOULD BE CARRIED OUT BY EXPERIENCED AND QUALIFIED PERSONNEL ONLY WARNING – LIVE 240V AC. DISCONNECT MAINS BEFORE PERFORMING ANY MAINTENANCE Page 1 of 17 www.chamsys.co.uk...
-
Page 2: Section 1: An Overview Of The Console And All Components
Below is an exploded picture of a QuickQ 20 console, showing all components. Underneath is a list of all parts and ChamSys part numbers, where applicable. Note that these parts are for a QuickQ 20 console, as an example. Parts for the QuickQ 10 and QuickQ 30 consoles are similar, in most cases the same. -
Page 3: Section 2: Testing To Determine Faults
ChamSys QuickQ Series Service Document Section 2: Testing to determine faults. All ChamSys consoles contain built-in hardware tests, including the QuickQ series. To access these tests on a QuickQ console, follow the steps below. Power on the QuickQ console 2. Enter the Setup window via the menu button (top right - see image below) 3. -
Page 4: Section 3: Full Disassembly Of The Console
ChamSys QuickQ Series Service Document Faders and encoders are the most likely parts to wear over time and require replacing. These can be tested using the corresponding front panel tests. Encoders should show positive values when moved in a clockwise direction, and negative values when moved anti-clockwise. - Page 5 ChamSys QuickQ Series Service Document Step one: Remove the M3x6 black screws from the rear and bottom of the console using a PZ1 screwdriver, as highlighted in the images below. Note that the QuickQ 30 has more of these screws to remove, but these are found around the same places as the example.
- Page 6 ChamSys QuickQ Series Service Document Step four: Carefully lift the front panel up from the top, leaving the bottom down on the surface. As you lift the front panel up, look underneath and you will see 2x cables that need to be disconnected. The first runs from near the top of the preset fader PCB, to the motherboard.
- Page 7 ChamSys QuickQ Series Service Document Disassembly of the base section of the console: Whether you need to replace the LCD display, motherboard, or DMX PCB, you will always first need to remove the display to access all parts. This is screwed into the display base tray and needs to first be removed as a whole unit.
- Page 8 ChamSys QuickQ Series Service Document To remove the DMX PCB: First remove the 4x screws from around the DMX ports on the rear of the console as pictured, right. Once these are removed, it is recommended that you first disconnect the PCB, before removing the final screws.
- Page 9 ChamSys QuickQ Series Service Document To remove the plastic moulded endcheeks/feet from the console: The final part for complete disassembly for the base of the console is to remove the endcheeks/feet from the console. There is one of these on each side, each secured with a total of 7x M4x6 black screws –...
- Page 10 ChamSys QuickQ Series Service Document To remove the encoder PCBs: Each of these PCBs is secured in place with 2x M3x6 screws and shake-proof washers, removable with a PZ1 screwdriver. Each PCB is also connected by one cable, which can be disconnected at either end by pulling with light force, while wiggling the connector until it comes free.
- Page 11 If you are experiencing any issues with a console not covered in the next section, or have any further questions, please contact ChamSys support on +44 (0)2380 238 666, or at support@chamsys.co.uk for more information.
-
Page 12: Section 4: Resolving Some Common Issues
ChamSys QuickQ Series Service Document Section 4: Resolving some common issues. Below are some common issues that can appear on QuickQ consoles and how to solve these, including replacing faders, encoders, and resolving issues with LEDs. Replacing faders: Faders can naturally wear down with use and may end up needing replacement if noise is being experienced, or they feel scratchy, or unusually loose. - Page 13 ChamSys QuickQ Series Service Document Diagnosing and replacing faulty LEDs: Usually when issues occur with LEDs, a few or an entire row will stop working, since they are connected in series. As mentioned in section 2, an entire row of LEDs not working is usually actually an issue with 1 LED only;...
-
Page 14: Section 5: Setting The Id Of The Multi-Function Preset Fader Pcb
ChamSys QuickQ Series Service Document Replacing switches: To replace switches, first remove the relevant PCB from the console, as per the instructions in section 3. You will then need to remove the rubber keymat for the row of switches, which simply pulls off. The faulty switch can then be replaced by de-soldering the 4 surface-mounted solder joints, as highlighted in the image below, right. - Page 15 ChamSys QuickQ Series Service Document 5. You should now see the test screen, as shown below, left. 6. Hold down the UPPER fader bank select/flash keys 1, 3 and 5 of the panel you wish to reprogram as shown below, right.
-
Page 16: Section 6: Resetting The Console
ChamSys QuickQ Series Service Document Section 6: Resetting the console. Some issues can often be solved by soft resetting the console, or even completely restoring the console to a factory state. Below are how to perform each of these actions. -
Page 17: Technical Specifications
100-710 100-720 100-730 If you are experiencing any issues with a console that are not covered in this document, or have any further questions, please contact ChamSys support for more information. Tel: +44 (0)2380 238 666 Email: support@chamsys.co.uk Page 17 of 17...
Need help?
Do you have a question about the QuickQ Series and is the answer not in the manual?
Questions and answers