
Related Manuals for Planet Audio P9759B


Summary of Contents for Planet Audio P9759B
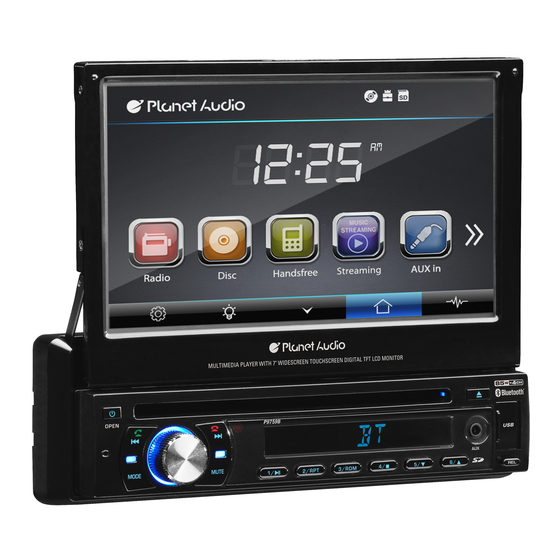
- Page 1 P9759B One Din In-Dash 7" (178mm) Digital with dual (front and rear)USB and SD Memory card port and AUX Input Planet Audio is not affiliated with Apple, Inc...
-
Page 3: Table Of Contents
INSTRUCTIONS CONTENTS Panel Introduction Basic Function Remote Control Operation Turn on/off Host Access main interface USB/SD Card Operation Radio Operation Disc Operation Play/Eject Disc DVD/VCD Disc Playback CD Disc Playback MP3/WMA Format Disc Playback Touch Menu Function BT Operation ST. Wheel setting External input operation Calendar Calculator... -
Page 4: Panel Introduction
INSTRUCTIONS INSTRUCTIONS Panel Introduction ACCESSORY P9759B Accessory Quantity Wire USB Cable Remote Controller Warranty card 2PCS OPEN DVD Parental control function DVD Parental control function P9759B 2/RPT 3/RDM MODE MUTE DVD Parental control function:The default set for DVD is #8 adult, which means all grades of DVD can be read without entering password.To... -
Page 5: Basic Function
INSTRUCTIONS BASIC FUNCTION /OPEN Button SPECIFICATIONS Press the button to open / close the screen. Press this button for short moment to turn on power, and long press it to turn off power. Power supply DC 12V Power range 2.SEEK Knob 10.8-16.0V DC In radio mode, press / rotate the knob to select station upward / backward. -
Page 6: Wiring Diagram
INSTRUCTIONS WIRING DIAGRAM 12. Number Button 6 / This player is equipped with ISO standard connector, please follow below instruction: In playback mode, press the button to adjust the angle of screen. Red - ACC ON (+12V) Grey/Grey black - Right front speaker (+/-) ●... -
Page 7: Touch Screen Calibration
Touch screen Calibration Remote Control Operation Please follow the below instructions to calibrate when there is no touch or 3. SOURCE Button touch is not accurate. Press this button to change mode. Step 1: Press the mode button in the unit to switch to DVD mode. Step 2: Insert a DVD disc, after DVD is loaded, press the stop button “... - Page 8 INSTRUCTIONS INSTRUCTIONS 14. 0-10+ Button 23. ANGLE Button Version 、 Press this button to choose desired song In DVD mode, press this button to change Touch the icon [ ]in setting interface to enter the section、preset stations. play angle. interface below to check the software version number Decimal numbers, for example the 19th of DISC/MCU/TFT/BT ( The version information is displayed song, press 10+ and 9 button.
-
Page 9: Turn On/Off Host
Access setup interface Turn on/off Click [Setting] icon on main interface to access setup interface. When the ignition switch is put in ACC or ON position, Press power button on the front panel to turn on the unit. After the host starts, hold power button for 3 seconds, the host will turn off. -
Page 10: Radio Operation
Radio Operation Other Operation 1. Enter/exit Rear view function Touch [Radio] icon in the main interface to enter into the radio interface. In any running state, the video signal can switch to reverse video state when reversing Touch icon to return to main interface, and then touch other function icons so as to the car, and the system shall return to its initial running state after reversing the car. -
Page 11: St. Wheel Setting
ST. Wheel setting Disc Operation 1. Click on the [ ] icon in the main interface into the SWC. settings interface. 1. Play/eject disc Play disc 2. The original vehicle to the control line positive, Insert the disc into the disc slot with the printing surface up, system will detect the disc negative with the machine control line in the and automatically take it in to read and play. -
Page 12: Bt Operation
INSTRUCTIONS BT Operation 1. Enter/exit Return to root menu Touch the icon [ ] in main interface or under Radio/SD/USB/Media/BT Music status Touch this icon, it shall return to root menu of disk in DVD state and access PBC menu to enter BT [ ] main interface;...
Need help?
Do you have a question about the P9759B and is the answer not in the manual?
Questions and answers