Table of Contents
Advertisement
Quick Links
Advertisement
Table of Contents

Related Manuals for Stardom SR2611 Series


Summary of Contents for Stardom SR2611 Series
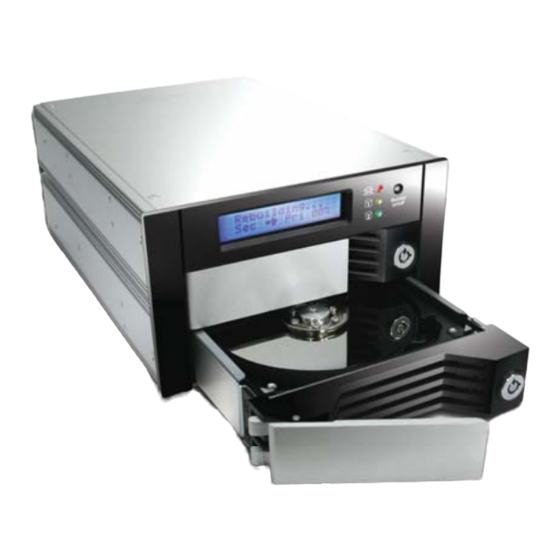
- Page 1 SOHORAID Series SR2611 Series Manual Two Bays RAID 1 Internal Module...
- Page 2 Your Data Security Guardian SOHORAID Series w w w . s t a r d o m . c o m . t w...
-
Page 3: Quick Installation Guide
SR2611-2S-S1 Quick Installation Guide Version:1.0... -
Page 4: Table Of Contents
Index Check Package Contents and Accessories..........2 System Requirement & Environment requirement and notices....3 Hardware Installation Procedure..............4 Connecting SR2611 to your computer............5 Setting the Hard Drive Array Mode.............. 6 Computer Set Up..................7 Hard Disk status on LCD screen..............8 Appendix:Trouble Shooting/Q&A............. -
Page 5: Check Package Contents And Accessories
Check Package Contents and Accessories SR2611 system includes the following: Item Quantity SR2611 Removable Carrier Removable Carrier SR2611 Internal RS232 cable External RS232 cable 45cm SATA Cable User’s Guide RAIDGuide CD Internal RS232 cable External RS232 cable Accessories bag (includes 6#-32 screws x 8 pcs , Key for keylock x 2) 45cm SATA cable User’s Guide RAIDGuide CD... -
Page 6: System Requirement & Environment Requirement And Notices
Fujitsu, Hitachi, and etc. However, due to the new types of hard drives appearing on the market, if your hard drive is not compatible with the system, please contact us at www.stardom.com.tw or download the latest firmware updates. 5. The SR2611 is equipped with a 5.2 cm ball bearing cooling fan that will provide effective cooling for the 7200 rpm hard drive. -
Page 7: Hardware Installation Procedure
Hardware Installation Procedure 1.Connect the SATA cables on the removable hard drive carrier to the pins of hard drive. 2. Secure the hard drive into the removable hard drive carrier by the screws which provided in the accessory pack. 8 x 6#-32 screw Hardware Installation Procedure... -
Page 8: Connecting Sr2611 To Your Computer
Connecting SR2611 to your computer 1. Connect DC12V&4V power cables and SATA cables to SR2611. 2. Secure RS232 set on the SR2611 machine 3. Connect SR2611 to the motherboard COM 1 with RS232 cables which included in the accessory pack as shown in the picture. RS232 +12V 45cm SATA Cable... -
Page 9: Setting The Hard Drive Array Mode
Setting the Hard Drive Array Mode Installing two brand new hard drives 1. Place two new hard drives into SR2611 at the same time. 2. Use the disk monitoring software in the operating system to partition and format the hard drive after turning the machine on. -
Page 10: Computer Set Up
Computer Set Up When the hardware setup for SR2611 is complete, you are now ready to turn the machine on. 1. After the hardware installation is complete, the SR2611 will be treated as one single hard drive. Set the hard drive to AUTO in the computer’s BIOS. When the computer is turned on, the system will retrieve the following information: 2. -
Page 11: Hard Disk Status On Lcd Screen
Hard Disk status on LCD screen Left Hard Drive (Primary Hard Drive) Fail Right Hard Drive (Secondary Hard Drive) Normal Pri HDD : Fail Sec HDD : OK Primary hard drive storage capacity larger than secondary hard drive Wrong Capacity PRI>SEC Secondary hard drive storage capacity larger than primary hard drive Wrong Capacity... - Page 12 The LCD Display Message During Hot Swap and Auto Rebuilding When the SR2611 detects a hard drive missing or a hard drive failure, the Buzzer will go off and the LCD display screen will display the following messages: Pri HDD : OK Pri HDD : Fail Sec HDD : Fail Sec HDD : OK...
-
Page 13: Appendix:trouble Shooting/Q&A
Appendix:Trouble Shooting / Q&A Unstable system after connecting SR2611 Q: After installing SR2611, we are unable to start the computer or the computer can not locate SR2611 upon startup. A: 1. Please check whether the readings on the SR2611 LCD display screen appear normal. 2. - Page 14 About Auto Rebuilding Function Q: What will happen if we turn off the computer’s power while SR2611 is still executing data auto rebuilding? A: Under the mirror mode (RAID 1), if the power is out of the auto rebuilding process, the controller will remember when completion percentage of the auto rebuilding process and resume the rebuilding process when the power is back on.
Need help?
Do you have a question about the SR2611 Series and is the answer not in the manual?
Questions and answers