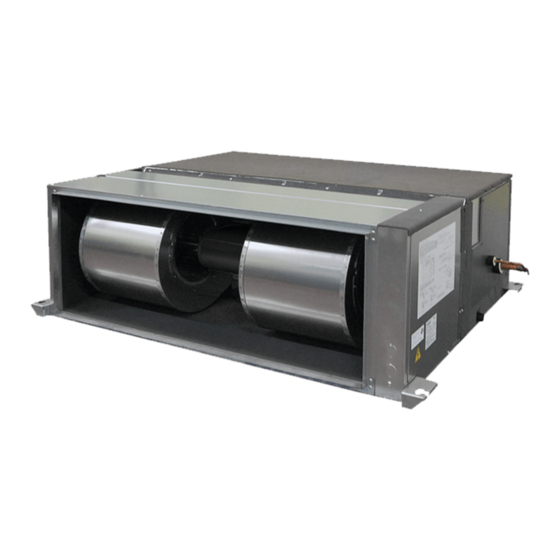
Summary of Contents for Mitsubishi Electric PEA-RP250 WHA
-
Page 1: Installation Manual
Air-Conditioners INDOOR UNIT PEA-RP250 WHA INSTALLATION MANUAL For safe and correct use, please read this installation manual thoroughly before installing the air-conditioner unit. - Page 2 [Fig. 3.2.1] 1100 1350 Keep the service space for the maintenance from the bottom when the heat exchanger is cleaned. 1100 1250 1324 more than 100 A Access door B Electrical parts box C Air inlet D Air outlet E Ceiling surface [Fig.
- Page 3 [Fig. 7.1.1] [Fig. 7.1.2] A Cool by a wet cloth A Cut here B Remove brazed cap [Fig. 7.1.3] A Thermal insulation tubing (small) B Caution: Pull out the thermal insulation on the refrigerant piping at the site, braze the piping, and replace the insulation in its original position.
- Page 4 [Fig. 8.0.1] A Air inlet B Air filter (supplied at site) C Duct D Canvas duct E Access door F Ceiling G Ensure sufficient length to prevent short cycling H Air outlet I Keep duct-work length 850 mm or more [Fig.
- Page 5 [Fig. 9.3.1] [Fig. 9.3.2] A Terminal bed box B Knockout hole C Remove A Screw holding cover (2pcs) B Cover [Fig. 9.3.3] E Use PG bushing to keep the weight of the cable and external force from being I Power source terminal bed applied to the power supply terminal connector.
-
Page 6: Table Of Contents
Do not reconstruct or change the settings of the protection devices. - If the pressure switch, thermal switch, or other protection device is shorted Warning: and operated forcibly, or parts other than those specified by Mitsubishi Elec- • Ask the dealer or an authorized technician to install the air conditioner. -
Page 7: Before Getting Installed
• Use ester oil, ether oil or alkylbenzene (small amount) as the refrigerator • Install the power cable so that tension is not applied to the cable. oil to coat flares and flange connections. - Tension may cause the cable to break and generate heat and cause a fire. - The refrigerator oil will degrade if it is mixed with a large amount of mineral oil. -
Page 8: Install The Indoor Unit On A Ceiling Strong Enough To Sustain Its Weight
Ceiling: The ceiling structure varies from building to one another. For detailed information, consult your construction company. Center of gravity and Product Weight Model name Product Weight (kg) PEA-RP250 WHA 1034 1324 5. Installing the unit 5.1. Hanging the unit body 5.3. -
Page 9: Refrigerant Pipe And Drain Pipe Specifications
6.1. Refrigerant pipe and drain pipe specifications Model Item Refrigerant pipe Liquid pipe ø 9.52 (Brazing connection) Gas pipe ø 22.2 Drain pipe O.D. ø 32 6.2. Refrigerant pipe, drain pipe [Fig. 6.2.1] (P.2) A Air inlet B Refrigerant piping (liquid) C Refrigerant piping (gas) D Control box E Drain pipe... -
Page 10: Duct Work
In the case of Class B fuse rated 15 A or 20 A, polarized 2-wire) NF model name (MITSUBISHI): NF30-CS (15 A) (20 A) NV model name (MITSUBISHI): NV30-CA (15 A) (20 A) Use an earth leakage breaker with a sensitivity of less than 30 mA 0.1 s. -
Page 11: Connecting Electrical Connections
• Connect the remote controller’s transmission cable within 10 m using a 0.75 mm 9.4. External I/O specifications core cable. If the distance is more than 10 m, use a 1.25 mm junction cable. [Fig. 9.2.1] (P.4) MA Remote controller Caution: A Terminal block for indoor transmission cable 1. - Page 12 Please be sure to put the contact address/telephone number on this manual before handing it to the customer. HEAD OFFICE: TOKYO BLDG., 2-7-3, MARUNOUCHI, CHIYODA-KU, TOKYO 100-8310, JAPAN Authorized representative in EU: MITSUBISHI ELECTRIC EUROPE B.V. HARMAN HOUSE, 1 GEORGE STREET, UXBRIDGE, MIDDLESEX UB8 1QQ, U.K. WT05750X01...


Need help?
Do you have a question about the PEA-RP250 WHA and is the answer not in the manual?
Questions and answers