
Subscribe to Our Youtube Channel
Related Manuals for Multiplex Funjet


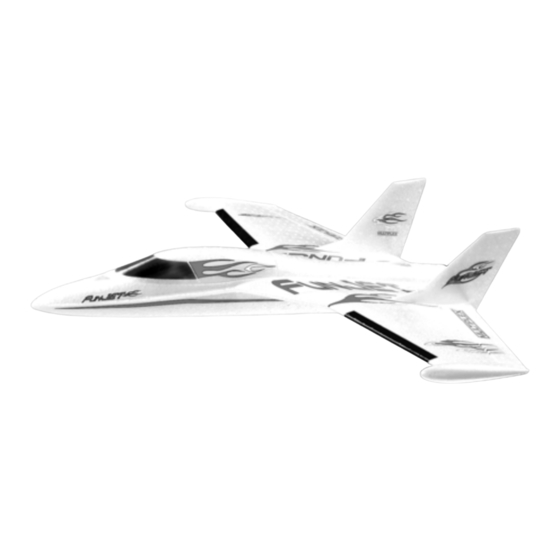
Summary of Contents for Multiplex Funjet
- Page 1 Kit Best.-Nr. 21 4213 Bauanleitung 03 ... 07 Building instructions 08 ... 12 Notice de construction 13 ... 21 Instruzioni di montaggio 22 ... 26 Instrucciones de montaje 27 ... 31 © Copyright by MULTIPLEX 2006 Version 1.0...
- Page 2 Sicherheitshinweise Prüfen Sie vor jedem Start den festen Sitz des Motors und der Luftschrauben - insbesondere nach dem Transport, härteren Landungen sowie Abstürzen. Prüfen Sie ebenfalls vor jedem Start den festen Sitz und die richtige Position der Tragflächen auf dem Rumpf.
- Page 3 Examine your kit carefully! MULTIPLEX model kits are subject to constant quality checks throughout the production process, and we sincerely hope that you are completely satisfied with the contents of your kit. However, we would ask you to check all the parts before you start construction, as we cannot exchange components which you have already worked on.
- Page 4 Allow the adhesive to cure for a few minutes before placing any load on the wing. 4. Installing the servos The model is designed for MULTIPLEX Nano-S servos. The 9. Elevon pushrods servo leads have to be soldered directly to the servo...
- Page 5 The FunJet’s propeller 35 has to push rather than pull, so it must be positioned in the propeller driver with the front face Caution: even small motors and propellers constitute pointing forward, in the direction of flight.
- Page 6 The FunJet rolls slightly to 21. Gilding the lily - applying the decals the left at full-throttle.
- Page 7 MULTIPLEX main catalogue, as our While the FunJet is still at a safe altitude, switch off the products are designed and manufactured exclusively by motor and try out the controls on the glide. Carry out a “dry practising modellers for other practising modellers.
- Page 8 Kit Best.-Nr. 21 4213 Abb. 01 Abb.02...
- Page 9 Abb. 03 Abb. 04 Abb. 05 Abb. 06 Abb. 08 Abb.07 Abb. 09 Abb. 10...
- Page 10 Abb. 12 Abb. 11 Abb. 13 Abb. 14 Abb. 15 Abb. 16 Controller Accu 30 mm Abb. 18 Abb. 17...
- Page 11 Ersatzteile (bitte bei Ihrem Fachhändler bestellen) Replacement parts (please order from your model shop) Pièces de rechanges (S.V.P. à ne commander que chez votre revendeur) Parti di ricambio (da ordinare presso il rivenditore) Repuestos (por favor, diríjase a su distribuidor) # 22 4184 # 22 4183 Leitwerkssatz...
Need help?
Do you have a question about the Funjet and is the answer not in the manual?
Questions and answers