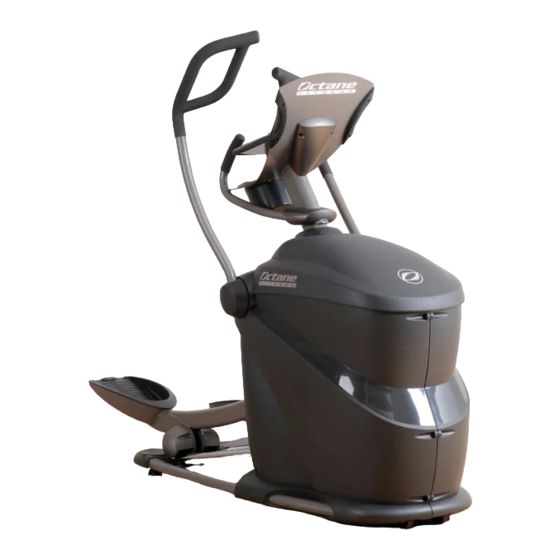
Summary of Contents for Octane Fitness Pro 370
- Page 3 If you have any additional questions or need additional assistance in assembly, please contact your local service provider or Octane Fitness Customer Service at 1.888.OCTANE4 ext. 1, You may also send an email to customerservice@octanefitness.com, or visit us on the web at www.octanefitness.com.
- Page 4 P R O 3 7 0 c o n t e n t s The Octane Fitness base box contains the following: tools required: A) 1 - Octane Fitness cross trainer base • Phillips screwdriver B) 1 - Console mast •...
- Page 5 Hardware Pack (J) includes: K) 8 - 6mm hex key chamfered bolt (for moving handlebars) L) 2 - Phillips screws (for mounting access panel) M) 2 - Phillips screws with washers (for mounting top cover) N) 1 - Cable tie (for securing loose wires) The PRO370 console box contains the following: 1 - Console 1 - Keypad...
- Page 6 1. Attach pedal lever a. Remove bolt from 3-pivot link. b. Place right pedal lever (E) through leg slot in rear shroud of the cross trainer base (A) and attach it to the 3-pivot link. Check to see that the rollers are seated and properly aligned on the rails before securing the pedal lever.
- Page 7 4. install console mast a. Attach the console mast (B) by placing the keyhole slots in the mast plate over the bolts on the cross trainer base (A) and sliding the console mast toward the pedals. b. Tighten the four 6mm hex key bolts attaching console mast to frame.
- Page 8 If any issues are detected, recheck the connections, then contact Octane Fitness Customer Service for assistance. Once you have verified these functions, proceed with Keypad Heart Rate remaining steps.
- Page 9 Repeat for the other arm. Should you have any questions or concerns in making this adjustment, please contact your local service provider or contact Octane Fitness Customer Service at 1.888.OCTANE4, ext. 1. 8. Place top cover a Align top cover (C) on top of main housing. Hold the back...
- Page 10 9. install mast boot a. Place the rubber mast boot (I) around the mast (B), covering the open ends of the stationary handlebars. b. Tuck the ends of the mast boot (I) into the channels in the access panel (D) just below the stationary handlebars. 10.
- Page 11 12. set user preferences a. Press and hold both the Up Arrow () and Down Arrow () keys for three seconds, or until you hear a double-beep. Working with the owner of the unit, use the Up Arrow () or Down Arrow () key to step through the customizable functions: Warm-up (On/Off), Clock Direction (Up/Down), Max Workout Time, Unit Type (English/Metric), Beep (On/ Off), and Brightness.
- Page 12 © 2008 Octane Fitness, LLC ™ . All rights reserved. Octane Fitness, DedicatedLogic, Fuel Your Life, HeartLogic, Now-Zone and X-Mode are registered trademarks of Octane Fitness. Any use of these trademarks, without the express written consent of Octane Fitness, is forbidden.


Need help?
Do you have a question about the Pro 370 and is the answer not in the manual?
Questions and answers