
Related Manuals for Dynex DX-PS12CC


Summary of Contents for Dynex DX-PS12CC
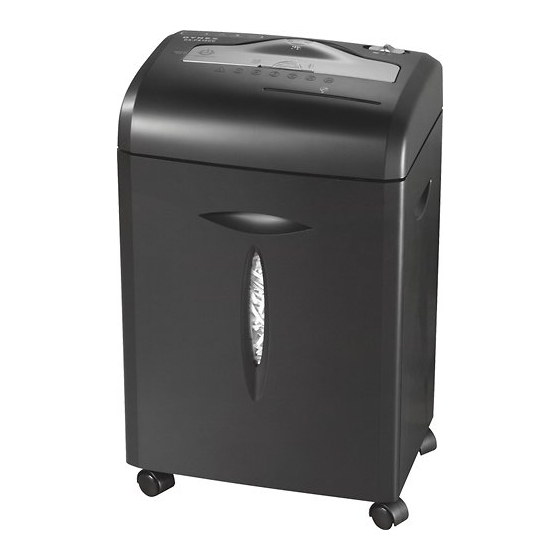
- Page 1 12-sheet Crosscut Paper Shredder DX-PS12CC U S ER G U I D E Before using your new product, please read these instructions to prevent any damage.
-
Page 2: Table Of Contents
12-sheet Crosscut Paper Shredder Contents Important safety instructions..............2 Features ....................3 Package contents ..................4 Setting up the shredder ................4 Using the shredder..................7 Maintaining ....................9 Troubleshooting..................10 Specifications..................11 One-year limited warranty..............13 Important safety instructions Read instructions before use. Avoid touching the document feed opening with your hands. Product is not intended for use by children (product is not a toy). -
Page 3: Features
12-sheet Crosscut Paper Shredder Do not spray or keep any aerosol products in or around shredder. Avoid loose clothing or jewelry touching the document feed opening. Avoid getting your hair near the document feed opening. RISK OF FIRE. Never use any petroleum based or flammable oils or lubricants in or around the machine as some oils can combust causing serious injury. -
Page 4: Package Contents
DX-PS12CC Package contents • Shredder body • Wastebasket • Shredder head • Casters (4) • User Guide Setting up the shredder Warning: Crosscut shredders have very sharp exposed blades on the underside. Use care when mounting the shredder on the wastebasket. - Page 5 12-sheet Crosscut Paper Shredder Firmly press all four caster wheels into the bottom of the shredder body. Slide the wastebasket out of the shredder body.
- Page 6 DX-PS12CC Using the handle on the shredder head, lift and gently place the shredder head onto the rim of the shredder body. Make certain the clips on the edge of the body are lined up with the openings underneath the shredder head. The curved flap-like shape located on the back of the shredder head should also align and fit properly as shown.
-
Page 7: Using The Shredder
12-sheet Crosscut Paper Shredder Complete assembly by sliding the wastebasket back in. Plug shredder into a nearby socket-outlet and switch the power mode over to “Auto”. Make sure that the wastebasket is slid fully into the shredder body. This shredder features a safety power cutoff and does not operate if the wastebasket is removed. - Page 8 DX-PS12CC To begin shredding, locate the switch on the shredder (on the top, at the right rear corner) and select the “Auto” mode. The Green Power LED indicates the shredder is On and ready to use. Position Setting Indicates AUTO/ON This setting allows the shredder to be automatically started by inserting paper into the shred opening.
-
Page 9: Maintaining
12-sheet Crosscut Paper Shredder Caution: • Never feed more than one credit card or CD/DVD at a time. • Only shred credit cards by feeding them vertically into the middle of the entry, releasing when shredding begins. Never feed more than one credit card at a time. •... -
Page 10: Troubleshooting
DX-PS12CC Troubleshooting If there is a problem with your shredder, check below for the symptoms and steps to resolve. If you continue to have problems, contact customer support at our Service Center. DO NOT ATTEMPT TO REPAIR BY OPENING THE SHREDDER HEAD. This will completely void the product warranty. -
Page 11: Specifications
12-sheet Crosscut Paper Shredder Specifications Sheet capacity 12 sheets of 20 lb. bond paper (one folded sheet of paper equals two sheets of paper.) Paper shred size 7/32 in x 2 5/32 in pieces (0.56 cm x 5.5 cm) Paper entry width 8.7 in (22.0 cm) Credit card and CD capacity One at a time... - Page 12 DX-PS12CC...
-
Page 13: One-Year Limited Warranty
If service of products and parts are required after the Warranty Period expires, you must pay all labor and parts charges. This warranty lasts as long as you own your Dynex Product during the Warranty Period. - Page 14 7601 Penn Avenue South, Richfield, Minnesota, U.S.A. 55423-3645 © 2013 BBY Solutions, Inc. All rights reserved. DYNEX is a trademark of BBY Solutions, Inc. Registered in some countries. All other products and brand names are trademarks of their respective owners.
- Page 15 7601 Penn Ave. South, Richfield, MN 55423 U.S.A. © 2013 BBY Solutions, Inc. All rights reserved. DYNEX is a trademark of BBY Solutions, Inc. Registered in some countries. All other products and brand names are trademarks of their respective owners.
Need help?
Do you have a question about the DX-PS12CC and is the answer not in the manual?
Questions and answers