Table of Contents
Advertisement
Advertisement
Table of Contents

Subscribe to Our Youtube Channel
Related Manuals for Faber Presence


Summary of Contents for Faber Presence
- Page 1 Presence Installation Guide users manual 40011221-1138...
- Page 2 Installation Guide < < < <...
- Page 3 < < < <...
- Page 4 < < < <...
- Page 5 < < < <...
-
Page 6: Installation Requirements
Introduction you to be outside the room as much as possible during this process! • Please note that: The fire can only be installed by a competent 1. all transport packaging should be person in accordance with the Gas Safety removed. - Page 7 C. The frame now can be hung on the support. (see fig.3.3) Requirements flue system and outlets Batteries. Top outlet The battery pack is fixed on a chain inside the The flue connector collar is for connection to burner unit on the right side. (see fig.2.2) a 125 mm (5 inch) internal diameter pipe or Pull the chain to remove it.
-
Page 8: Checking The Installation
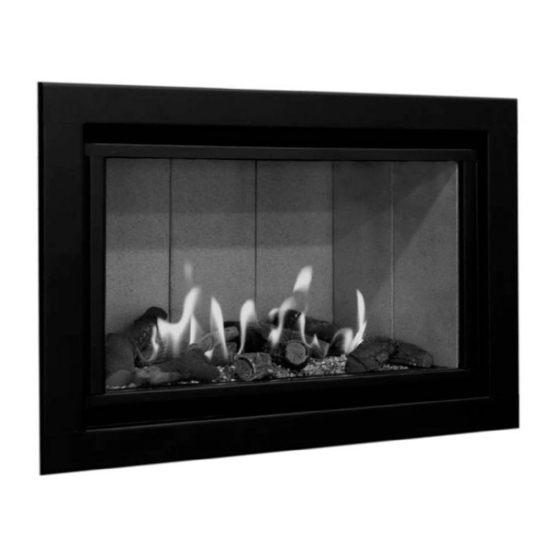
Placing the log set, decoration Checking for gas leakage. Check all connections and joints for possible material gas leaks by means of a gas leak detector or spray It is not allowed to add different or more Checking the burner pressure and the materials to the combustion chamber. -
Page 9: Annual Maintenance
the same room or adjacent rooms Conversion to a different type of running on high. gas (e.g. propane) • Check if any other open flue appliances and flues in the same or This can only be done by installing the proper adjacent rooms function correctly burner unit. -
Page 10: Technical Data
10 Technical data Gas category II2H3+ II2H3+ II2H3+ Type of appliance B11AS B11AS B11AS Reference gas Input - Nett - Gross Efficiency class (76%) (76%) (76%) NOx class inlet pressure mbar Gas rate at 15ºC and 1013 mbar Gas rate at 15ºC and gr/h 1013 mbar Burner pressure at full... - Page 11 11 Dimensions Presence Frameless Top outlet < < < <...
- Page 12 12 Dimensions Presence Frameless Rear outlet < < < <...
- Page 13 13 Dimensions Presence Framed Top outlet < < < <...
- Page 14 14 Dimensions Presence Framed Rear outlet < < < <...
- Page 15 Users manual < < < <...
- Page 16 < < < <...
- Page 17 < < < <...
-
Page 18: Cleaning And Maintenance
• 15 Introduction Never change the position of the log set and never add more decorative materials or carrara pebbles than have Because this appliance is a source of heat, air been supplied with the appliance. If the circulation will arise. That is why it is fire is switched on, the pilot light should important that you do not use the fire shortly always be visible! - Page 19 18.3 Placing the batteries 19.2 Setting the transmitter code on the • remote control unit: Pull on the chain to take out the Press the reset button of the receiver with a battery pack (fig 1.3) pointed object, until the second signal is •...
- Page 20 mounted within 4 metres of the appliance in In this “clock thermostat” function the the same room. duration of the periods for day and night The timer function (TIMER) can make the temperatures is set within 24 hours. thermostat function once or twice on day temperature and one or twice on night 21.2 Setting day and night temperatures temperature during a period of 24 hours.
- Page 21 pressing the OFF- key (fig. 2.0) or wait for ten seconds. • Press the SET–key (fig. 1.8) again and now P2 (homecoming) will appear in the display screen, the time indication will start to blink and now set the starting time. •...
- Page 22 < < < <...
- Page 23 < < < <...
- Page 24 – info@faber.nl Saturnus 8 NL - 8448 CC Heerenveen Postbus 219 NL - 8440 AE Heerenveen T. +31(0)513 656500 F. +31(0)513 656501...
Need help?
Do you have a question about the Presence and is the answer not in the manual?
Questions and answers