Pentair PoolShark Installation And User Manual
Hide thumbs
Also See for PoolShark:
- Owner's manual (16 pages) ,
- Owner's manual (8 pages) ,
- Installation & user manual (20 pages)

Related Manuals for Pentair PoolShark


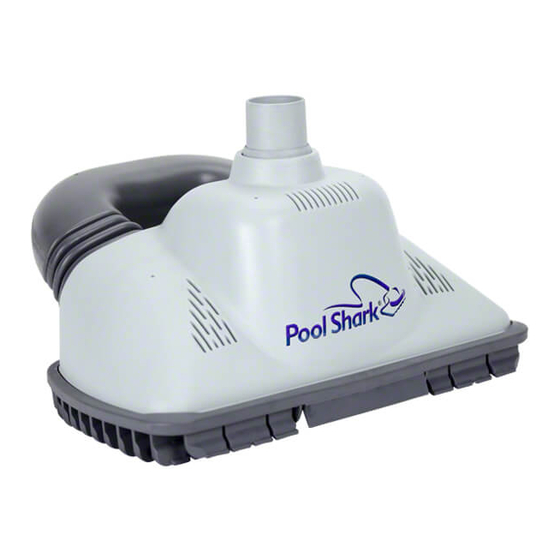
Summary of Contents for Pentair PoolShark
- Page 1 PoolShark ® Automatic Pool Cleaner Installation User's Guide IMPORTANT SAFETY INSTRUCTIONS READ AND FOLLOW ALL INSTRUCTIONS SAVE THESE INSTRUCTIONS...
- Page 2 Spa, Inc. and/or its affiliated companies in the United States and/or other counties. Unless noted, names and brands of others that may be used in this document are not used to indicate an affiliation or endorsement between the proprietors of these names and brands and Pentair Water Pool and Spa, Inc.
-
Page 3: Table Of Contents
Section 3: Operation ......................9 Cleaner Operation and Movement ................9 Fine-tuning Valves and Connections ..............9 Section 4: Maintenance ..................... 11 Cleaner and Hose Storage ..................11 Disassembly/Reassembly of the PoolShark ® Cleaner ..........12 PoolShark ® Exploded View ..................13 ®... -
Page 4: Important Safety Precautions
Attention User: This manual contains important information that will help you in operating and maintaining this pool cleaner. Please retain it for future reference. Consult Pentair Water with any questions regarding this equipment. WARNING — Before installing this product, read and follow all warning notices and instructions which are included. -
Page 5: General Installation Information
Install it on the suction port to prevent entrapment and injury. If the cover provided does not fit, purchase one that does fromyour local pool store and install it instead. The cover should conform to IAPMO SPS4-99A. ® PoolShark Installation and User’s Guide... - Page 6 This page is blank. ® PoolShark Installation and User’s Guide...
-
Page 7: Section 1: Overview
Powerful two-way cleaning…hands free ® Now there's an easier, more thorough way to clean your inground pool. Remove PoolShark from the box, attach the hose, place it in the water and watch it attack dirt as it prowls around the bottom and to the waterline of your pool. - Page 8 • Automatic valve regulates water flow to set optimum travel speed for consistent cleaning of the entire pool surface. • Wide body design allows PoolShark ® to cut a broad 12" path for speedy completion of its cleaning chores. •...
-
Page 9: Preparation Of Your Pool
® The following general information describes how to set-up your PoolShark automatic pool cleaner. NOTE: Before setting up this product, read and follow all warning notices and instructions starting on page ii. Preparation of your pool ® Before you assemble and install your PoolShark automatic pool cleaner, you should make sure that your pool is clean and free of algae. - Page 10 Attach one end of the hose to the vacuum source as described in Section 3, Installation. Keep the other end of Figure 4. the hose accessible. Figure 5. Figure 6. ® Add one hose weight to the third cuff from the PoolShark ® PoolShark Installation and User’s Guide...
-
Page 11: Section 2: Installation
Both the standard in-skimmer installation and optional vac port installation are covered in these Instructions. If your pool configuration is unlike any of the examples, contact your Pentair Water Pool and Spa dealer for assistance, or call our toll-free Customer Helpline at 1-800-831-7133. -
Page 12: Adjust Flow
It may or may not be necessary to add weight to your hose, depending on your pool’s size, shape, and depth. Try the cleaner first without any hose weights. If the hose is too buoyant, PoolShark cleaner Attach first hose weight No weight on these 1" back from the end of add the weight as shown in Figure 14. -
Page 13: Optional Installation
(“vac port”) for vacuuming or for an automatic pool cleaner, it must be covered when not in use. Vac Port Installation with Vacuum Regulator in Skimmer ® If your pool has a dedicated wall fitting “vac port”, (see Figure 15), you can install the PoolShark using the Optional Installation. -
Page 14: Adjust Flow
It may or may not be necessary to add weight to your hose, depending on your pool’s size, shape, and depth. Try the cleaner first without any hose weights. If the hose is too buoyant, PoolShark cleaner Attach first hose weight No weight on these 1" back from the end of add the weight as shown in Figure 23. -
Page 15: Section 3: Operation
® This section contains information describing the movement and operation of your PoolShark cleaner, as well as tips for “fine-tuning” your pool’s valves and connections to optimize the PoolShark’s cleaning ability. Cleaner Operation and Movement Clicking sound This is the sound of the oscillator moving back and forth in the oscillator chamber. The best speed for it is about 500 oscillations per minute. - Page 16 The adjuster could be a screw-type, a spring loaded apparatus, or a dial design. For those vac plates with adjusters, it is important to adjust them when fine tuning the vacuum for the cleaner. ® PoolShark Installation and User’s Guide...
-
Page 17: Section 4: Maintenance
Section 4 Maintenance ® This section describes the service and maintenance of the of your PoolShark cleaner. ® WARNING — Hazardous suction. Suction through the PoolShark can entrap bathers, causing severe injuries ® or drowning. Do not operate the PoolShark cleaner while people are using the swimming pool. - Page 18 7. Remove the Oscillator Sleeve, releasing the Oscillator Sleeve Bushing and the Clutch assembly, (see Figure 31). Reassembly ® To reassemble the PoolShark , reverse the steps above. Figure 27. NOTE: The notch on the center disk of the Large Steering Drive Assembly must be down (as shown in Figure 32) for assembly.
-
Page 19: Poolshark
Replacement Parts ® PoolShark Model ® PoolShark Installation and User’s Guide... -
Page 20: Replacement Parts List
® Replacement Parts List for the PoolShark Model Part Model Model Description Qty. GW7500 GW7700 • Steering Kit (Incl. Key Nos. 2, 3, 4) GW7505 GW7515 Swivel Housing Swivel Swivel Sprocket Clutch Clip • Clutch Kit (Incl. Key Nos. 5, 8, 21, 23) -
Page 21: Section 5: Troubleshooting
E. If the PoolShark’s eyeball diverters do not fit your existing return line fittings, adjust your existing fittings as best you can as described above. ®... - Page 22 15). Check the PoolShark’s hose to be sure that it has not become bent or kinked. Do not coil the hose, as it will retain the coiled shape and reduce the cleaning coverage. To check the hose, lay each hose section flat on the pool deck (or another flat surface) and look down the length of the hose.
- Page 23 PoolShark ®...
- Page 24 Part Nº. PN788 Rev. A 2/20/08...
Need help?
Do you have a question about the PoolShark and is the answer not in the manual?
Questions and answers