Advertisement
Table of Contents
- 1 Service Manual
- 2 Table of Contents
- 3 Introduction
- 4 Block Diagrams
- 5 Start up Procedure
- 6 Protection Modes and Indicators
- 7 Troubleshooting Guide
- 8 Output Transistors Testing and Replacement
- 9 Calibrations and Adjustments
- 10 Parts List
- 11 Updates
- 12 Fuses
- 13 IR Interface Information
- Download this manual
See also:
Owner's Manual
Advertisement
Table of Contents

Related Manuals for Classe Audio CAV-180


Summary of Contents for Classe Audio CAV-180
-
Page 1: Service Manual
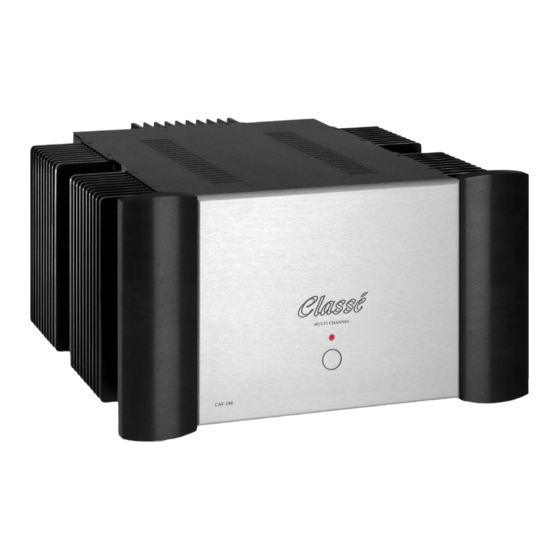
Date: July 17, 2007 Model Number: CAV-180 Subject: Classé Audio Inc. Service manual Classé Audio, Inc. 5070 François Cusson Lachine, Québec Canada H8T1B3, www.classeaudio.com PRO-SVR_LEGACY Page 1 of 13... -
Page 2: Table Of Contents
Table of Contents Introduction 3 Important Notes on Servicing 3 Ordering Replacement Parts 3 Block Diagrams 4 Start up Procedure 5 Protection Modes and Indicators 6 Troubleshooting Guide 7 Output Transistors Testing and Replacement 8 Calibrations and Adjustments 9 Parts List 10 Updates 11 Fuses 12 Voltage Change 12... -
Page 3: Introduction
Introduction Please read this manual carefully before commencing servicing! Only qualified and authorized personnel should attempt to service this product. The lightning flash with arrowhead symbol, within an equilateral triangle, is intended to alert the user to the presence of uninsulated dangerous voltage within the product’s enclosure that may be of sufficient magnitude to constitute a risk of electric shock to persons. -
Page 4: Block Diagrams
Block diagrams PRO-SVR_LEGACY Page 4 of 13... -
Page 5: Start Up Procedure
Start Up Procedure When receiving a unit, an assiduous visual inspection must be performed. Do not connect the unit without analysing the symptoms reported by the customer and the results of the inspection. Using the troubleshooting guide, find the problem and proceed to the repair. Once this step is done, follow these steps, known as the start-up procedure, to ensure that everything in the unit is in working condition. -
Page 6: Protection Modes And Indicators
Protection Modes and Indicators The front LED shows the status of the amplifier. When starting up normally, the CAV180 will show a FLASHING RED LED for about 15 seconds and if all is normal, the LED will go SOLID RED. If there is a fault, the LED will go to a FLASHING GREEN LED. -
Page 7: Troubleshooting Guide
Troubleshooting Guide Symptom Possible cause Unit won’t turn on Check connections; Check fuses; Check soft-start circuit; Check relays; Check power supply circuits (positive rail, negative rail) Smoked and/or burned Check for short between components and ground; components Check output transistors; Check power supply circuits (positive rail, negative rail). -
Page 8: Output Transistors Testing And Replacement
Output Transistors Testing and Replacement PLEASE NOTE THAT THESE TESTS ARE ONLY EFFECTIVE ON BIPOLAR TRANSISTORS. DO NOT PERFORM THESE TESTS ON MOSFET DEVICES, AS THEY ARE LIKELY TO BECOME SHORT DURING THE TEST. You should check all pin combinaisons, as there is a chance that only one side of the transistor is short. When replacing outputs transistors, the technician should first disconnect both outputs and main board to check if the blown outputs were caused by a faulty component on the amplifier’s base. -
Page 9: Calibrations And Adjustments
Calibrations and Adjustments Bias adjustment: Note: Bias adjustment should be made without any load connected to the amplifier’s output, and no signal connected to the amplifier’s input. 1. Connect a multimeter to R5 leads and set the multimeter to mV scale. 2. -
Page 10: Parts List
This is not a detailed part list. It is a list of major chassis parts and PCBs. If you need to order a specific part, please contact Classe Audio with the part location, PCB number, and model and serial number of the unit. -
Page 11: Updates
Updates 1. On board B2E2X, replace R1 with Classe part number 3299X-1-202 (5 PCBs). 2. On board B02AX, replace R113 and R103 with following assembly. Use Classe part number A307-1078. Connect the resistor assembly to the exterior pads of R113 and R103. 3. -
Page 12: Fuses
Fuses EXTRA PRECAUTIONS SHOULD BE TAKEN WHEN REPAIRING, MODIFYING, OR TROUBLESHOOTING IN THE POWER SUPPLY AREA. UNIT MUST BE DISCONNECT FROM MAIN SOURCE AND CAPACITORS MUST BE DISCHARGED USING A 100W INCANDESCENT BULB. WHEN REPLACING FUSES, PLEASE MAKE SURE THAT THE FUSE HOLDERS ARE HOLDING THE FUSES VERY TIGHTLY. -
Page 13: Ir Interface Information
IR Interface Information Press and hold: LINE 1 = Turns on Amplifier # 1 LINE 2 = Turns on Amplifier # 2 LINE 3 = Turns on Amplifier # 3 BAL 1 = Turns on Amplifier # 4 BAL 2 = Turns on Amplifier # 5 BAL 3 = Turns on Amplifier # 6...
Need help?
Do you have a question about the CAV-180 and is the answer not in the manual?
Questions and answers