Subscribe to Our Youtube Channel
Summary of Contents for Regency NOLA
- Page 1 Style that revolves around you. • C • EILING WNER'S ANUAL • N • WARNING: Read and follow these instructions carefully and be mindful of all warnings shown throughout.
- Page 2 & O ENERAL NSTALLATION PERATION NSTRUCTIONS MPORTANT AFEGUARDS: 1. To ensure the success of the installation, be sure to read the instructions and review the diagrams thoroughly To ensure the success of the installation, be sure to read the instructions and review the diagrams thoroughly before beginning.
-
Page 3: Safety Precautions
MPORTANT AFETY RECAUTIONS Thank you for choosing a Regency Ceiling Fan. You have chosen the best! Your new ceiling fan has been designed to provide many years of service and enjoyment. Warnings: Warnings: • Disconnect power by removing fuse or turning off circuit breaker before installing the fan and/or optional lighting. -
Page 4: Unpacking Your Fan
NPACKING 1. Unpack your fan and check the contents. Do not discard the carton. If warranty replacement or repair is ever necessary, the fan should be returned in original packing. Remove all parts and hardware. Do not lay motor housing on its side, or the decorative housing may shift, be bent or damaged. 2. -
Page 5: Installing The Mounting Bracket
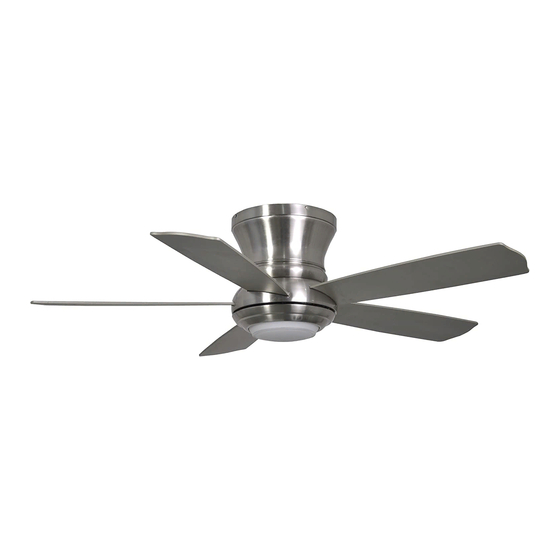
REPARATION Parts identification on assembled fan Motor Housing Blades Mounting Plate Glass Shade PREPARATION: Verify you have all parts before beginning the installation. Check foam insert closely for missing parts. Remove motor from packing. To avoid damage to finish, assemble motor on soft padded surface or use the original foam inset in motor box. - Page 6 NSTALLING THE NSTALLATION: REMEMBER to turn off the power. Follow the steps below to hang your fan properly. Carefully lift fan motor assembly (without the blades) into position by hanging the motor assembly onto the hook from the ceiling mounting plate allowing it to hang freely as shown in Fig.
-
Page 7: Installation
LECTRICAL ONNECTIONS Step 1 Connect the fan supply (black) wire to the black SUPPLY CIRCUIT household supply wire. Step 2. Connect the neutral fan (white) wire to the white Ground neutral household wire. Conductor Step 3 Connect the two green fan ground wires, located on Outlet Box the mounting plate and motor, to the household ground wire. -
Page 8: Blade Attachment
LADE TTACHMENT WARNING: WARNING: To reduce the risk of personal injury, do not bend the blades while installing, balancing the blades, or cleaning the fan. Insert the blade through the slot in the housing. Align the holes in the blade and the fan motor assembly and secure with a blade attachment screw and fiber washer. - Page 9 NSTALLING THE IGHT ULB AND LASS HADE WARNING: WARNING: Shut off the power supply before removing or replacing lamp. In handling of halogen bulb, care should be taken not to touch it with your bare hands. Oil residue will shorten the life of the halogen bulb. If you accidentally come into contact, wipe thoroughly with a clean, lint-free, cotton cloth.
- Page 10 PERATING RANSMITTER Restore power to ceiling fan and test for proper operation. Install 9 Volt battery (not included). To prevent damage to transmitter remove the batteries if not used for long periods of time. (Fig. 1) 1. "LO, MED, HI" buttons: These three buttons are used to set the fan speed as follows: LO= Low speed MED= Medium speed HI= High speed...
- Page 11 Speed settings for warm or cool weather depend on factors such as the room size, ceiling height, number of fans, etc. NOTE: NOTE: To operate the reverse function on this fan, press the "FOR/REV" button while the fan is running. Warm weather-(Counter-Clockwise direction) A downward air flow creates a cooling effect.(Fig.
-
Page 12: Troubleshooting
Make sure these are tight and the ball is completely seated in the bracket. HANK YOU FOR PURCHASING A EGENCY EILING Write to us at: Regency Ceiling Fans P.O. Box 730 Fenton, MO 63026 Visit us on the Web at: www.regencyfan.com 01/13 Regency Ceiling Fans...


Need help?
Do you have a question about the NOLA and is the answer not in the manual?
Questions and answers