
Related Manuals for OWC Mercury


Summary of Contents for OWC Mercury
-
Page 1: Installation Instructions
OWC Mercury Optical Drives Installation Instructions For PowerBook G4 15” Models OWC Mercury Optical Drives Installation Manual Page #1... - Page 2 Thank you for purchasing an OWC Mercury Optical drive from Other World Computing! Please use this reference guide to install your new optical drive into your PowerBook G4 15” “Titanium”. Before getting started, you will need the following: • A well lit clean work space approximately 3’x2’...
- Page 3 Drive. Note on the bottom left is the object of this upgrade, the CD-ROM drive. You may want to take a few moments and remove any dust or lint that has become trapped inside of the computer, especially at the top center, the cooling fan. OWC Mercury Optical Drives Installation Manual Page #3...
- Page 4 If you’re lucky, you can peel the plastic away from the adhesive but don’t be concerned if you break the plastic shield. OWC Mercury Optical Drives Installation Manual Page #4...
- Page 5 Take the CD-ROM drive and turn it so you can see the cable attached to the back of it. Gently use your fingernails to rock the cable gently, removing it from the connector. Set the cable aside. Another picture of the cable being removed, showing the connector in more detail. OWC Mercury Optical Drives Installation Manual Page #5...
- Page 6 CD-ROM mechanism. If you had to tear any part of it to remove because of it being stuck inside of the machine, take a moment and examine where it was torn and use a bit of tape to repair it. OWC Mercury Optical Drives Installation Manual Page #6...
- Page 7 ROM/DVD-ROM drive just removed on the right. Slide the plastic drive shield over the rear of the new OWC Mercury Optical drive. This usually takes two hands to get it in place. The shield will fully cover the rear of the drive and the screw holes will be visible once you have it in place all the way.
- Page 8 Insert the 4 Torx T-8 screws into the OWC Mercury Optical drive and place their grommets over the screw heads. Once again, the locations are: • Two are half-moon shaped and go on the left side of the drive (they are the ones that are compressed to hold in place when the lid is closed).
- Page 9 Now that you have the OWC Mercury Optical drive prepared to reinstall into the PowerBook, take a moment and look inside of the CD-ROM bay where the new drive will be placed. Note the two holes that are highlighted in this photograph. The grommet and washer will be placed into these holes when you install the new drive.
- Page 10 Once your new OWC Mercury Optical drive is inserted fully into the CD bay, insert the controlling cable onto the connector on the logic board. Be sure that the cable is fully lined up, it does take a bit of adjustment so it will seat into the connector fully. If your system had yellow tape covering the two connectors, reattach it now.
- Page 11 The cards attached to the drive brackets are a modem (left) and the inverter board for the display (right). Begin removing the drive by gently lifting up on the ribbon cable attached to the inverter board, circled here. OWC Mercury Optical Drives Installation Manual Page #11...
- Page 12 The wires are very flexible silicone coated, do not pinch or cut them as they carry power to the LCD display. OWC Mercury Optical Drives Installation Manual Page #12...
- Page 13 2 wire cable from under the edge of the black plastic cover on the modem card. That cable will need to be pulled straight out of it’s connector toward the back of the PowerBook. OWC Mercury Optical Drives Installation Manual Page #13...
- Page 14 - your choice. Turn the drive around and remove the two Phillips screws that attach the small left frame to the drive. Set all parts aside in a safe place. OWC Mercury Optical Drives Installation Manual Page #14...
- Page 15 Set the frame aside. Remove the drive connector cable from the back of the drive and set it aside. OWC Mercury Optical Drives Installation Manual Page #15...
- Page 16 Remove and place the feed slot onto the new drive in the same way you removed it from the old drive, starting with the side tab and hinging the slot onto the drive mechanism, locking it into place. OWC Mercury Optical Drives Installation Manual Page #16...
- Page 17 Reattach the 4 Torx T-6 screws you removed from the boards back onto the assembly, securing the cards in place. OWC Mercury Optical Drives Installation Manual Page #17...
- Page 18 Be sure the drive is straight, and do not use force to insert the drive, it will slide right into place without resistance if installed properly. OWC Mercury Optical Drives Installation Manual Page #18...
- Page 19 Inverter ribbon cable (you removed it from the machine originally) 3 & 3a. Modem ribbon cable 2 wire cable from modem card (under black plastic cover) Another picture of the inverter pink & white cord, routed nicely around the drive mechanism. OWC Mercury Optical Drives Installation Manual Page #19...
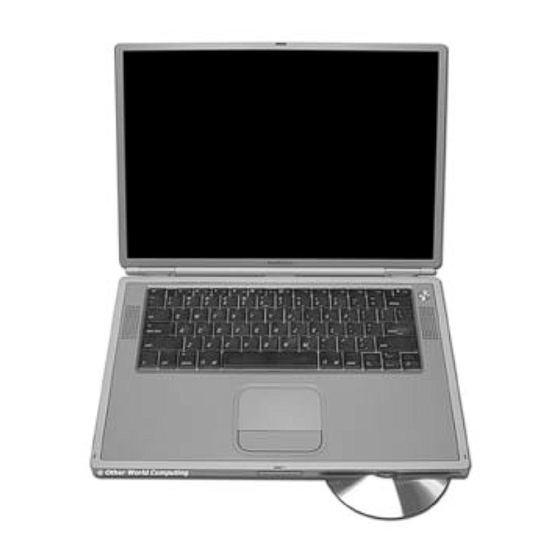
- Page 20 Drive! Boot the system up and insert a blank CD-R disc - you should be greeted with a dialog box asking what you wish to do with it. The OWC Mercury Optical Drive works natively with all of your favorite creation applications! Entire contents copyright ®...
Need help?
Do you have a question about the Mercury and is the answer not in the manual?
Questions and answers