
Subscribe to Our Youtube Channel
Related Manuals for OWC ACCELSIOR 8M2


Summary of Contents for OWC ACCELSIOR 8M2
- Page 1 OWC ACCELSIOR PCIe NVMe M.2 SSD Storage Solution for Mac Pro 2019 and Windows PC Real World Speeds Up to 26,296MB/s Jaw-Dropping Storage Up to 8 SSDs Maximum Capabilities RAID Ready...
-
Page 2: Table Of Contents
TABLE OF CONTENTS INTRODUCTION 1.1 System Requirements ..................3 1.2 Packaging Contents ..................3 1.3 About This Manual ................... 3 1.4 Side View ......................4 INSTALLATION 2.1 Assembly ......................5 2.2 PCIe Card Installation ..................7 2.3 Mac & Windows Formatting ................7 SUPPORT RESOURCES 3.1 Troubleshooting .................... -
Page 3: Introduction
PC. This can be achieved through the addition of front or side PC case fans or by leaving unused PCIe slots between installed devices. Drivers: - No driver is required for the Accelsior 8M2, however some M.2 drives may require one. Please review the drive manufacturer’s requirements before installing. Supported Drives: - Any NVMe PCIe M.2 SSD with an M-key connector... -
Page 4: Side View
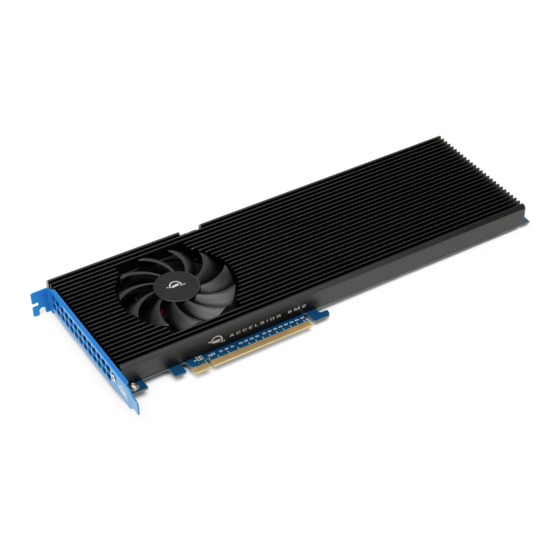
1.4 SIDE VIEW 1. PCIe bracket – screws into the system chassis to reinforce card stability 2. PCIe connector – align this part of the device with a compatible PCIe slot on the host computer or enclosure 3. LED indicator - Power on: solid green - Disk activity: flashing green INTRODUCTION... -
Page 5: Installation
INSTALLATION 2.1 ASSEMBLY (0TB CARD ONLY) This section describes the process of installing drives into the OWC Accelsior 8M2. If you purchased the OWC Accelsior 8M2 with drives pre-installed, please proceed to section 2.3 Mac & Windows Formatting. The Installation video can be watched by visiting go.owc.com/accelsior8m2/install... - Page 6 6. Set the PCIe card in front of you oriented as shown. Rotate the heat sink so that the drives align with the thermal pads. Next, carefully set the heat sink down on the PCIe card so that the six screw holes on the heat sink are over the corresponding holes on the PCIe card.
-
Page 7: Pcie Card Installation
2.2 INSTALLING THE CARD IN A HOST OR PCIE ENCLOSURE Please follow the steps below to install the OWC Accelsior 8M2 into a host computer or PCIe enclosure with a compatible PCIe slot. Note: this card is susceptible to invisible damage if not protected during installation. -
Page 8: Support Resources
To ensure that your files are protected and to prevent data loss, we strongly suggest that you keep two copies of your data: one copy on your OWC Accelsior 8M2 and a second copy on your internal drive or another storage medium, such as an optical backup, or on a second external storage unit. Any data loss or... - Page 9 OWC reserves the right to make changes or revisions in the product design or the product manual without reservation and without obligation to notify any person of such revisions and changes.
Need help?
Do you have a question about the ACCELSIOR 8M2 and is the answer not in the manual?
Questions and answers