Table of Contents
Advertisement
Quick Links
Download this manual
See also:
User Manual
Advertisement
Table of Contents

Subscribe to Our Youtube Channel
Related Manuals for Motorola Vonage VT2142


Summary of Contents for Motorola Vonage VT2142
-
Page 1: Quick Start Guide
Quick Start Guide ® Vonage Device Motorola VT2142... -
Page 2: Before You Begin
(You will need to provide the MAC ID on the bottom of the Vonage Device.) In the U.S., visit www.vonage.com/activate. In Canada, visit www.vonage.ca/activate. If you received your Vonage Device in the mail from Vonage, your Vonage phone service has already been activated. You also need a high-speed Internet connection, such as DSL or cable, to use Vonage. -
Page 3: Easy Steps
® Get ready to start saving money on your phone bill with Vonage – just follow these easy step-by-step instructions to set up your new Vonage device. Within minutes, you’ll be making phone calls with high-quality, low-cost Vonage phone service! - Page 4 Vonage Device Base Support* Black Power Cord Blue Cable Yellow Cable NOTE: Ensure you are using the power supply provided with the Vonage Device. Using the wrong power supply could result in damage to your equipment. *Not required for installation.
- Page 5 Step 2: Set up your Vonage ® Device Unplug your existing modem’s power cord. Leave your modem connected to your cable or DSL phone line that supplies your Internet connection. Unplug the Ethernet cable that connects your modem to your computer or router. Unplug the cable from both your modem and your computer (or router).
- Page 6 Connect one end of the blue cable to the Ethernet port on your modem. Connect the other end to the blue port labeled “Internet” on the back of the Vonage Device. Vonage Device Connect one end of the yellow cable to the yellow port labeled “Ethernet”...
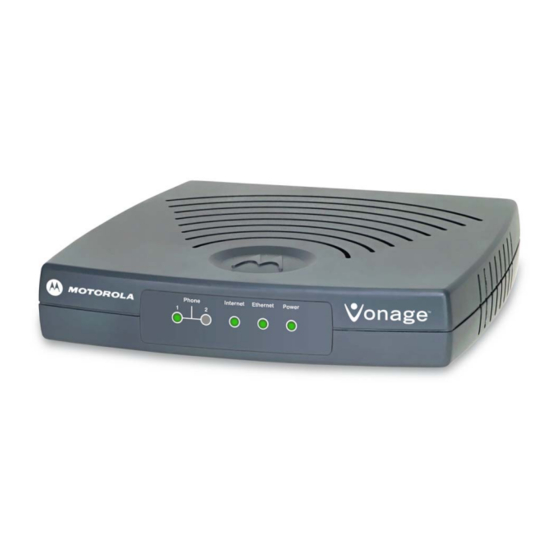
- Page 7 Vonage Device should both turn on. Wait until the “Power” light stops blinking and both “Power” and “Phone 1” lights are solid. The “Phone 2” light will be solid if you have a second Vonage line. Otherwise, it will not light. The “Internet” light will flicker whenever there is communication activity.
- Page 8 Click on it. Note: If you had an existing router connected to your DSL modem, but it is now connected to your Vonage device, the router will have to be set up as a DHCP client instead of PPPoE.
-
Page 9: Connecting Your Phone
Pick up your handset. If you hear a dial tone, congratulations! You’ve set up your Vonage service correctly, and can now start making calls. To configure your voicemail and other included services features, simply login to your online account at www.vonage.com. -
Page 10: Troubleshooting Tips
If necessary, refer to the information that came with your modem. Vonage Device – Wait for the power and phone(s) lights to be a solid green. (The Internet light will blink whenever there is activity.) Router, if you have one –... - Page 11 Be sure your phone is plugged in to the Green Phone Port 1 the rear panel of the Vonage Device, and that it is disconnected from the wall jack that a traditional phone uses. Reset all of your equipment as described on page 8. After you reset all your equipment, pick up your telephone handset to listen again for a dial tone.
- Page 12 High-speed Internet or broadband required. Alarms and other systems may not be compatible. MOTOROLA and the Stylized M logo are registered in the U.S. Patent & Trademark Office. All other product or service names are property of their respective owners. © 2008 Vonage.
Need help?
Do you have a question about the Vonage VT2142 and is the answer not in the manual?
Questions and answers