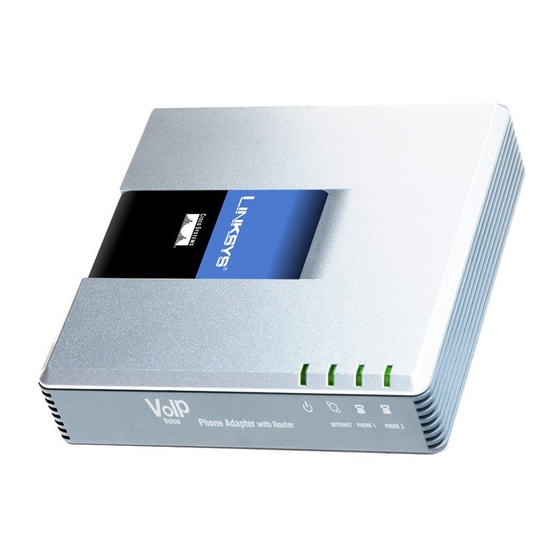
Linksys SPA2102 Setup Manual
Linksys (cisco) spa2102
Hide thumbs
Also See for SPA2102:
- User manual (96 pages) ,
- Product data (4 pages) ,
- Installation manual (3 pages)
Advertisement
VoIP Setup Guide for Linksys (Cisco) SPA2102
1. Connect a telephone handset to the Phone 1 port
Check the IP Address of the phone adapter:
2. Press **** (i.e. press the star key four times)
3. Wait until you hear the response "Linksys configuration menu—please enter the option
followed by the # (pound) key or hang up to exit"
4. Enter 110#
5. The IP address will be read out -please note it down
6. Open your web browser (e.g. Internet Explorer, Mozilla Firefox, Google Chrome, etc)
7. Enter the IP address in the address bar
8. On the top right side of the window, click on Admin Login
9. Click on advanced, to the right of Admin Login
My Net Fone Australia Pty Ltd, Address Level 2, 10-14 Waterloo St, Surry Hills NSW 2010
Updated: November 2011
Page 1 of 3
Advertisement
Table of Contents

Subscribe to Our Youtube Channel
Summary of Contents for Linksys SPA2102
- Page 1 Check the IP Address of the phone adapter: 2. Press **** (i.e. press the star key four times) 3. Wait until you hear the response “Linksys configuration menu—please enter the option followed by the # (pound) key or hang up to exit”...
- Page 2 10. On the top menu, click on Voice 11. Select the Line 1 tab 12. For NAT Mapping Enable - select Yes 13. For NAT Keep Alive Enable - select Yes 14. For Proxy - enter sip00.mynetfone.com.au 15. For Outbound Proxy - enter sip00.mynetfone.com.au 16.
- Page 3 21. For Preferred Codec - select G729a 22. For Dial Plan - enter the following: (*xx.|000S0|121S0|151S0|181S0|[2- 9]xxxxxxxS0|0[23478]xxxxxxxxS0|0011xxx.|1800xxxxxxS0|1300xxxxxxS0|13[1- 9]xxxS0|<#0,:>xxx.<:@gw0>|xxx.) To setup Phone port 2 - click on Line 2 and follow the steps from 12- 22. 23. Click on Save Settings My Net Fone Australia Pty Ltd, Address Level 2, 10-14 Waterloo St, Surry Hills NSW 2010 Updated: November 2011 Page 3 of 3...


Need help?
Do you have a question about the SPA2102 and is the answer not in the manual?
Questions and answers