
Subscribe to Our Youtube Channel
Related Manuals for JUKI HZL-27Z


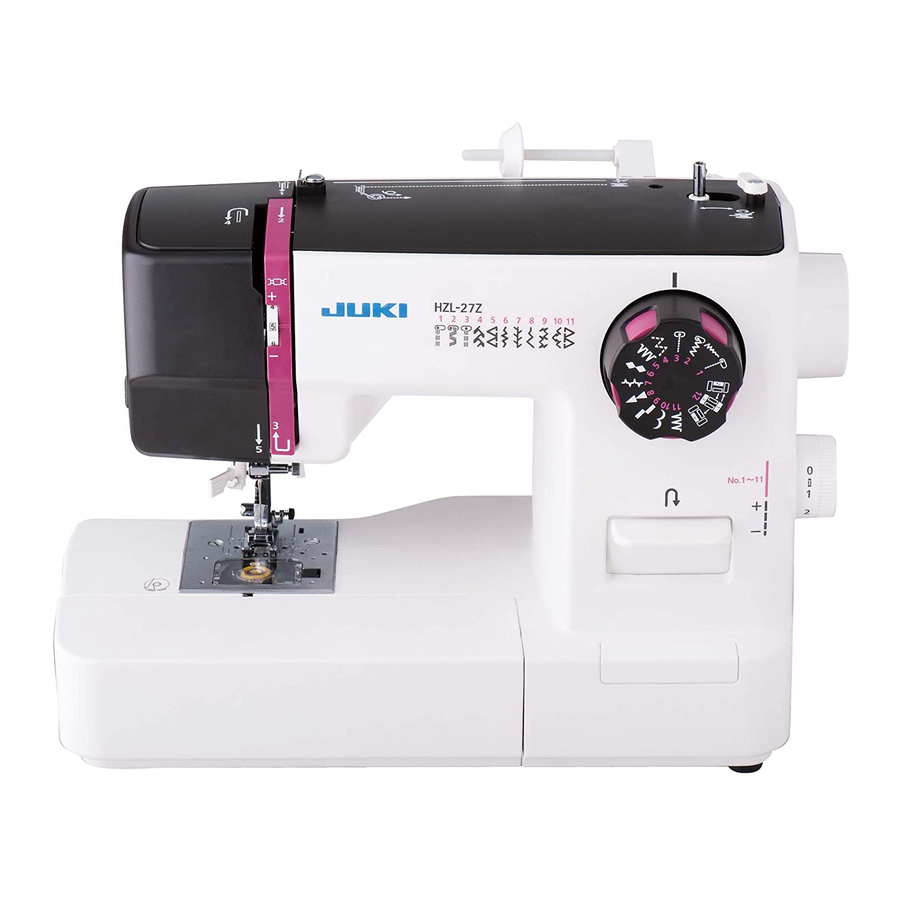
Summary of Contents for JUKI HZL-27Z
- Page 1 Original issue Service Manual May 2009 Page 1/24 Model HZL-27Z MODEL: HZL-27Z JUKI HOUSEHOLD SEWING MACHINE CORPORATION...
- Page 2 Original issue Service Manual May 2009 Page 2/24 Contents Model HZL-27Z Disassembling face covers 1. Feed dog height 2. Needle height 3. Hooking fork position of needle threader 4. Presser foot height 5. Needle position at straight stitching 6. M position 7....
- Page 3 Service Manual May 2009 Page 3/24 Model 1. Disassembling face covers - 1 HZL-27Z (1) Remove face cover Remove 2 screws and take out face cover. (2)Remove back cover. 1. Remove 3 screws on base cover. Screw ‘A’ fixes switch cover. It is released with rubber foot.
- Page 4 Service Manual May 2009 Page 4/24 Model 1. Disassembling Face cover - 2 HZL-27Z 3. Remove a screw on front cover. 4. Remove switch cover by small screw driver. Shape of terminal block is different by destination. 5. Use small driver to remove the connection between front cover and back cover.
- Page 5 Page 5/24 Model 3. Disassembling face cover - 3 HZL-27Z 6. Put your hand inside to disconnect side portions. 7. Insert the switch cover to the inside of machine, lower presser foot and pull up cover near presser foot not to stuck at the lever then pull the back cover behind to...
- Page 6 Page 6/24 Model 1. Disassembling face cover - 4 HZL-27Z (3) Remove front cover and top plate. 1. Pull out stitch length dial and pattern select dial. 2. Loosen 2 screws on thread guide plate and bend it to remove the front cover.
-
Page 7: Feed Dog Height
Service Manual May 2009 Page 7/24 Model 2. Feed dog height HZL-27Z 〔Checking〕 1. Move the feed dog to its highest position by turning hand wheel. Confirm if the feed dog height is 0.89-1.09 mm from needle plate. 0.89~1.09 mm... -
Page 8: Needle Height
May 2009 Page 8/24 Model 3. Needle height HZL-27Z Attention: Confirm this step before ’11. Needle timing to shuttle point’. 〔Checking〕 1. Select straight stitching with needle point at the center.(Needle point comes to the center of the needle plate hole.)... - Page 9 Original issue Service Manual May 2009 Page 9/24 Model 4. Hooking fork position of needle threader HZL-27Z 〔Check and adjustment〕 If the fork position is wrong, correct the condition using small screw driver in accessory box and adjust the position.
-
Page 10: Presser Foot Height
May 2009 Page 10/24 Model 5. Presser foot height HZL-27Z 〔Checking〕 1. Raise the presser foot lever. 2. Lower the feed dog below the needle plate. 3. Check and see if clearance between needle plate and presser foot is about 5.5 to 6 mm. - Page 11 May 2009 Page 11/24 Model 6. Needle position at straight stitching HZL-27Z 〔Checking〕 Check if the needle point of straight stitching at center needle position comes to the center of the maximum zigzag bight. (Notify pinhole on paper for easy checking )...
- Page 12 May 2009 Page 12/24 Model 7. M position HZL-27Z Attention: Confirm “6. Needle position at straight stitching” before this checking. 〔Checking〕 1. Set machine for straight stitching at center needle position. 2. Turning hand wheel by hand, lower the needle and check if needle point comes to the center of needle plate hole.
- Page 13 May 2009 Page 13/24 Model 8. Needle clearance to shuttle point - 1 HZL-27Z 〔Checking〕 1. Remove needle plate, bobbin case and face cover. 2. Set zigzag stitch width at ‘maximum’. 3. Turning hand wheel until needle is moved to right/left and shuttle point to the rear of needle, check if each clearance between needle and shuttle point on right and left is 0 to 0.1 mm (noncontact).
- Page 14 Service Manual May 2009 Page 14/24 Model 8. Needle clearance to shuttle point - 2 HZL-27Z NEEDLE If the clearance of needle and If the clearance of needle and shuttle is smaller on left side, shuttle is smaller on right side,...
-
Page 15: Timing Belt Tension
May 2009 Page 15/24 Model 9. Timing belt tension HZL-27Z *Timing belt is connecting with upper and lower shafts. *If the tension is too loose, belt may jump or slip laterally and cause gap on upper and lower shaft If the tension is too tight, torque is increased and it is unable to keep correct number of revolutions. -
Page 16: Feed Dog Timing
May 2009 Page 16/24 Model 10. Feed dog timing HZL-27Z 〔Checking〕 1. Set stitch length at ‘maximum’. 2. Turn hand wheel toward you, check whether feed dog starts to move in horizontal direction, when or before needle reaches its highest position. - Page 17 May 2009 Page 17/24 Model 11. Needle timing to shuttle point -1 HZL-27Z Attention : Check “3. Needle height” and “10. Needle and feed dog timing” beforehand. 〔Checking〕 Set zigzag stitch length at ‘maximum’. Check if needle is not bent and remove needle plate and bobbin case.
- Page 18 Page 18/24 Model 11. Needle timing to shuttle point -2 HZL-27Z <Additional check:check the engagement between shuttle gear and lower shaft gear. > 1. After adjustment, check engagement of the gear. 2. Turn the shuttle by 90 degrees twice and check if there is no big play on gear.
-
Page 19: Thread Tension
May 2009 Page 19/24 Model 12. Thread tension HZL-27Z 〔Checking〕 1. Set the dial at ‘5’. 2. Put the polyester #60 thread between tension discs and pull it to check tension. 3. Recommended dial tension is 40 to 50 g. -
Page 20: Belt Tension
May 2009 Page 20/24 Model 13. Belt tension HZL-27Z 〔Adjustment〕 1. Remove outer covers. 2. Loosen and adjust two nuts (A). Belt need to bend about 7mm when it is pushed by pressure of 200g between upper shaft and motor. - Page 21 May 2009 Page 21/24 Model 14. Bobbin case rotation stopper -1 HZL-27Z 1. Remove needle plate and take off bobbin case. 2. Check if the corner of square spring come to inside of shuttle frame (A) as illustrated below. Square...
- Page 22 May 2009 Page 22/24 Model 14. Bobbin case rotation stopper -2 HZL-27Z 6. Loosen screw (C) and move the bobbin case front and back to keep the clearance of 1-1.5 mm with square spring when adjusting the reverse rotation stopper position.
- Page 23 May 2009 Page 23/24 Model 15.Pitch balance of buttonhole sewing HZL-27Z *There is stitch length adjusting zone on stitch length dial. Adjustment is done on this dial. * Forward pitch can be changed by Stitch length dial. *Reverse pitch is fixed.
- Page 24 Page 24/24 Model 16. Balance of stitch length on stretch stitching HZL-27Z 1. Turn the screw (A) and adjust the stitch length. If you don’t remove the front cover, insert screw driver into hole (B) on top panel and turn the screw (A).
Need help?
Do you have a question about the HZL-27Z and is the answer not in the manual?
Questions and answers